
Can You Put Cast Iron in the Oven? Safety, Temperatures & Best Practices
Many new cast iron owners hesitate before heating their skillet in the oven, worried it might crack, warp, or damage the seasoning. This hesitation is completely understandable, but putting your cast iron in the oven is not only safe, it’s one of the most useful things you can do with it.
In this guide, we’ll go beyond a simple “yes” to cover the practical details every cook needs to know. You’ll find clear steps and trusted methods based on years of hands-on experience. This article will cover:
- Essential safety checks to perform before heating
- The real temperature limits for both vintage and modern pieces
- How broiling and baking differ for your pan’s health
- What to do with the handle and lid during oven use
- Simple aftercare to protect your seasoning
Key Takeaways: Oven Safety at a Glance
Follow these rules every single time you put a pan in the oven.
- Always inspect the handle first. It is the most common point of failure.
- Never exceed 450°F for seasoning; that’s the smoke point for most oils.
- Always preheat your oven with the pan inside to prevent thermal shock and warping.
- The cast iron itself is indestructible, but the parts attached to it are not.
- Use a dry oven mitt. A damp mitt can transfer a steam burn instantly.
The Short Answer is Yes, But First, This Safety Check
Are all cast iron pans oven safe? The iron cooking surface absolutely is. A solid piece of cast iron can handle any temperature your home oven can produce, a fact true since the first cast iron cook stoves of the 1800s. The real question isn’t about the pan’s body, but what’s attached to it. Modern manufacturers often add components that cannot withstand high heat. You must become a detective for a moment before you turn on the oven.
Use this simple checklist to assess your specific piece. I do this with every pan I pull from my own collection, from my daily driver to my newest restoration project.
Inspect the Handle
Look closely at where your hand goes. Is the handle one solid, continuous piece of iron from the skillet wall to the very end? If so, you’re holding a classic, fully oven-safe design.
Problems arise with modern handles. You are looking for three things:
- Hollow Handles with End Caps: Many contemporary skillets have a hollow tube handle sealed at the end with a plastic or silicone plug. This plug will melt. If your handle has a visible seam or a different colored cap on the end, assume it is not oven-safe above 400°F.
- Silicone or Rubber Sleeves: These are comfort grips added over an iron handle. They are often removable. Always take them off before the pan goes in the oven.
- Bonded Wood: Some handles have a wood section permanently attached with adhesive. The wood can char, crack, and the glue can fail. These handles are typically not rated for oven use.
If your pan has any of these features, refer to the manufacturer’s instructions for the maximum safe oven temperature, which is often 350°F or 400°F.
Inspect the Lid (If Using One)
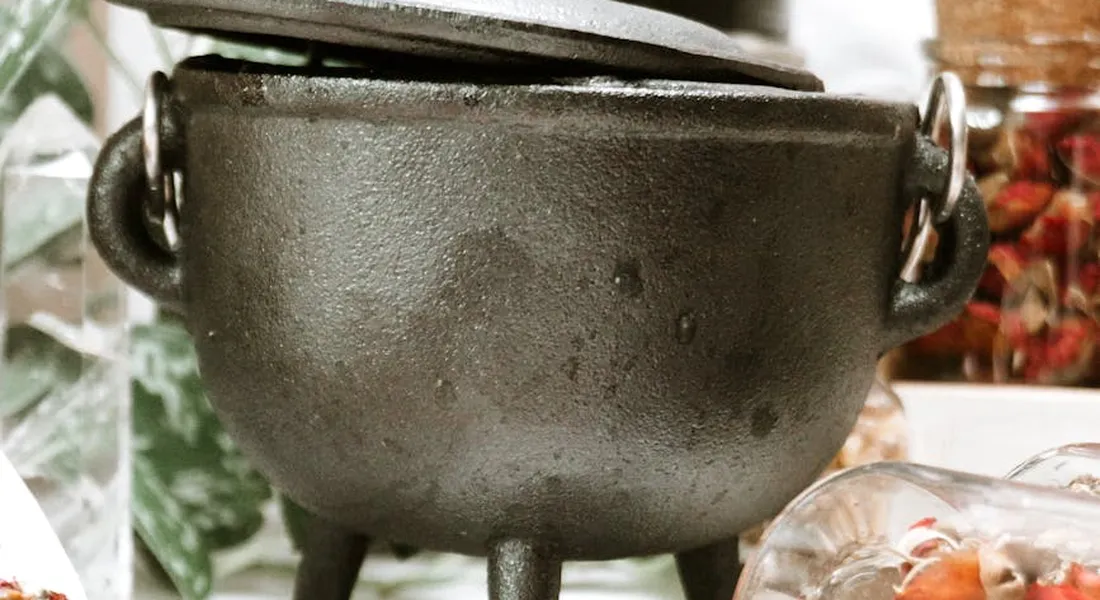
The same logic applies here. A fully cast iron lid with an iron handle is perfectly safe.
- Knob Material is Key: A metal (usually stainless steel or iron) knob is good to go. A plastic, phenolic, or Bakelite knob is not. These materials will melt, smoke, and release fumes at high seasoning temperatures.
- Glass Lids Have Limits: Tempered glass lids, like those on many Dutch ovens, are designed for the oven but have a specific temperature limit (often 425°F). Check the manufacturer’s stamp on the glass or the original documentation. Never use a glass lid for a seasoning cycle, which typically exceeds this limit.
Taking two minutes for this inspection protects your cookware and your kitchen from smoke and damage. Once you know your pan is clear, you can use the oven with total confidence.
What Temperature Is Safe for Cast Iron in the Oven?
The question “how hot can a cast iron skillet get?” has two answers. You have to consider the pan itself and the seasoning on it separately.
The Iron Itself Can Take the Heat
Your cast iron skillet is remarkably tough. The metal will not melt, warp, or be damaged by any temperature your home oven can produce, which typically maxes out at 500 to 550 degrees Fahrenheit. Cast iron has a high heat tolerance but it’s important to know the limits.
The real danger to the metal isn’t high heat, but sudden, extreme temperature changes. This is called thermal shock. Imagine taking a pan straight from the freezer and placing it into a 500-degree oven. That drastic shift can cause the iron to crack. Always let your pan adjust to room temperature before putting it in a hot oven.
Your Seasoning Has a Lower Limit
While the iron is unfazed, your seasoning is not indestructible. Seasoning is a thin layer of polymerized oil. Every oil has a smoke point, the temperature at which it starts to break down and smoke.
Your seasoning’s weak point is the smoke point of the oil you used to create it. Most home seasoning jobs using common oils like flaxseed, grapeseed, or canola are stable up to about 450 to 500 degrees Fahrenheit. Baking a pizza at 500 degrees for 20 minutes is usually fine. Leaving it empty in a 500-degree oven for an hour to “clean” it will likely damage that hard-earned patina.
This is directly related to the common question about the best cast iron oven seasoning temperature. When you season a cast iron pan, you bake it at a temperature just above the oil’s smoke point to trigger polymerization. Pushing far beyond that point for long periods during cooking can start to undo that process.
My advice is to invest in a simple oven thermometer. Your oven’s dial can be off by 25 degrees or more. Knowing the true temperature protects your seasoning from accidental overheating.
How to Prepare Your Pan for the Oven
A quick routine before the oven ensures great results and keeps your pan in top shape. Think of it as a pre-flight check.
To Preheat or Not to Preheat?
You can preheat a cast iron pan in the oven, but you don’t always need to. Preheat the empty pan when you want a fierce, even sear on meats or vegetables. The hot metal creates an instant crust.
For most baking, like cornbread or a cobbler, there’s no need. Just put your pan with the batter or dough directly into the preheated oven.
If your pan has a handle made of another material, like phenolic resin, check if it’s oven-safe. Many modern handles are only rated for up to 400 or 450 degrees Fahrenheit. In that case, preheat the pan safely on your stovetop instead of in the oven.
The Essential Dry-Off
This step is non-negotiable. Any moisture left on the pan can cause surface rust in the dry heat of the oven, even during a one-hour bake.
Always dry your pan thoroughly with a towel after washing. To be absolutely sure, I place my pan on a stove burner over low heat for just a minute. You’ll see any leftover water beads evaporate instantly.
Starting with a completely dry pan is the simplest way to prevent rust and protect your work. It takes only a moment and makes all the difference, especially when you regularly use your pan.
Best Practices for Cooking in a Cast Iron Oven Pan
Once you know your pan is oven-safe, the focus shifts to using it well. This is about practical technique and understanding how cooking acts as maintenance.
Protecting Your Work Surface
This is the most important safety tip I can give you. Every part of a pan that goes into the oven gets oven-hot, especially the handle.
- Always have a trivet, a thick hot pad, or a folded towel ready on your counter before you open the oven.
- Never set a hot pan directly on a cold stone countertop, a wet surface, or a delicate material like a wooden cutting board you care about. The thermal shock can damage surfaces, and that sizzle you hear is steam that can warp wood.
Treat the entire pan, handle included, as a red-hot piece of metal until it has fully cooled.
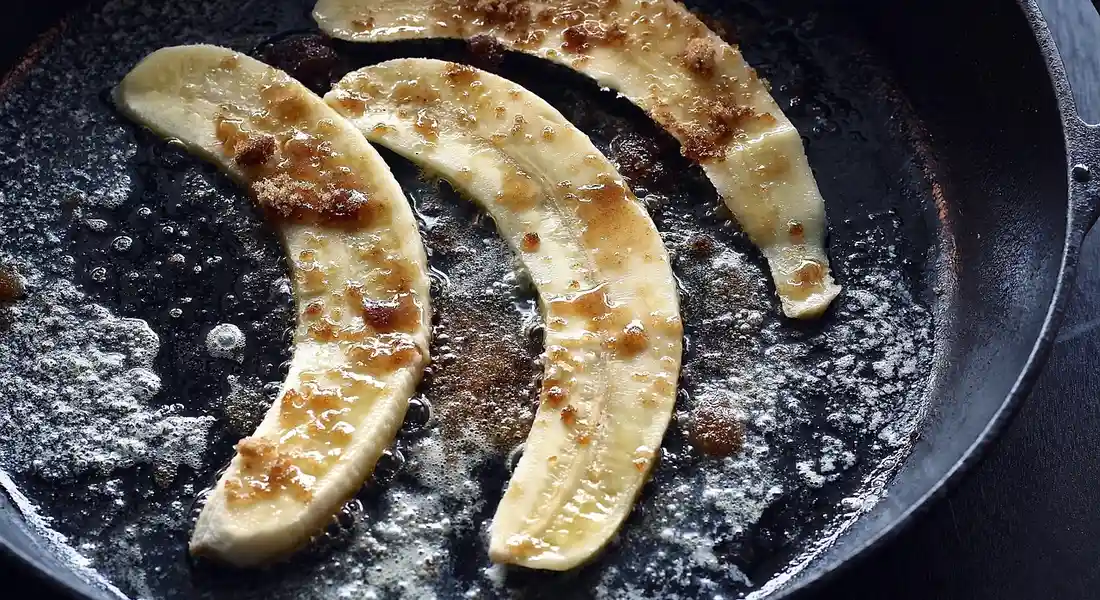
Managing Fats and Seasoning
How you cook directly affects your pan’s non-stick coating. Think of your seasoning as a living finish that you feed.
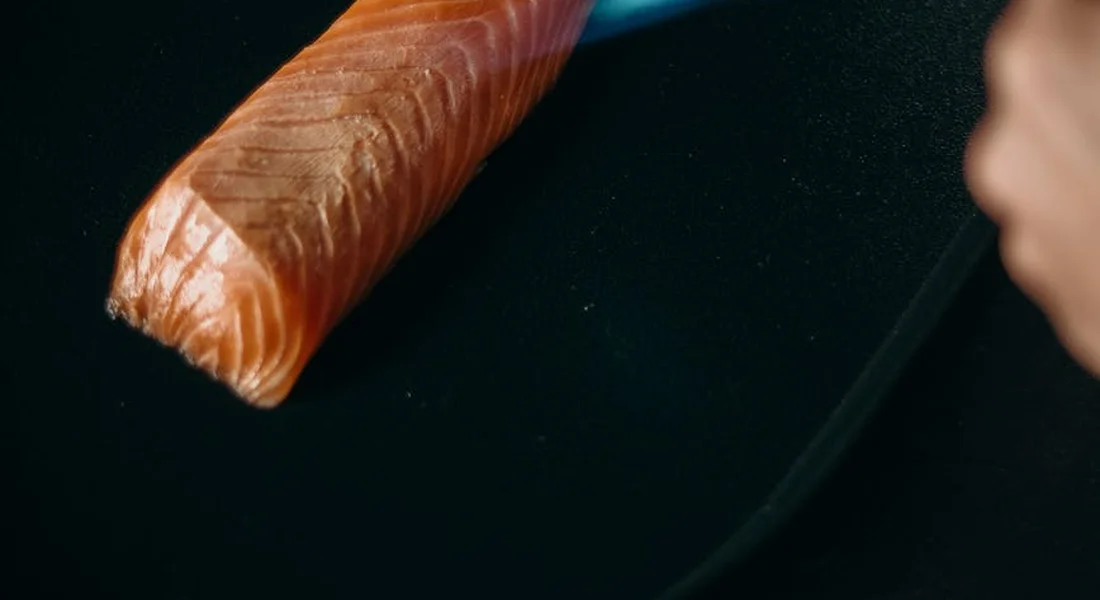
Roasting a chicken breast with some oil or butter is perfect. The fats polymerize onto the hot surface during cooking, reinforcing your seasoning. It’s like a mini touch-up session.
Baking cornbread or a loaf of bread is different. These are often low-fat or no-fat bakes. Without that fat, the process is more like a dry heat stress test for your seasoning. My 10-inch skillet bakes cornbread weekly, and it’s fine, but I always give it a very light oiling after cleaning to compensate.
Using a little fat during oven cooking isn’t just for flavor; it’s active care for your pan’s protective layer.
Common Oven Uses for Different Pieces
The beauty of cast iron is its versatility. The same care rules apply whether you’re using a skillet, Dutch oven, or grill pan.
- Skillets & Round Griddles: Perfect for cornbread, deep-dish pizza, oven frittatas, or roasting vegetables.
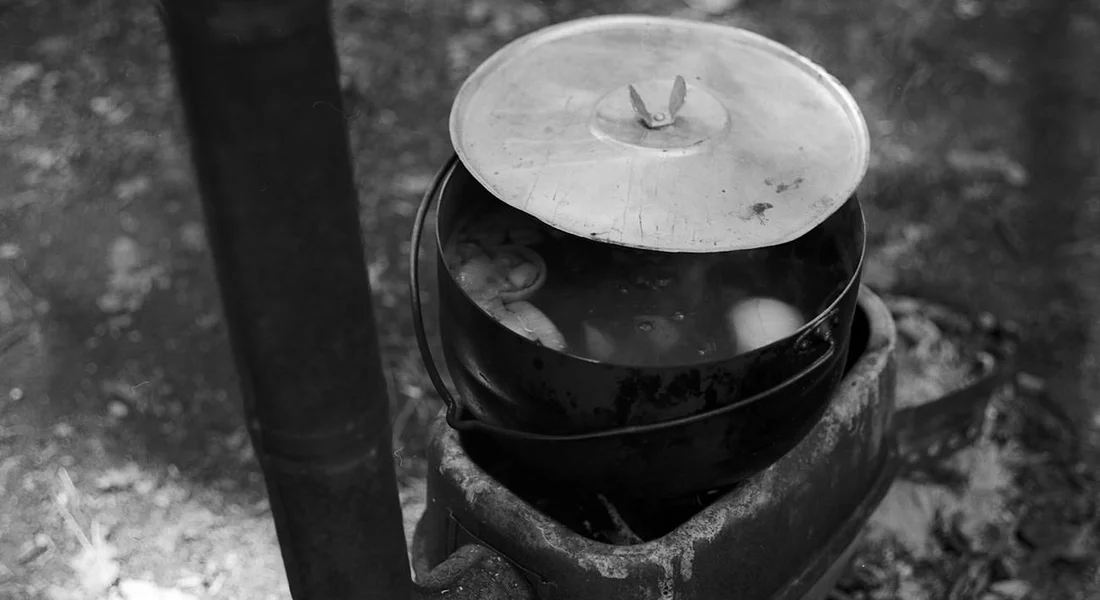
- Dutch Ovens: Absolutely, a cast iron Dutch oven can go in the oven. It’s the champion for no-knead bread (that steamy environment creates a fantastic crust), braising meats, and baking beans.
- Grill Pans & Grill/Griddle Combos: Great for finishing off steaks or chops you started on the stovetop, or melting cheese on open-faced sandwiches.
The specific dish doesn’t change the fundamentals: protect your surfaces, understand the role of fat, and clean it properly afterward.
Caring for Your Pan After the Oven
What you do after the oven is just as important as what you did during. This routine keeps your pan in top shape for years.
Cleaning After High-Heat or Sticky Bakes
Timing is everything. Let the pan cool until it’s warm to the touch, not screaming hot. Food residue is much easier to remove at this warm stage than when it’s stone cold and welded on.
For most bakes, a soft brush or sponge with warm water is enough. For sticky bits, use coarse salt as a gentle abrasive with a paper towel. A drop of mild dish soap is perfectly fine if needed. Avoid harsh metal scouring pads; they can scratch the seasoning like sandpaper on paint.
Clean your pan while it’s still warm, using gentle methods, and you’ll preserve that hard-earned seasoning.
When to Apply a Fresh Layer of Seasoning
You don’t need to re-season after every oven use. Look for these signs that a maintenance round in the oven is a good idea:
- The surface looks dull or dry in spots, losing its slight sheen.
- You feel a faint sticky or tacky residue after cleaning and drying.
- Food starts to stick more than usual during your next cook.
This isn’t a sign you’ve ruined your pan. It’s normal upkeep. I give my most-used pans a quick oven seasoning refresh every few months, or anytime I notice they look a little thirsty. It’s a simple process that builds resilience over time.
A quick oven seasoning session is routine maintenance, a way to keep your pan’s non-stick defense strong and ready.
What Helped Me: A Lesson from a Smoky Kitchen
I learned this lesson the hard way with a modern skillet I was excited to season and maintain. It was a newer piece with what looked like a solid metal handle. I didn’t think twice before putting it in a hot oven to bake on a fresh coat of oil.
About ten minutes in, a sharp, chemical smell filled the kitchen. Then came the smoke. I rushed to pull the pan out, realizing the handle had a composite core or coating not meant for high heat. The smell lingered for hours.
The simple fix was to always check the handle first, a rule I’ve followed ever since. This mistake is common and nothing to be embarrassed about. It just reinforces the golden rule: know your pan’s limits, starting with that handle.
When to Seek Professional Help or Consider Replacement
While most cast iron issues can be fixed at home, some problems go beyond simple maintenance. Here are the scenarios where DIY isn’t the safe or effective choice, especially when it comes to commercial-grade cookware.
Cracked or Severely Warped Pans
A crack in your skillet is a terminal diagnosis. Unlike rust, which you can scrub away, a crack is a structural failure. Heating a cracked pan can cause it to split open completely, spilling hot food and oil. A severely warped pan that no longer sits flat on your burner is also a safety issue, as it can tip unexpectedly.
These pans are safety hazards and cannot be reliably repaired, so the only responsible choice is to retire them.
Uncertainty About Handle Composition
If you’ve inherited a pan or bought a vintage piece and you simply cannot tell what the handle is made of, it’s time to ask for help. Your first stop should be the manufacturer’s website or customer service line. Many companies have archives or can identify models from photos.
If that doesn’t yield answers, your best path is clear. When in doubt, treat the pan as stovetop-only and avoid putting it in any oven, even for seasoning. It’s better to use a pan with a limited function than to risk damaging it or your kitchen.
Common Questions
My pan performed perfectly for oven-seared steak. How should I clean it afterward?
Let the pan cool until it’s just warm to the touch. Use hot water and a stiff brush to remove any fond or residue; coarse salt works for stubborn bits. Dry it completely on the stove, then apply the lightest coat of oil before storing.
If something sticks during an oven bake, does that mean I ruined the seasoning?
No, it does not. Sticking is often a sign the pan needed a bit more fat for that specific cook or that the seasoning needs routine maintenance. Clean it gently, then give it a quick oven seasoning cycle to reinforce the polymerized layer.
I use my skillet for oven-frying chicken. What special care does that require?
This method subjects your seasoning to high heat and a lot of moisture. Always let the pan cool slightly, then clean while still warm to prevent oil from congealing into a sticky mess. A thorough drying followed by a very light oiling is essential to keep the finish smooth—especially after seasoning.
Oven Confidence with Your Cast Iron
Always let your cast iron pan heat up slowly in the oven to avoid thermal shock, which can cause cracks. For seasoning, a steady temperature between 400°F and 450°F works best to build a strong, protective layer. If you want to deepen your care routine, look into topics like choosing the right oil or restoring an old piece. Understanding the seasoning process also means nailing the oven temperature and timing for best results. A quick look at the timing, heat, and step sequence can help you perfect the finish.
Citations and Authoritative Sources
- r/Cooking on Reddit: Can I use a cast Iron in an electric oven
- Is Cast Iron Safe? Truths and Myths About Cast Iron Skillets – Field Company
- Can You Put a Skillet In the Oven? Oven Safe Skillet Options
- Cooking with Cast Iron
- Can you put cast iron in the oven? – Quora
A material science expert by profession, Joseph is also an avid cook. He combines his 10+ years expertise in material science and metallurgy with his passion for cast iron cookware to bring you best hands on advice. His expertise ranges from types of cast iron cookware to best seasoning tips as well as restoration of vintage cast iron utensils. Joe is here to help you solve all your cast iron cookware queries and questions.