
How Is Cast Iron Cookware Made? From Molten Metal to Masterpiece
You know how to season and care for your skillet, but have you ever wondered why that rough texture or slight warp exists? Knowing how cast iron is made explains the quirks of your favorite pan and makes you a better, more confident cook.
This isn’t a dry factory tour. We’ll walk through the process that turns raw materials into the heirloom in your kitchen. You’ll learn about:
- The specific sand and molds that create your pan’s unique surface texture.
- How molten iron is poured and why cast iron is so incredibly durable.
- The finishing steps, from grinding to preseasoning, that prepare it for your stove.
What Is Cast Iron Cookware Made Of?
Your skillet isn’t just “iron.” It’s a specific alloy known as gray cast iron. The key ingredient is carbon, a lot of it. While a steel knife might have less than 2% carbon, your cast iron pan contains between 2% and 4%.
Foundries create this alloy by melting down a mix of raw materials:
- Recycled scrap iron and steel
- Pig iron (a basic, high-carbon iron product)
- Carbon additives like coke or graphite
This molten soup isn’t just iron and carbon. A small but critical amount of silicon, usually between 1-3%, is added. The silicon does two big jobs. It helps the molten iron flow easily into intricate molds, making it “castable.” More importantly, it forces the carbon to form graphite flakes as the metal cools.
These graphite flakes are the secret to your pan’s performance; they act like tiny heat batteries, absorbing and releasing energy slowly for that legendary, even heat retention. This same structure gives cast iron its durability against cracking under thermal stress.
There’s a trade-off. Those graphite flakes create a porous, microscopic landscape on the metal’s surface. Unlike stainless steel, which forms a protective chromium oxide layer, bare cast iron is left exposed. This is why a brand-new, unseasoned pan will flash-rust before your eyes if it gets wet. The material’s greatest strength for cooking is also its greatest vulnerability to corrosion, which is why we build up a protective seasoning layer.
The Heart of the Process: How Are Cast Iron Skillets Molded and Shaped?
Nearly every piece of cast iron cookware you’ve ever held was born from a process called sand casting. It’s ancient, reliable, and perfect for creating the complex shapes we need. Think of it as the original 3D printing, but with sand and molten metal. But the real heart of cast iron lies in its material composition and properties—how iron, carbon, and trace elements interact to influence heat retention, seasoning, and durability. In this guide, we’ll explore cast iron material composition and properties to help you choose, care for, and cook with confidence.
It all starts with a pattern. This is a positive model of the final cookware, typically made from machined wood, plastic, or metal. A pattern for a skillet includes everything: the cooking surface, walls, handle, pour spouts, and even the size markings on the bottom. This pattern is the “original” from which all molds are made.
To create the mold, a craftsman places the pattern in a molding box and packs a special “green sand” mixture around it. This sand isn’t green in color; it’s a blend of silica sand, clay, and water that holds its shape when compressed. The process is done in two halves:
- The drag is the bottom half of the mold, forming the exterior bottom and outer walls of the pan.
- The cope is the top half, forming the cooking surface and interior walls.
Once packed, the two halves are carefully separated, the pattern is removed, and the halves are put back together, leaving a hollow cavity in the exact shape of your future skillet.
The mold needs a way for the 2500°F molten iron to get in and for air to get out, so channels called the sprue (the main downpour) and gates (smaller feeders) are carved into the sand. The iron flows through these, filling the cavity from the bottom up to avoid trapping air bubbles that could create weak spots. After the iron cools and solidifies, the sand mold is broken apart-it’s single-use-revealing the rough, gritty casting known as a “shakeout.”
This is far more complex than simple castings like ingot molds for gym weights. A skillet’s shape, with its thin walls, precise cooking surface, and detailed handle, requires this meticulous two-part sand process. That complexity in the mold is what gives you a tool of simple beauty in your kitchen.
What Is the Pouring and Casting Process for Iron Cookware?
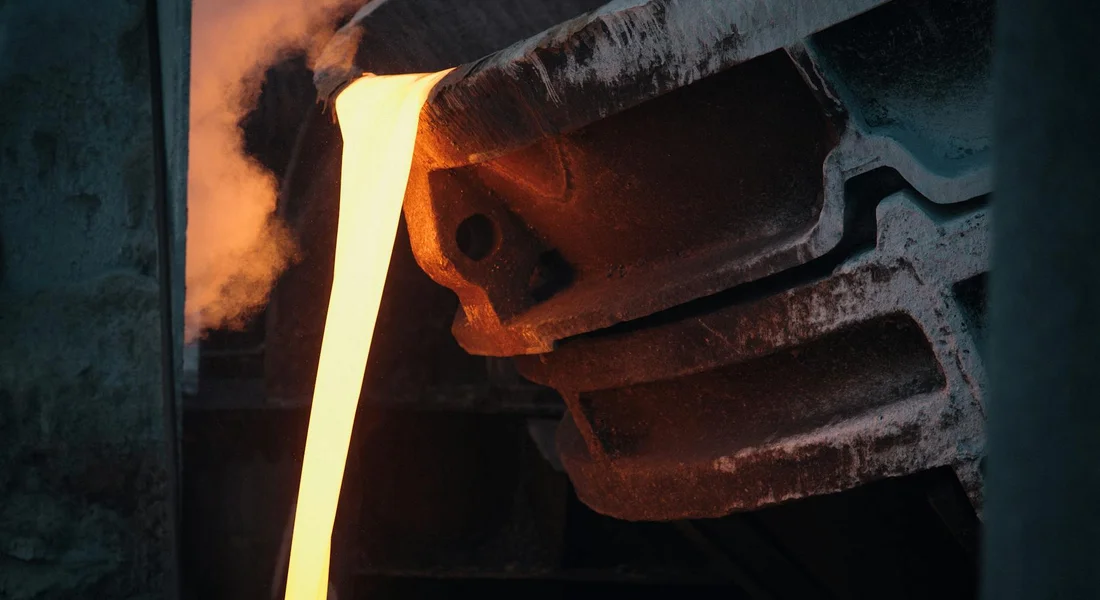
The furnace, now holding a vat of liquid iron at around 2,600°F, is ready. Workers prepare to “tap” it, which means opening a hole at its base. This isn’t a gentle trickle. The molten iron flows out in a controlled, brilliant orange river into a large ladle.
This ladle is then transported to the molding line. This is the moment raw materials become a recognizable object, and the quality of the pour determines the quality of your future pan.
Pouring Into the Mold
A worker carefully pours the molten iron into the sprue hole of the sand mold assembly. Imagine pouring incredibly heavy, glowing-hot batter into a detailed sand cake mold. The iron is so dense and fluid that it rushes through the entire network of channels, filling every crevice of the pan’s impression.
The sensory experience is intense. The foundry floor is bathed in a blinding orange light, and you feel the wave of heat from several feet away. It’s a violent, beautiful process.
The mold does the rest of the work. The sand core creates the skillet’s cooking surface and interior walls, while the outer part of the mold forms the handle, helper handle, and any markings. Any flaw in the mold, like a shifted core or a speck of debris, will be permanently captured in the iron at this second. This is why casting is so crucial it’s where pits, bumps, or uneven walls originate.
After the pour, the iron almost immediately begins to cool and solidify against the sand. In just a few minutes, the metal is solid enough to hold its shape, though it’s still red-hot. The mold has served its single, critical purpose.
What Happens During the Cooling of Cast Iron Cookware?
After the molten iron fills the mold, it must cool down and turn solid. This solidification is not instant. The iron needs to cool slowly and evenly. If it cools too fast, some parts shrink more than others. This creates stress inside the metal, which can lead to cracks.
Controlled cooling prevents these hidden stress cracks, ensuring your skillet can handle decades of heat without failing.
Think of it like baking a thick clay pot. You wouldn’t put it straight from the oven into cold water. You let it cool gradually to avoid cracks. Cast iron works the same way.
The Shakeout: Freeing the Rough Casting
Once the iron is completely solid, workers remove it from the sand mold. This is called the shakeout process. They might vibrate the mold, use compressed air, or simply break the sand away by hand. It’s a physical, sometimes noisy, step that reveals the raw cast iron piece.
Shakeout is where your cookware first sees light, but it’s still buried in a gritty shell.
A Picture of Rough Potential
At this exact moment, the skillet looks wild. It’s covered in a rough, sandy crust from the mold. Sticking out from it are extra lumps and channels of metal called gates and sprues. These look like a metal “tree” or system of roots. They were the pathways that let the molten iron flow into every part of the mold.
This is the true “birth” state of your pan: gritty, uneven, and far from kitchen-ready.
In my workshop, when I find vintage pieces with remnants of this “tree” still attached, it’s a clear sign of its journey from the foundry floor.
Why This Roughness Matters for You
That coarse, porous surface directly explains why cast iron needs so much finishing work before you season it. If you tried to cook on it now, food would stick terribly. The surface would also rust quickly because it’s so rough and open. In metallurgy, that roughness is what lets a seasoning layer bond and build. That bonding makes cast iron an ideal base for sturdy seasoning layers.
The extensive grinding, sanding, and machining that come next are all about transforming this rough casting into the smooth pan you can season and care for.
Every smooth modern skillet or textured antique piece started here. Understanding this stage helps you appreciate why a good factory finish or your own seasoning maintenance is so vital.
How Are Cast Iron Pans Finished After Casting?

The rough, sand-coated piece that comes out of the mold is far from a finished skillet. This stage is where the raw casting becomes a usable tool. The finishing process is all about refinement, safety, and consistency.
1. Breaking Off the Sprues and Cleaning Up
The first job is to remove the sprues and gates-those extra channels of iron that fed molten metal into the mold cavity. Workers break or cut these off. What’s left behind are rough, sharp stubs of iron.
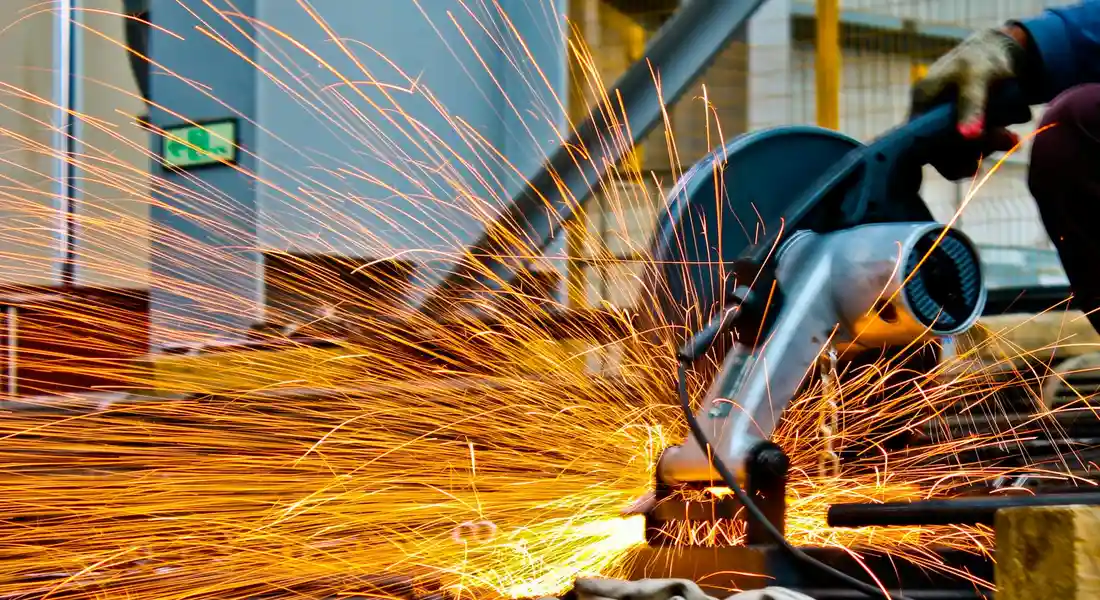
Next, the pan goes through a process to remove every grain of foundry sand and smooth those sharp edges. This is typically done with a powerful grinder, a sandblasting cabinet, or a large tumbling machine filled with abrasive media.
The goal here is to create a uniform, clean surface so your seasoning can bond properly later on. A pan that still has embedded sand or jagged edges will never season evenly and can be unpleasant to handle.
2. Machining the Cooking Surface
After the overall cleanup, attention turns to the cooking surface. Many manufacturers mill or grind the inside of the pan. A spinning cutting tool or grinding head skims a fine layer off the iron, leaving a noticeably smoother, flatter finish.
This step is a point of debate. Some brands skip it for a more textured, “as-cast” surface, while others swear by a machined finish. I’ve worked with both types. A machined surface feels slicker out of the box and can be easier for initial seasoning. The older, pebbly texture holds seasoning incredibly well once it’s built up, but it can feel rougher at the start.
Think of machining like sanding a piece of wood before you paint it; it creates a more consistent base layer for what comes next.
3. Rigorous Quality Control Inspection
Before a pan can be packaged, someone holds it, turns it in the light, and looks for flaws. They are checking for major defects that would make the pan perform poorly or unsafe.
- Voids or Pits: Small holes in the iron from air bubbles in the mold.
- Shifts or Mismatches: A slight misalignment between the two mold halves, creating a visible ridge.
- Cracks: Any hairline fracture, especially around the handle or rim.
- Warping: A pan that doesn’t sit flat on a counter.
Pans with these issues are usually recycled right back into the melt. This inspection is why most modern cast iron you buy is reliably sound, even if the seasoning job from the factory is just a starting point.
4. Adding Logos, Sizes, and Markings
Finally, the pan gets its identity. Logos, model numbers, and size markings (like “8 INCH” or “NO. 8”) are often stamped or incised into the metal at this stage. This is usually done with a press that physically indents the iron.
These markings matter to us as users. A deep, sharp stamp on the bottom can sometimes trap oil and gunk, requiring a little extra attention during cleaning. A smoothly incised mark is easier to keep clean. I have a modern skillet with a deeply stamped logo that I always make sure to scrub and dry thoroughly.
This final stamp is the factory’s signature, marking the end of the manufacturing journey and the beginning of the pan’s life in your kitchen.
How Is the Surface of Cast Iron Cookware Prepared and Seasoned at the Factory?
Right out of the sand mold, a new cast iron pan is dull gray and porous. It’s also covered in a fine, abrasive dust from the casting process called “sand scale.” If you cooked on it now, food would stick terribly and the pan would rust almost instantly. That’s where factory seasoning comes in. Think of it as the manufacturer giving your pan a solid head start.
The Industrial Pre-Seasoning Process
Before any oil touches the pan, it must be perfectly clean and dry. In the factory, this isn’t a quick rinse. The cookware goes through a multi-stage wash, often using a combination of high-pressure water jets and mild chemical solutions to strip away every speck of sand and manufacturing residue.
Once it’s surgically clean, the pan is dried completely. Any leftover moisture would prevent the oil from bonding correctly.
Next, the pan gets its first coat. It’s sprayed with a thin, even layer of food-grade oil. Vegetable oil and soy oil are common choices because they are affordable, effective, and food-safe. The goal here is not a thick, gloppy layer, but a coating so thin it looks almost dry to the touch. This mimics the best practice you should use at home.
The Conveyor-Belt Oven Cure
This is where the magic happens. The oiled pans move into a massive, temperature-controlled oven on a conveyor belt. The heat is typically held between 400°F and 500°F (204°C to 260°C).
As the pan bakes, the heat triggers a chemical reaction called polymerization. The oil doesn’t just dry; it transforms. The molecules cross-link, bonding with each other and the iron to form a hard, slick, plastic-like layer. This layer is what we call “seasoning.”
This factory bake fully polymerizes the oil, creating a stable, non-toxic base that is ready for cooking. You can use the pan straight from the box.
Factory Seasoning vs. Your Patina: A Crucial Distinction
It’s vital to understand what this factory layer is, and what it is not. That slick black coating from the store is a legitimate, functional seasoning. But it’s only one layer.
I like to compare it to a primer coat on a piece of furniture. The primer seals the raw wood, provides a uniform base, and gives the first layer of protection. But you wouldn’t stop after just the primer. You’d add several topcoats of paint for durability and a rich finish.
The factory seasoning is your primer. The rich, dark, near-nonstick patina you see on a well-loved family skillet is the result of dozens of “topcoats” applied through months or years of cooking and care. Your cooking fats, and the careful oven seasonings you add, build upon that industrial base.
So when you get a new pan, don’t be disappointed if it’s not jet-black or as slick as glass. That’s your journey to begin. The factory has given you a perfect, clean, and protected canvas to start your own work.
Why Does This Manufacturing Process Matter for Your Care Routine?
Knowing how your pan was built isn’t just trivia. It explains why you need to treat it a certain way from day one. Think of it as learning the personality of a new tool.
1. The Sand-Cast Surface & Your First Wash
Remember the fine sand from the mold? Tiny grains can fuse to the iron’s surface during casting. This leaves behind a nearly invisible layer of “foundry dust.” It feels gritty, like very fine sandpaper.
If you skip washing a brand-new pan, you’re essentially cooking your first meal on top of microscopic sand. More importantly, you’re trying to build your seasoning layer on a contaminated surface. The oil won’t bond correctly to the iron.
Your first step with any new or vintage find should be a thorough wash with warm, soapy water and a scrub brush to remove this industrial residue. Don’t be afraid of soap here; you’re cleaning the factory off, not stripping a seasoned pan.
2. Milled Surfaces vs. “As-Cast” Finishes
This step explains the great smoothness debate. An antique pan straight from the sand mold has a textured, pebbled surface. A modern pan that’s been milled (or machined) has a noticeably smoother, flatter cooking area.
Both are perfectly good. The milled surface isn’t inherently “non-stick.” It simply provides a flatter starting point for your seasoning to build upon. My daily driver is a milled modern skillet, and its surface is mirror-smooth. My older, unmilled pieces have more character and hold seasoning just as well, but they feel different under a spatula.
The main takeaway is that a smoother modern pan isn’t “better,” it’s just different-your initial layers of seasoning will fill in the microscopic pores of a milled pan just as they fill the valleys of an unmilled one.
3. The Porous, Uncoated Iron & The Need for Seasoning
After the final finishing step-whether it’s grinding, sanding, or tumbling-your pan is just bare, porous iron. It has no protective coating. If you left it on the counter, it would begin to rust from the moisture in the air.
This is the single most important reason for seasoning. Seasoning is not a factory-applied non-stick Teflon. It’s a layer of polymerized oil you create and maintain. That oil fills the pores and coats the surface, creating a barrier between the reactive iron and the elements (air, water, food acids). In chemistry terms, this seasoning forms through polymerization of the oil, producing a durable, non-stick surface on cast iron. This is the chemistry of cast iron seasoning in action, where polymerization creates that non-stick layer you cook on.
Without seasoning, cast iron rusts. It’s that simple. Every step of your care routine—from the initial oven seasoning to wiping it with a thin coat of oil after washing—is about maintaining this vital, protective barrier you built. Seasoning is an ongoing practice, not a one-and-done step. Regular oiling and mindful maintenance keep your cast iron cookware in top condition.
4. Thickness, Heat Retention & Proper Pre-Heating
The casting process creates thick walls and a heavy bottom. This gives cast iron its legendary heat retention, but it also means it heats slowly and unevenly if you rush it. From a thermodynamics perspective, it’s about heat capacity and thermal mass. That’s why cast iron holds heat so well.
If you crank the burner to high and toss food in immediately, the heat concentrates in a small spot directly over the flame. This leads to hot spots that can cause sticking and burn your seasoning. The thick iron needs time for the heat to spread across the entire cooking surface.
I always pre-heat my pan for at least 5 minutes over low to medium-low heat. I let the handle get warm to the touch. This signals the heat has distributed evenly.Gentle, patient pre-heating is the secret to leveraging that thick-cast, heat-retaining quality for perfect, non-stick cooking and preserving your hard-earned seasoning.
Are All Cast Iron Pans Made the Same Way?
For the main cooking vessel itself, yes. The fundamental sand-casting process I just described is how nearly every major brand makes its raw pans. From a hundred-year-old Wagner to a brand new Lodge skillet fresh from the Tennessee foundry, they all started life as molten iron poured into a sand mold.
The real differences come in the final finishing steps, which directly affect the surface you cook on and how you care for it.
The Finish: Smooth vs. As-Cast
After the pan is shaken out of its sand mold, it has a rough, pebbly texture. This is the “as-cast” surface. Decades ago, many foundries would take an extra step: machining or milling the cooking surface smooth on a large grinder. This created that glossy, mirror-like finish you see on vintage pans.
Most modern manufacturers, like Lodge, skip this costly step. They season and sell the pan with its as-cast texture. This isn’t a shortcut; it’s a deliberate choice. The microscopic peaks and valleys provide excellent grip for the initial layers of seasoning to bond to.
Some modern boutique brands, like Field Company and Butter Pat, have brought back milling. They argue a smoother surface is easier to clean and develops a different kind of patina. Both types work beautifully. A modern Lodge pan will perform just as well as a milled one; it just starts its life with a different texture.
Brands and Their Processes
When you see “Made in USA” on a brand like Lodge, it means the entire sand-casting process happens in their own foundries. They control the iron mix, the molding, the pouring, and the pre-seasoning. This consistency is a big part of their reputation.
Whether a pan is milled smooth or left as-cast, the final and most critical step for bare iron is the factory pre-seasoning. This is where that thin, protective layer of oil is baked onto the iron, giving you a rust-resistant, non-stick base to start cooking with. Factory pre-seasoning matters most because it creates a durable, nonstick surface and helps protect the iron from rust. It’s the same basic technique you’d use at home, just done on an industrial scale.
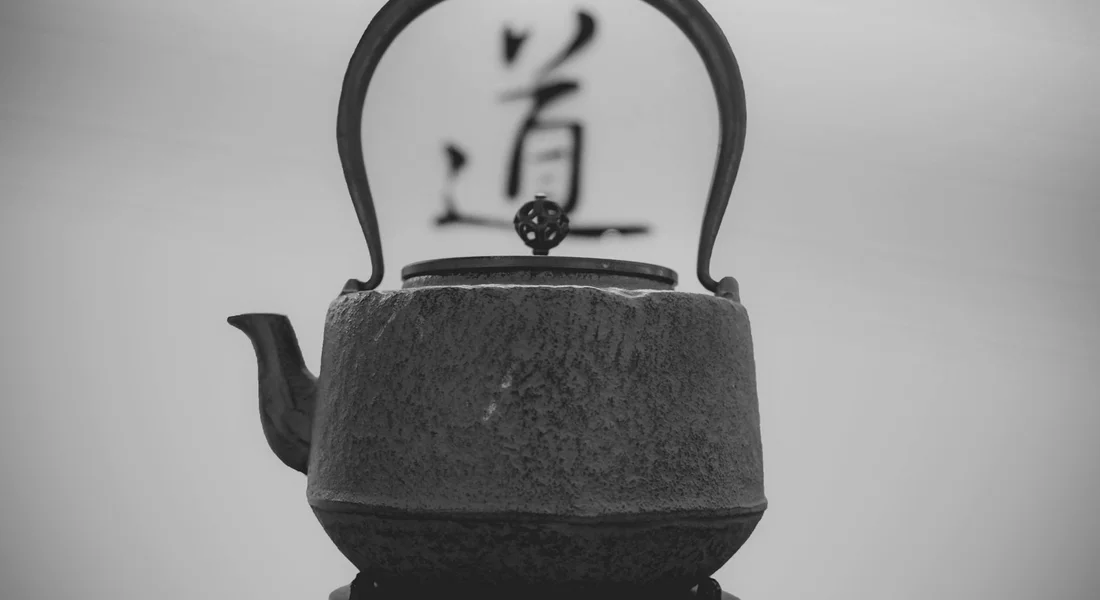
The Enameled Cast Iron Difference
Enameled Dutch ovens from brands like Le Creuset or Staub follow a completely different path after casting. Instead of being seasoned with oil, the cleaned, bare iron vessel is coated with a liquid porcelain enamel slurry.
This glaze is sprayed on and then fired at temperatures even higher than those used for seasoning-often above 1,400°F. This fuses the glass-like enamel to the iron permanently. The result is a non-porous, colorful surface that doesn’t require seasoning and won’t react with acidic foods.
Think of it this way: traditional cast iron has a polymerized oil coating you maintain. Enameled cast iron has a baked-on glass coating you just have to avoid chipping. The care instructions are totally different because the manufacturing process diverges completely after the sand-casting stage. Care and repair differ: traditional cast iron needs reseasoning and oil maintenance, while enameled cast iron benefits from gentle cleaning to protect the glaze. We’ll explore those care differences in the next steps.
From Foundry to Kitchen: Your Role Begins
The factory’s work is done. They’ve poured, cleaned, coated, and packaged your pan. What you receive is a clean slate with a thin, industrial-grade layer of seasoning applied.
This pre-seasoning is a helpful start, but it’s just the first, most basic coat on a canvas that you will paint over time.
The True Test Starts with You
From the moment you open the box, the pan’s long-term performance and unique character become your responsibility. How you cook, clean, and store it will define its next fifty years. The factory can’t do that for you.
Think of it like this: a car manufacturer assembles and waxes a vehicle, but how you drive and maintain it determines its reliability and value. Your care is what turns a mass-produced object into your trusted kitchen tool.
Shifting Your Mindset: From Consumer to Conservator
Understanding how cast iron is made gives you respect for the object. Now, it’s time to shift from appreciation to action. The question changes from “How was this made?” to “How will I maintain this?”
This is where many feel unsure. You might worry about using soap, fear rust, or be confused about when to re-season. That’s completely normal.
Your pan is resilient; it’s designed to be used and restored through simple, repeatable care. The goal isn’t perfection, but a steady practice that builds a better cooking surface with every use.
Your Home Workshop: Where the Magic Happens
This is the core of what we do at The Iron Patina. The factory process creates the vessel, but the home-based rituals of seasoning and maintenance are what truly bring it to life.
Your kitchen is your workshop. Here’s what that involves:
- Building the Patina: The factory seasoning is thin. Your cooking fats, applied heat, and proper cleaning will build layers of polymerized oil over it. This is your pan’s true non-stick surface.
- Managing the Surface: You’ll learn to identify sticky spots, minor rust, or carbon buildup. These aren’t failures, but feedback. They tell you it’s time for a stovetop touch-up or a full oven seasoning session.
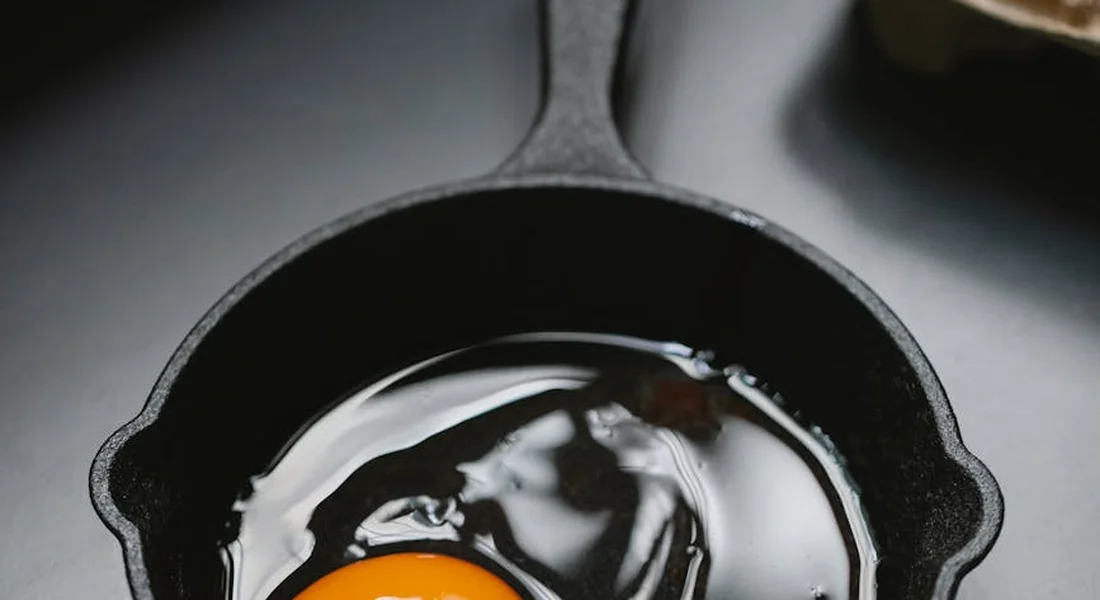
- Embracing the Process: My own daily driver skillet doesn’t look new. It has a dark, glossy, slightly mottled finish from years of searing meats and baking cornbread. That’s its story, and it slides eggs like a dream.
The techniques are straightforward. They require a little time and the right information, which is exactly what we provide. Your role is simple: use the pan, care for it consistently, and let its performance improve over a lifetime.
Quick Answers
How does the rough, as-cast surface affect my initial care?
The gritty texture from the sand mold is a perfect foundation for seasoning to bond to, but you must wash the pan thoroughly first. Use hot, soapy water and a stiff brush to remove any lingering foundry dust. This ensures your first layer of seasoning adheres to clean iron, not industrial residue. For a complete, step-by-step approach, see the season new lodge cast iron skillet complete guide.
Is the factory seasoning enough, or do I need to season it myself?
Factory seasoning is a single, well-polymerized base layer-think of it as a primer coat. It protects against rust and lets you start cooking, but it’s thin. For superior performance and durability, you must build upon it through regular cooking and occasional oven seasoning with a thin coat of oil.
Why is proper pre-heating so critical for my cast iron?
The thick walls from the casting process give cast iron its great heat retention, but cause it to heat slowly and unevenly if rushed. From a science perspective, cast iron’s high thermal mass means it retains heat well but distributes it slowly. This is why the heat behavior matters when cooking with cast iron. Always pre-heat your pan for at least 5 minutes over low to medium-low heat. This allows the heat to distribute evenly, preventing hot spots that can damage your seasoning and cause food to stick.
Your Cast Iron’s Story Starts at the Foundry
Knowing that your skillet began as a rough, porous casting directly explains why a good seasoning layer is non-negotiable for its care. Treat that hand-finished surface with respect, seasoning it meticulously to honor the craftsmanship that made it durable enough to last generations. Keep it clean, season it well, and maintain your cast iron skillet with a simple routine to protect your investment. Learn more about protecting that investment with our deep dives on proper seasoning methods and troubleshooting common rust.
References & External Links
- Lodge Cast Iron | USA Made Cookware, Bakeware, Pans & More
- List of American cast-iron cookware manufacturers – Wikipedia
- Austin Foundry Cookware – Cast Iron Cookware made in the USA.
- How It’s Made: Crafting Stargazer Cast Iron Cookware
- How Cast Iron Cookware Is Made: Step-by-Step Guide from Foundry to Kitchen – castironskilletguy.com
A material science expert by profession, Joseph is also an avid cook. He combines his 10+ years expertise in material science and metallurgy with his passion for cast iron cookware to bring you best hands on advice. His expertise ranges from types of cast iron cookware to best seasoning tips as well as restoration of vintage cast iron utensils. Joe is here to help you solve all your cast iron cookware queries and questions.