
What’s the Best Temperature for Seasoning Cast Iron Pans?
You’ve oiled your pan and put it in the oven, but are you wondering if your temperature setting is creating a strong, slick seasoning layer or a sticky, flaky mess? Getting the heat right is the single most important factor for success. The perfect temperature polymerizes the oil into a hard, protective finish without burning it.
This guide walks you through the simple science and hands-on steps to nail it every time. Here’s what we’ll cover:
- The exact temperature range that works for every oil and why it matters.
- How to tell if your oven’s temperature is accurate (and what to do if it’s not).
- Common mistakes that happen when the heat is too low or too high.
- A simple, foolproof process for oven seasoning at the ideal heat.
The Simple Science: Why Temperature is Your Seasoning Secret Weapon
Seasoning is not just baking oil onto your pan. Think of it more like painting a wall. When you apply paint, it’s wet. After a while, it feels dry to the touch. But it takes much longer for it to fully cure and become durable. Seasoning works the same way.
You are triggering a chemical reaction called polymerization. This is a fancy word for the oil molecules linking together into long, tough chains when heated. This transforms the liquid oil into a hard, slick, plastic-like coating bonded to the iron.
Heat is the essential catalyst that makes this transformation happen; without enough of it, the oil just sits there or bakes on gummy.
Every oil has a specific temperature where it starts to break down and smoke, called its smoke point. This is your signal that polymerization is beginning. Hitting the right temperature relative to that smoke point is the secret to a perfect layer.
The Goldilocks Zone: Finding Your Perfect Seasoning Temperature
The core rule is straightforward: set your oven to a temperature about 25°F (or 15°C) above your oil’s smoke point. This provides the energy needed for polymerization without burning the oil into carbon.
This table shows common oils and their targets.
| Oil | Typical Smoke Point | Recommended Seasoning Temp |
|---|---|---|
| Flaxseed | 225°F / 107°C | 450°F / 232°C |
| Vegetable | 400°F / 204°C | 425°F / 218°C |
| Canola | 400°F / 204°C | 425°F / 218°C |
| Grapeseed | 420°F / 216°C | 445°F / 229°C |
| Avocado | 520°F / 271°C | 545°F / 285°C |
So, can you season cast iron at 350°F? For most common oils, 350°F is below their smoke point. The oil won’t polymerize correctly. You’ll likely end up with a layer that feels sticky or tacky because it never fully cured. The chemistry of cast iron seasoning—proper polymerization—creates a durable, non-stick surface when done at the right temperature. If the heat is too low, that key polymerization step doesn’t occur, and the surface won’t behave like a true non-stick coating.
For a simple, reliable answer, I recommend 450°F (230°C) when using a neutral oil like canola or vegetable. It’s a safe, effective temperature that works for most home kitchens.
How long and what temp to season cast iron are connected. Once you’ve set the correct temperature (like 450°F), you need to bake the pan for a full hour. This gives the oil enough time at that heat to complete the polymerization process all the way across the surface.
Common Temperature Mistakes and How to Fix Them
Getting the temperature right is the difference between building a perfect patina and creating a frustrating mess. I’ve made these errors myself, so let’s walk through the common pitfalls and their straightforward solutions.
Too Hot: The Danger of Smoking Out Your Kitchen
If you crank your oven 50-100 degrees past your oil’s smoke point, you’re in for a bad time. Your kitchen will fill with acrid smoke, and the oil won’t polymerize into seasoning. Instead, it burns into a sticky, black carbon deposit. This leaves a blotchy, uneven finish on your pan.
Burnt-on carbon is not a protective seasoning layer; it’s more like the soot inside a chimney, and it will feel gritty and can eventually flake off into your food. I once rushed a vintage skillet this way and ended up with a pan that looked dirty no matter how much I scrubbed.
The fix here is simple, if a bit tedious: you need to strip it and start over. The carbon layer won’t bond correctly with new seasoning, so it must be completely removed via lye, electrolysis, or abrasive scrubbing before you try again.
Too Low: Why Your Pan Feels Sticky or Greasy
On the opposite end, insufficient heat is the reason many people ask, “Why is my newly seasoned pan so sticky?” If the temperature is too low, the oil never reaches its polymerization point. It just sits there as a tacky, uncured layer.
This directly answers the common question, “Should I season cast iron at 350 degrees?” For most common oils, 350°F is too low. You’ll almost certainly end up with a pan that feels greasy and attracts dust and lint. Proper seasoning removes that concern.
The good news is that this mistake is very easy to fix: just put the sticky pan back in the oven and heat it to the correct temperature for your oil. You don’t need to strip it. Simply bake it longer at the right heat to finish transforming that oily layer into a hard, slick finish.
Other Frequent Fumbles
Temperature is critical, but it’s not the only factor that can go wrong. These other missteps can ruin your results even with perfect oven settings.
- Using too much oil is the number one cause of stickiness, period. An overly thick coat will pool, bake into a gummy residue, and feel tacky regardless of your oven temperature. This is why the “wipe it all out” step is non-negotiable-you should aim to make the pan look almost dry before it goes in the oven.
- Not preheating your pan with the oven. Placing a cold pan into a hot oven can cause uneven heating and stress the metal. It can also lead to spotty polymerization because the pan isn’t at a consistent temperature from the start.
- Opening the oven door frequently to check on the pan. Every peek causes a significant temperature drop, interrupting the steady, consistent heat needed for the chemical reaction to complete properly. Set a timer and trust the process.
Beyond the Oven: Alternative Seasoning Methods and Their Temps
The oven is the gold standard for building initial layers, but it’s not the only tool in your kit. For maintenance and specific situations, these methods are incredibly useful.
Stovetop Seasoning for Quick Touch-Ups
I use my stovetop all the time for quick maintenance after cooking. Think of this as a spot repair, not a way to build your base seasoning from scratch.
Here’s my process: After cleaning and drying the pan, I place it over medium heat. I add a few drops of a high-smoke-point oil (like avocado or grapeseen), then wipe it around with a paper towel until the entire cooking surface has an impossibly thin coat.
For how hot to season a cast iron pan on the stove, forget the dial numbers and watch for visual cues. Heat the pan until the oil just starts to smoke lightly, then keep it there for a minute or two. You’ll see the oil finish change from shiny to a more matte, dry appearance. Once it stops smoking, turn off the heat and let it cool on the burner.
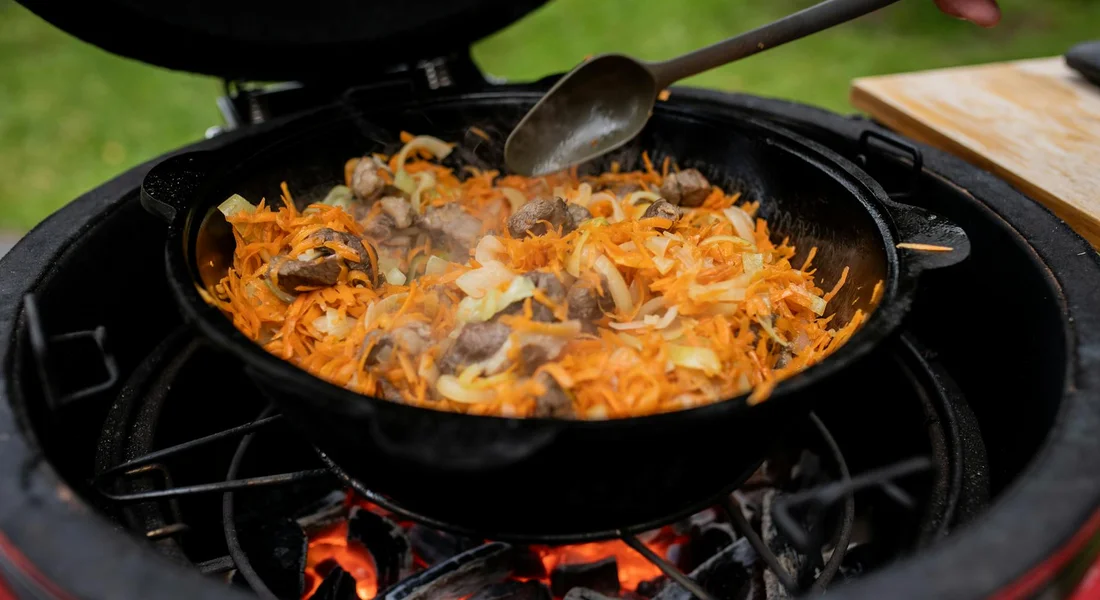
The Grill or Campfire Method
This is my favorite outdoor option for restoring a rusty find or seasoning a new pan without smoking up the house. It’s excellent for getting a deep, even base layer.
The main challenge is controlling the heat. You must use indirect heat. Place your pan on the grill grate away from the direct flames or coals, with the lid closed to create an oven-like environment. A campfire requires careful placement at the edge of the embers, not in the roaring flames. This heat-control principle is central to using cast iron on the grill, as detailed in the use cast iron cookware grill complete guide. It’s a quick reference for setup and timing to get perfect results.
An infrared thermometer is a fun and helpful tool here. You can point it at different areas of the pan’s cooking surface to check for hot spots and aim for a relatively even temperature around your oil’s target range. It turns guesswork into a more precise, satisfying project.
Special Scenarios: Pre-Seasoned Pans, Different Oils, and Odd Sizes
Do You Need to Season a New “Pre-Seasoned” Pan?
You should always give a new “pre-seasoned” pan its first round of home seasoning. I do this with every single new piece I buy, including the #8 skillet sitting on my rack right now. This is especially important even when seasoning pre-seasoned cast iron cookware.
Factory seasoning serves one main purpose: to prevent rust between the warehouse and your kitchen. It’s a very thin, often uneven layer not designed for the heat and friction of real cooking. That’s why cast iron seasoning matters. It creates a durable, heat-tolerant layer that protects against rust and sticking.
Adding one or two layers of your own seasoning over the factory base builds a much more durable and non-stick cooking surface you can trust from day one. Just follow the standard temperature guide in the earlier section-you won’t hurt the pan, you’ll only make it better.
Temperature Tweaks for Specific Oils
You might be asking, “What’s the perfect cast iron seasoning temperature for grapeseed oil or avocado oil?” The rule doesn’t change: you always target a temperature 25 to 50 degrees above your oil’s smoke point.
Refer to the smoke point table from earlier. For grapeseed oil (smoke point around 420°F), your oven should be set between 445°F and 470°F. For avocado oil (smoke point around 520°F), aim for 545°F to 570°F.
The oil you choose must get hot enough to polymerize, and that required temperature is dictated by its unique smoke point.
This brings us to flaxseed oil, which has a dedicated following. It has a high smoke point (about 525°F) and can create a stunning, glass-like finish. But many restorers, myself included, have found it can become brittle and chip over time with regular use. For a daily driver, I stick with more forgiving oils like grapeseed or canola.
Handling Unusual Pieces
Very large pans or Dutch ovens can be a tight fit. If your piece barely clears the oven racks, you may get hot spots. The fix is simple: halfway through the baking time, carefully put on oven mitts and rotate the pan 180 degrees.
This rotation ensures the heat hits all surfaces evenly for a consistent seasoning layer, even in a crowded oven.
For enameled cast iron, the rules are completely different. The vitreous enamel coating is a glass-like finish that does not stick and does not rust. You do not season enameled cast iron. Applying oil and high heat will not improve it and will likely just create a sticky, baked-on mess.
Temperature talk is irrelevant for these pieces. Their care is about avoiding thermal shock and using gentle cleaners, not building a patina.
Quick Answers
Why does the recommended temperature vary so much by oil?
Every oil has a unique smoke point-the temperature at which it begins to break down and polymerize. The rule is to set your oven 25-50°F above that specific smoke point. This is why avocado oil requires a much higher heat than vegetable oil; each needs its own target to properly cure.
Should I season on the stove or in the oven?
Use the oven for building initial, even base layers. The stovetop is strictly for quick maintenance after cooking to touch up the cooking surface. Stovetop seasoning rarely provides the consistent, all-over heat needed for a durable, full-pan polymerized layer.
Does the guidance change for Australia or other countries?
No, the chemistry is universal. Simply use the Celsius values provided (e.g., 230°C for a neutral oil). Ensure your oven is properly calibrated, as this is a more common issue than location. The process remains exactly the same regardless of where you live.
Your Reliable Seasoning Temperature
For a dependable, durable finish every time, season your cast iron in a 450°F to 475°F oven. This range reliably polymerizes common oils like flaxseed or crisco without burning them, building a strong foundation for your pan. Once you’re confident with the heat, you might enjoy learning about the best tools for maintaining that perfect surface.
Deep Dive: Further Reading
- r/castiron on Reddit: Seasoning cast iron temperature. The internet is unclear at what temperature to season cast iron and ranges from 200-500 degrees F. At 450, my oven begins to smoke. What temperature can i season cast iron with safely and can it be done without taking the oil to the smoking point?
- How to Season a Cast Iron Pan (It’s Easier Than You Think!)
- What is the ideal surface temperature for seasoning a cast iron pan with canola oil? – Quora
A material science expert by profession, Joseph is also an avid cook. He combines his 10+ years expertise in material science and metallurgy with his passion for cast iron cookware to bring you best hands on advice. His expertise ranges from types of cast iron cookware to best seasoning tips as well as restoration of vintage cast iron utensils. Joe is here to help you solve all your cast iron cookware queries and questions.