
How Do You Season Cast Iron Pans and Dutch Ovens?
Maybe you just unpacked a new skillet, or perhaps you’re staring at a rusty, hand-me-down Dutch oven you’d love to use. Seasoning cast iron can seem like a mystical, high-stakes ritual.
It’s simpler than you think, and this guide will walk you through every step. We’ll cover:
- Picking the best oil for a durable, slick finish.
- The complete oven method for pans and pots of any size.
- How to maintain your hard-earned seasoning for years.
What Is Cast Iron Seasoning, Really?
Seasoning is not something you rub on and leave. It’s a chemical change. You apply a microscopic layer of oil and then expose it to high heat. This heat causes the oil to bond with the iron’s surface, transforming from a liquid fat into a solid, plastic-like layer. This layer is called a polymer.
Think of it like a very thin, hard coat of paint that has been baked onto the metal. You can’t wipe it off. It becomes part of the pan itself.
This polymerized layer has three main jobs:
- It stops rust. By sealing the porous iron surface, you block air and moisture from reacting with the metal.
- It creates a natural non-stick surface. A well-polymerized layer is slick, so your eggs slide right out.
- It protects the iron. It acts as a barrier against acidic foods and daily wear, making your cookware more durable with each use.
Do I have to season a cast iron skillet? Yes, always. Even a “pre-seasoned” piece from the store benefits from a few rounds of home seasoning to build a stronger foundation. I treat every new-to-me pan, whether it’s vintage or modern, to at least one seasoning session in my oven.
The Right Tools and Oils for the Job
Choosing your oil is your first big decision. You need a fat with a high smoke point. That’s the temperature at which it starts to break down and smoke. For seasoning, you want the oil to polymerize, not just burn off. In the flaxseed oil vs grapeseed oil debate, cooks weigh which yields the best cast iron seasoning. Understanding how each polymerizes can help you pick the right oil for a durable, non-stick finish.
Traditional Fats and Modern Oils
For decades, home cooks used what they had: Crisco or lard. These solid fats work because they have a decent smoke point and are easy to apply thinly. I’ve used both on various restorations.
Many restorers today prefer liquid vegetable oils for their convenience and consistency.
- Canola, Grapeseed, or Sunflower Oil are excellent, affordable choices with smoke points well above 400°F. They polymerize reliably and are easy to find.
- Flaxseed Oil was once highly recommended for its hard finish, but many (myself included) have found it can become brittle and chip over time.
- Avocado Oil has a very high smoke point, but it’s often more expensive and doesn’t necessarily create a better bond than the simpler options.
The best oil is often the one you already have in your kitchen, as long as its smoke point is over 400°F.
Seasoning Sprays, Sticks, and Pastes
You can now buy products marketed specifically for cast iron seasoning. These are typically blends of oils formulated for high heat. However, it’s important to know how to choose the right one for your needs, which you can learn in our guide to choosing the best oil for seasoning cast iron.
- Sprays can be convenient but often go on too thick, leading to a sticky or patchy finish.
- Solid sticks and pastes (like Crisbee or BuzzyWaxx) are popular because they make applying a thin layer almost foolproof. I keep a seasoning stick in my workshop for touch-ups.
The trade-off is cost. These specialty products work well, but a bottle of canola oil from your pantry works just as effectively for the main seasoning process.
The Critical Element: Temperature
Your cast iron seasoning temperature is not a suggestion. It’s the engine of the entire process. You must heat the oil past its smoke point to trigger polymerization. Mastering the oven temperature and timing for seasoning is essential to the process. This is what makes the oil form a durable, nonstick layer.
For most oils listed here, that means setting your oven between 450°F and 500°F. I always set mine to 475°F and let the pan bake for a full hour. This sustained heat fully cures the oil, just like paint needs time to dry and harden.
The Simple Toolkit
You don’t need fancy gear. Gather these items before you start:
- Lint-free cloths or paper towels: For applying and wiping off oil. Old t-shirt material is perfect.
- Aluminum foil: To line the bottom of your oven and catch any potential drips.
- Oven mitts: Your pan will be dangerously hot. Handle with care.
- A reliable oven thermometer: Oven dials are often inaccurate. A $10 stand-alone thermometer ensures you’re hitting the right temperature.
How to Season a Cast Iron Skillet, Step-by-Step
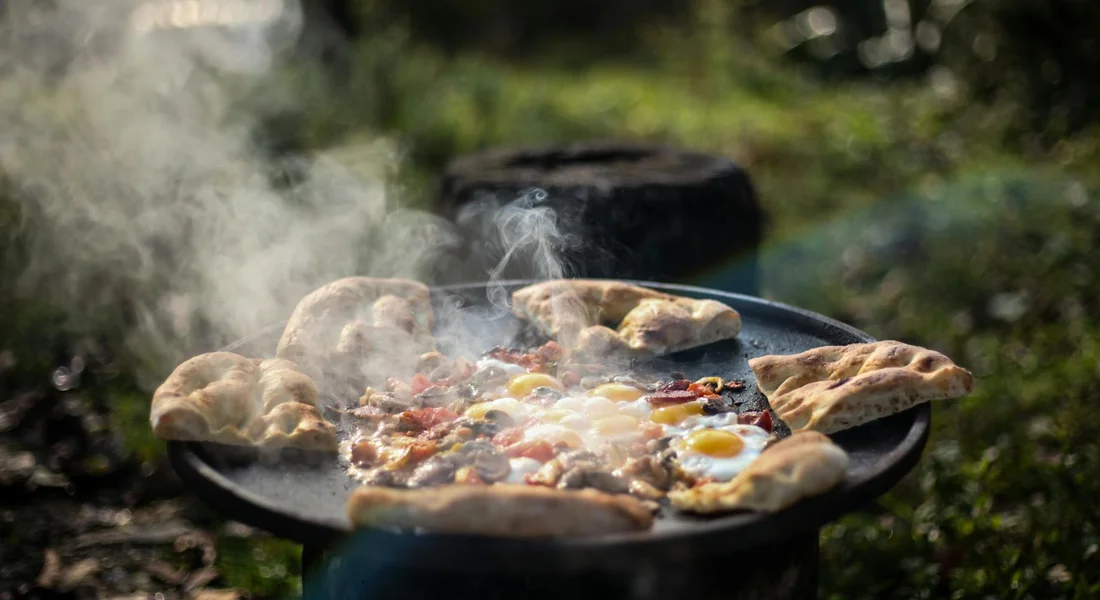
Whether your pan is brand new, fresh from a lye bath, or just needs a refresh, the starting point is always the same. You need a perfectly clean, bare surface for the oil to bond to.
1. Wash and Dry, Then Dry Some More
Scrub the pan with warm water and a small drop of dish soap using a brush or scrubby sponge. Rinse it well. This step removes any factory dust, shipping preservatives, or contaminants from the stripping process or cleaning cast iron done previously.
Now, dry it with a towel. But you’re not done. Cast iron is porous, and water will hide in its microscopic texture. To prevent immediate flash rust, you must apply heat. Place the pan on a stovetop burner over medium heat for 2-3 minutes. Your goal is to heat the entire pan until it’s almost too hot to touch, which guarantees all moisture has evaporated, helping prevent rust on cast iron cookware.
2. Apply the Oil – The Right Way
With the pan still warm (not scalding), pour a small amount of your chosen oil onto a paper towel. I use a high-smoke point oil like grapeseed or Crisco shortening. Rub it over every surface: the cooking surface, sides, back, and handle.
Here is the most common mistake: leaving too much oil on the pan. A sticky, tacky finish means the oil didn’t fully polymerize. To prevent this, follow the “apply, wipe, wipe again” method.
- Apply: Coat the entire pan with a thin layer of oil.
- Wipe: Take a clean, dry paper towel and wipe off as much oil as you possibly can. It will look dry.
- Wipe Again: Get another clean, dry paper towel and wipe it one more time, as if you’re trying to correct a mistake. You should be left with a pan that looks nearly dry to the eye, with only a microscopic layer of oil remaining. This is perfect.
3. Bake It Upside Down
Preheat your oven to 450°F to 500°F, depending on your oil’s smoke point. Place your skillet upside down on the middle oven rack. Put a sheet of aluminum foil or a baking sheet on the rack below to catch any drips.
Baking upside down is non-negotiable for flat pieces like skillets and griddles. If you bake it right-side up, any excess oil will pool and bake into a sticky spot in the center of your cooking surface. Upside-down baking lets gravity pull any tiny droplets away.
Bake for one hour, then turn off the oven and let the pan cool completely inside. Rushing this can cause thermal stress on the iron.
4. One Coat is a Foundation, Not a Finish
When you pull that pan out, the finish might look patchy, bronze, or dull. That’s normal. One seasoning layer is very thin. Think of one round of seasoning like a single, thin coat of paint on a piece of wood; it provides protection, but you need multiple coats for a durable, resilient finish.
For a new or stripped pan, I immediately repeat the entire process 2 to 3 more times. My daily driver skillet has years of these thin layers built up, which is what creates that classic black, slick patina.
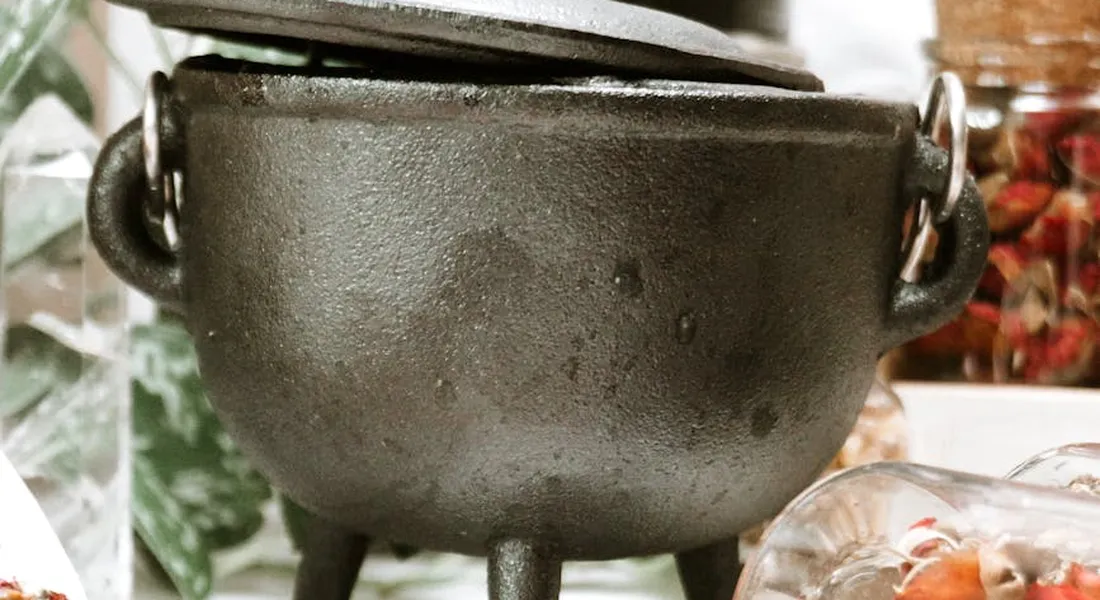
How to Season a Cast Iron Dutch Oven (It’s Different)
The core chemistry is identical, but the geometry of a Dutch oven changes the process. You cannot simply flip it upside down in the oven.
The Key Difference: You Bake It Right-Side Up
Since a Dutch oven has high sides and a lid, baking it upside down is impractical and unsafe. You must season it right-side up, which means you have to manage oil pooling differently.
Follow the same wash, dry-heat, and “wipe, wipe again” oil application method. The critical step is to oil every surface: the pot’s interior, exterior, the underside of the lid, and the lid’s knob. The lid’s interior is especially important, as that’s where steam condenses during cooking.
The Adapted Baking Method
Place your oiled Dutch oven pot and its separate lid on the middle oven rack, both right-side up. Use the lower rack with foil to catch drips.
During the first 20 minutes of baking, I carefully open the oven and use a dry paper towel to soak up any small pool of oil that forms in the bottom of the pot. This prevents a thick, sticky spot. You usually only need to do this once.
Bake for one hour at your oil’s smoke point temperature, then let everything cool in the oven. The finish on the pot’s interior bottom may look slightly different from the sides, but it will be perfectly functional.
Managing Expectations on the Finish
A Dutch oven seasoned right-side up will often have a more varied, sometimes blotchy appearance compared to a skillet. The bottom may be a darker brown, while the sides are lighter. This is completely normal and does not affect performance. The seasoning on your Dutch oven works exactly the same as on your skillet; it just achieves its protective polymerized layer from a different angle.
Just like with a skillet, plan on applying 2 to 3 initial layers for a strong foundation before its first use.
Common Seasoning Mistakes and How to Avoid Them
Even with the best instructions, seasoning can go sideways. I’ve made every single one of these errors on my own pans. Knowing what to look for saves you hours of frustration.
Sticky or Gummy Seasoning
This is the most common issue, and it feels exactly like it sounds. You touch the pan and your finger comes away feeling tacky. The cause is always the same: too much oil left on the surface before baking.
Think of the oil you apply as the raw material, not the final product. The polymerization process that creates seasoning needs a very thin layer to work. A thick layer will only partially polymerize, leaving behind a sticky, uncured residue.
The fix is to wipe the oil off like you made a mistake and are trying to remove it all. Use a clean, lint-free cloth or paper towel and wipe the entire pan vigorously. Then, get a fresh, dry towel and wipe it again. The pan should look almost dry, with just a faint satin glow.
Patchy or Splotchy Finish
Instead of a smooth, even layer, your pan comes out of the oven with light and dark spots. This usually comes from two places: uneven heat in your oven or, again, uneven oil application.
If your oven has hot spots, the oil will polymerize faster in those areas, creating darker patches. A layer of oil that’s too thick in some spots will also cook unevenly.
To avoid this, ensure your oven is fully preheated for at least 20 minutes before putting the pan in. This stabilizes the temperature. More importantly, apply your oil in a microscopically thin coat. I apply oil, then wipe it off, then often buff it with a clean cloth I’ve used for this job a hundred times-it barely has any oil left on it, but it helps polish that final, perfect layer.
Flaking Seasoning
This is when the new seasoning layer cracks and peels away, often while cooking. It’s disheartening. The root cause is almost never the new seasoning job itself. The problem is the foundation.
You are trying to build a new layer on top of an unstable base. That base could be old, degraded seasoning that wasn’t fully stripped, or, most commonly, a tiny bit of surface rust or food carbon you didn’t see.
If your seasoning is flaking, the only reliable fix is to strip the pan completely and restart from bare metal. It feels like a step backward, but it’s the only way to ensure a strong bond for the new layers. That yard-sale skillet I restored had this issue; I had to strip it three times before I got a perfectly clean, rust-free surface to work with.
Smoke and Sputtering
Your kitchen fills with smoke during the seasoning process, or you hear sputtering noises from the oven. This means something is burning that shouldn’t be.
Smoke often comes from using an oil with a low smoke point (like extra virgin olive oil) or an unrefined oil that contains particulates. Sputtering usually means there was moisture left on the pan-either water from washing or oil that wasn’t fully wiped, which contains tiny water droplets.
Always clean and dry your pan thoroughly before oiling. Then, choose a refined oil with a high smoke point, like grapeseed, avocado, or canola. These oils polymerize cleanly without burning and creating acrid smoke.
Keeping Your Seasoning Strong: Simple Maintenance
A perfect seasoning layer isn’t a one-time achievement; it’s a living finish that gets better with gentle, consistent care. This daily routine is what builds that legendary, slick black patina.
Your Post-Cook Routine
What you do after cooking matters more than the annual re-season. Follow these steps while the pan is still warm (but not scalding hot):
- Clean it with warm water and a brush or scrubber. For stuck-on bits, use coarse salt as a gentle abrasive.
- Dry it immediately and completely. Place it on a low stove-top burner for 2-3 minutes to evaporate every last bit of moisture.
- Apply a whisper of oil. Put a few drops of your seasoning oil on a paper towel, then wipe the entire cooking surface. Now, take a clean, dry towel and buff that oil off until the pan looks dry to the touch. This leaves a protective microscopic layer.
This isn’t adding a new seasoning layer each time. You are simply protecting the one you have from rust and wear.
When to Consider Re-seasoning
You don’t need to re-season your skillet after every use. You only need to do a full oven season when the existing layer is compromised. This happens in two main situations: Knowing when to season cast iron can be tricky for beginners.
- After cooking highly acidic foods (like tomato sauce or wine-based dishes) for a long time, which can break down the polymerized layer and leave the surface looking dull or rough.
- If you see rust spots or large areas where the seasoning has worn thin, exposing the grayish metal beneath.
For small dull spots, just keep cooking with it and follow your post-cook oiling routine. The pan will often self-repair. For rust or large patches, a single maintenance coat in the oven (following the thin-wipe method) is usually enough.
How to Tell If Your Cast Iron is Well-Seasoned
A well-seasoned pan has a few clear traits. You don’t need to guess.
- Water beads on the surface. Sprinkle a few drops of water on a dry, room-temperature pan. On a well-seasoned surface, the water will form tight beads and skate around. On bare or poorly seasoned iron, it will spread out and soak in.
- It has a consistent dark sheen, from glossy black to a semi-matte bronze, depending on the oil you use.
- It performs well. Eggs slide, pancakes release easily, and searing meats doesn’t end in a glued-on mess. It may not be perfectly non-stick from day one, but it should improve noticeably with each use.
Heat Management and Cleaning
Preserving your seasoning is also about how you use the pan. Avoid cranking the burner to high heat right away; preheat your cast iron gradually over medium heat. This prevents thermal shock and protects your seasoning from cracking.
You can use modern dish soap. The old rule about never using soap came from a time when soaps contained lye, which would strip seasoning. Today’s mild dish detergents are safe for your polymerized oil layer. If your pan is greasy, a drop of soap helps clean it effectively. Just rinse well, dry immediately, and give it that light oil buff.
When to Start Over and Other Options
Sometimes, spot seasoning isn’t enough. Your pan might tell you it needs a full reset. I’ve had to make this call many times with pieces I’ve found at flea markets.
Signs You Need a Fresh Start
Look for these three clear signals that your seasoning layer is compromised beyond a simple fix.
- Persistent Rust: If you scrub off surface rust and it comes right back, even after drying and oiling, the protective layer underneath is gone.
- Deep Scratches or Gouges: Metal utensils or a bad cleaning job can dig into the base metal, creating channels where rust can take hold.
- Widespread Flaking: When the seasoning starts peeling off in large chips, it won’t stop. You need to remove it all and begin again.
Think of it like old, peeling paint on a wall. You can’t just paint over the loose chips; you have to scrape it clean first for the new coat to stick.
The Basic Restoration Process
Starting over involves three key steps. It’s a project, but it’s deeply satisfying to bring a piece back to life.
- Strip: Remove all the old seasoning and rust. The safest home method is using a yellow-cap oven cleaner in a garbage bag. For eco-friendly options, a vinegar bath works for rust, and electrolysis is fantastic for heavy buildup if you’re set up for it.
- Wash: Once bare metal is revealed, scrub the pan thoroughly with soap and water to remove every trace of cleaner or rust residue. Dry it immediately and completely.
- Re-season: Follow the standard oven seasoning method from the start of this guide, applying 3-4 thin layers of oil to build a new foundation.
Oven Seasoning vs. Stovetop Touch-Ups
Not every issue requires a full strip-and-reseason. For maintenance, you have two great tools.
Oven seasoning is your method for building new, even layers. It’s perfect for a fresh start or for seasoning the entire pan, including the handle and exterior. The even, all-around heat polymerizes the oil beautifully.
Stovetop seasoning is your quick fix. Did you cook something acidic and notice the cooking surface looks a little dull? Give it a quick stovetop season.
- Heat the clean, dry pan on medium for a few minutes.
- Apply a tiny amount of oil with a cloth, then wipe it all off like you made a mistake.
- Keep heating until the pan just starts to smoke, then let it cool.
Use the oven to build the foundation and the stovetop for quick, focused repairs on the cooking surface.
When to Call a Professional
You can handle most projects at home. For a few situations, seeking an expert is the wisest choice.
If a piece has a severe crack or is warped, it’s often not salvageable for cooking. A professional can confirm this. For a deeply pitted or extremely thin antique, the aggressive stripping needed might damage it if you’re not experienced.
I sent out a rare, marked Griswold skillet with a century of crud on it. The professional restoration cost was worth it to me, as a hobbyist, to guarantee no harm came to the collectible piece. For your daily driver, you are the best expert. For a fragile heirloom, sometimes the best tool is a professional’s phone number.
Common Questions
What’s the right temperature for seasoning with Crisco?
Crisco (vegetable shortening) has a smoke point around 440°F. Set your oven to 450°F for a full hour. This provides enough consistent heat to properly polymerize the fat without burning it.
Should I use a specialized seasoning stick or paste?
These compounds are excellent for maintenance and touch-ups, making a thin application foolproof. For building initial seasoning layers on a bare pan, a simple, cheap oil from your pantry is equally effective. I use specialty sticks for quick stovetop refreshes but rely on basic grapeseed oil for foundational oven seasons.
Are cast iron seasoning sprays a good idea?
Most aerosol cooking sprays contain additives like lecithin that can leave a gummy residue. If you choose a spray, use one specifically formulated for high-heat cast iron seasoning. For control and results, applying a measured oil with a cloth remains the superior method.
Caring for Your Seasoned Cast Iron
From my workshop experience, the cornerstone of great seasoning is applying oil in a layer so thin that your pan looks dry to the eye before it goes into the heat. Consistent, controlled heating is what turns that microscopic layer into a hard, slick coating that lasts for years. After this becomes routine, you may have questions about daily cleaning or reviving a pan with rust, which are great topics to look into next.
Expert Resources and Citations
- How to Season a Cast Iron Pan (It’s Easier Than You Think!)
- r/castiron on Reddit: How to season your skillet: A detailed guide
- Beginner’s Guide to Cast Iron – Lodge Cast Iron
- Jeff Rogers’ Cast Iron Seasoning Method – The Culinary Fanatic™
- How To Season Cast Iron (Like A Boss) – Jess Pryles
- r/castiron on Reddit: A reliable guide to seasoning your skillet properly
A material science expert by profession, Joseph is also an avid cook. He combines his 10+ years expertise in material science and metallurgy with his passion for cast iron cookware to bring you best hands on advice. His expertise ranges from types of cast iron cookware to best seasoning tips as well as restoration of vintage cast iron utensils. Joe is here to help you solve all your cast iron cookware queries and questions.