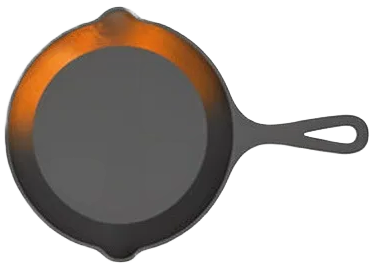
How Hot Should a Cast Iron Skillet Be for a Perfect Steak?
You’ve got a beautiful piece of meat and a trusty cast iron skillet, but the thought of smoking out your kitchen or wrecking your hard-earned seasoning is holding you back. Getting your pan to the right temperature is the single most important step for a great crust without a kitchen disaster.
This guide is about the technique, not a recipe. We’ll focus on how your skillet performs at different heats so you can cook with confidence every time. You’ll learn:
- The exact stove-top temperature to aim for before your steak hits the pan.
- Why this high-heat method actually benefits your skillet’s seasoning in the long run.
- How to clean up easily afterward, because a perfect steak shouldn’t mean an hour of scrubbing.
Getting Your Skillet Steak-Ready: The Pre-Heat Process
Preheating is the most important step for cooking a steak. It’s non-negotiable. A hot pan gives you that dark, crispy crust. It also protects your hard-earned seasoning by preventing food from sticking. A cold steak on a cold pan is a one-way ticket to a glued-on mess.
So, how hot should cast iron be to sear steak? You are aiming for a surface temperature between 450°F and 500°F. This is the sweet spot where the Maillard reaction (the browning magic) happens fast, creating flavor without immediately incinerating your oil. Just make sure your skillet is properly seasoned for high-heat cooking.
You can check for this heat without a laser thermometer. Use the water droplet test. Flick a few drops of water onto the dry, heating pan. If they sizzle and vanish, it’s not ready. If they dance and skitter around like tiny mercury beads before evaporating, you’re in the perfect zone. Another sign is when a thin layer of oil shimmers and moves like liquid glass almost immediately after you add it.
Not all skillets heat the same. A thin, vintage skillet might reach temperature in 5-7 minutes on medium-high. A thick, modern pan needs a solid 10-12 minutes on medium. The extra iron in a heavier pan acts like a thermal battery, holding heat steadier when the cold steak hits it, which prevents the temperature from crashing. Cast iron heat retention translates to steadier sears and more consistent cooking. In other words, cast-iron warmth directly shapes your results.
People often search for a special “cast iron steak pan.” Any good skillet works, but the ideal one has a few features. Choosing the right size is a big part of cookware selection, since diameter and weight influence both cooking space and heat. It should be at least 12 inches in diameter to avoid crowding. It needs enough weight for steady heat, and a long handle that stays cool is a major bonus. My personal favorite for this job is a no-frills 12-inch Lodge. Its rough texture holds seasoning well and it’s never let me down.
How Hot Should Your Cast Iron Skillet Really Be?
For that perfect sear, your pan’s cooking surface needs to be screaming hot, between 450°F and 500°F. If that number feels abstract, think of it this way: you want your skillet surface to be as hot as the broiler element in your oven when it’s fully heated.
This intense heat is what creates an instant sear, sealing in juices and building a crust before the steak can stew. My go-to skillet for steaks is that heavy 12-inch pan because its mass maintains this critical temperature, even when I’m cooking two large ribeyes at once.
The Right Way to Preheat Without Damaging Your Seasoning
Never just crank the burner to high and walk away. That’s a great way to create hot spots that can damage your seasoning and even warp older pans. Do it gradually.
- Place your dry skillet on a cold burner.
- Set the heat to low for 3 minutes to let the heat spread evenly.
- Increase to medium or medium-high for the remainder of the preheat time.
This gentle ramp-up protects the seasoning. Seasoning is a layer of polymerized oil, a kind of baked-on plastic. Moderate, even heat strengthens these bonds. In scientific terms, seasoning involves oil molecules polymerizing to form a durable, nonstick surface. That polymerized layer is what makes food release more easily from the pan. Sudden, extreme heat on one spot can crack or carbonize them, making the layer brittle. The most common and damaging mistake is slamming a cold skillet onto a roaring high flame, which stresses the iron and fries the seasoning in one spot while the rest is still cold.
Managing Extreme Heat: Protecting Your Pan’s Surface
Cooking a steak pushes your skillet and its seasoning to the limit. You’re applying maximum heat to a layer of oil right on top of your polymerized base coat. The right oil acts as a protective intermediary, taking the direct heat for the sear so your underlying seasoning doesn’t have to.
You need an oil with a smoke point well above your target 450-500°F. If your oil bursts into thick, acrid smoke the second it hits the pan, the pan is too hot. That smoke is the oil breaking down, and it can leave a sticky, carbonized residue on your beautiful seasoning. When people ask about “cast iron steak time,” they’re usually thinking about the meat. From the pan’s perspective, it’s about how long it can sustain this extreme heat without the seasoning or oil breaking down. A few minutes for a sear is fine. An hour would be problematic.
Choosing an Oil That Can Take the Heat
Your everyday olive oil isn’t cut out for this job. You need a high-temperature warrior. Here’s a quick comparison of reliable options:
- Avocado Oil: Smoke point around 520°F. My top recommendation for searing.
- Grapeseed Oil: Smoke point around 420°F. Good, but can get close to its limit.
- Refined Coconut Oil: Smoke point around 450°F. A solid choice if you don’t mind a subtle scent.
What about butter? Butter is for finishing, not searing. Its milk solids burn around 300°F, creating a black, sticky mess that bonds to your seasoning. If you want butter flavor, sear the steak in a high-heat oil, then add butter at the very end to baste.
Recognizing (and Avoiding) Heat Damage
If you see a patch of rainbow-colored blueing or a whitish, dry, flaky spot on your pan after a high-heat session, the heat was too aggressive in that spot. You’ve essentially burned off a thin layer of the polymerized seasoning.
Don’t panic. This is why we build up multiple layers of seasoning. Most heat-related damage is just a superficial scuff on the topcoat, and it’s completely fixable with a simple stovetop re-seasoning or your next round of oven maintenance. Just give that spot a light scrub, dry it thoroughly, and apply a thin layer of oil before your next cook. The pan will be fine.
The Quick Snapshot: Heat, Time, and Seasoning Impact
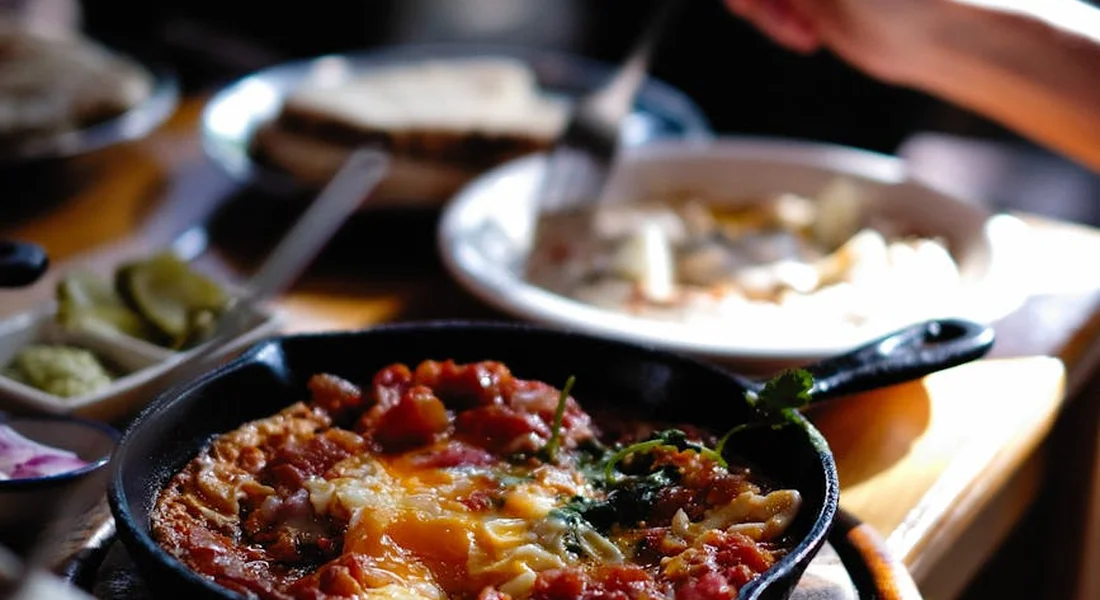
High-heat cooking is a workout for your pan’s seasoning. Knowing what to expect at each stage takes the guesswork out of maintenance.
| Stage | Goal Temperature | Key Sign | Effect on Seasoning |
|---|---|---|---|
| Preheating | Medium, for 5-10 minutes | The handle is warm, oil shimmers | Preps the polymer layer, preventing thermal shock. |
| Searing | 500°F+ | Oil instantly smokes and ripples | Tests the bond; can strengthen it if the oil was proper. |
| Post-Cooking | Warm to the touch | Brown, crusty fond on the surface | Food residue bonds to seasoning if not cleaned promptly. |
Think of these high temperatures not as an enemy, but as the ultimate test of your pan’s prepared surface.
After the Sear: Cleaning and Recovery
Your pan is blazing hot and covered in a sticky, browned crust. This is the most critical moment for its long-term health. Professional kitchens, whether a steakhouse or Gordon Ramsay’s brigade, keep their cast iron in service by cleaning it correctly right after the cook.
Let the pan cool on the stove until it’s just warm to the touch, then follow this safe cleanup.
- Pour about a cup of warm water into the warm pan. It will sizzle and steam.
- Use a flat-edged wooden or silicone spatula to gently scrape the bottom, loosening the crust.
- Pour out the dirty water. For stubborn spots, add a spoonful of coarse salt as a gentle abrasive and scrub with a paper towel or cloth.
- Rinse with warm water, dry immediately with a towel, and apply a whisper-thin coat of oil to the cooking surface.
The Deglazing Method for Effortless Cleaning
Deglazing is the best trick for your pan and your next meal. After removing your steak, turn off the heat and add a liquid to the hot pan. The sudden temperature change and steam lift the fond (those tasty browned bits) right off the iron.
Water is always safe and effective for cleaning. For flavor you can use broth or a splash of wine, but be mindful that acidic liquids like wine, if left in the pan, can dull your seasoning over many uses. Just pour your deglazing liquid into the pan, scrape, and pour it out for a nearly clean surface.
Post-Steak Seasoning Check-Up
After cleaning and drying, hold your pan under a light. Look at the cooking surface. A healthy pan will have an even, semi-glossy black or dark brown finish.
If you see dry, grayish, or metallic-looking patches, the high heat has exposed the bare iron. This is common and easy to fix. Seasoning the pan on a stovetop over a controlled open flame helps the oil bond quickly and evenly. This is a simple, effective way to refresh the seasoning. Simply do a quick stovetop seasoning: apply a tiny drop of oil, rub it over the entire surface, then heat the pan on medium until it just starts to smoke. Wipe it one more time and let it cool. A well-maintained pan might only need a rinse and thorough dry, but always inspect it to be sure.
Common High-Heat Problems and Solutions
Cooking a perfect steak often leads to the same post-meal questions. On forums like Reddit, the worries are always about smoke, sticking, and strange patches. Here’s what’s really happening.
Using a cast iron steak press is a great technique. It improves contact for an even sear. Just know that it can leave a concentrated spot of extreme heat. This might cause a temporary dull spot on your seasoning, which a quick stovetop touch-up will resolve.
Stuck-On Crust and Persistent Stickiness
If your post-dinner soak didn’t work, don’t force it. Sticky residue means some food proteins polymerized onto your seasoning instead of releasing.
For safe scrubbing, use a chainmail scrubber or a paste of coarse salt and a drop of water. Both will scrape away gunk without damaging the seasoning layer underneath. If you need more power, a small drop of modern dish soap is perfectly fine. Stickiness that remains after a good scrub often means the underlying seasoning is thin. A light re-oiling and heating will usually solve it.
When to Do a Full Seasoning Refresh
Most issues are minor. Look for these clear signs that your pan needs more than a simple clean and oil.
- You see reddish-brown spots (light surface rust) after drying.
- Large areas feel rough or sandy to the touch, even after cleaning.
- The entire cooking surface appears dull gray and food sticks constantly.
These signs indicate the protective polymerized layer is compromised. The fix is a full re-seasoning, which involves stripping the old layer and building a new one-a straightforward process we cover in other guides.
Common Questions
Will using a cast iron steak press damage my pan’s seasoning?
No, a quality press will not harm a well-seasoned surface. The concentrated heat may temporarily dull the spot where the press sits, which is purely cosmetic. Simply apply a thin coat of oil to the entire cooking surface after cleaning, and heat the pan until it smokes lightly to reinforce the layer.
How do steakhouses keep their skillets in such good condition?
Consistency is their method. They use a dedicated, heavy skillet that never sees a dishwasher and is cleaned while still warm. After each use, it is scrubbed, thoroughly dried, and given a light oiling before being stored, which maintains the seasoning through constant, high-heat use.
Does the high-heat method for steak, like Gordon Ramsay uses, hurt the pan?
Properly applied high heat strengthens good seasoning by further polymerizing the oils. The risk comes from extreme, uneven heat or letting carbonized food residues cool and bond to the surface. Always let the pan cool slightly, then clean it promptly using the deglazing or salt-scrub method outlined above.
Preserving Your Pan After a High-Heat Sear
The single most important step is to let your skillet cool down on the stovetop until it’s just warm to the touch before you even think about cleaning it. Once it’s warm, scrub it with coarse salt and a dab of oil, then wipe it dry and apply a whisper-thin coat of fresh oil to maintain the seasoning. This is part of a clean-season-maintain routine for your cast iron skillet. Keeping up with clean, seasoning, and maintenance now will pay off in years of reliable cooking. For those times when you need a deeper refresh, I’ve written about the best methods for oven seasoning on the site.
Relevant Resources for Further Exploration
- r/castiron on Reddit: How hot and how fast should I heat cast iron for steak?
- How to Cook Steak in a Cast Iron Skillet
- Cast-Iron Steak Recipe: How to Make It
Joseph Gerald
A material science expert by profession, Joseph is also an avid cook. He combines his 10+ years expertise in material science and metallurgy with his passion for cast iron cookware to bring you best hands on advice. His expertise ranges from types of cast iron cookware to best seasoning tips as well as restoration of vintage cast iron utensils. Joe is here to help you solve all your cast iron cookware queries and questions.