
Can You Drill Through Cast Iron Without Cracking It?
You’ve got a beautiful old cast iron piece, but a damaged handle or a need for a new hole has you worried about ruining it. Drilling into cast iron is absolutely possible if you respect its brittle nature and use the correct technique.
In my own workshop, I’ve salvaged pieces by following a careful process. This guide will walk you through exactly what you need:
- The specific tools that make the job safe and clean.
- A step-by-step method to drill without causing cracks.
- How to properly seal a hole if you need to repair one.
- Key precautions to protect your pan’s seasoning and structure.
Key Takeaways Before You Start
Grabbing a drill for a cast iron project is a big step. It is not like drilling into wood. Here is what you absolutely must know first.
- Cast iron is brittle, not soft. Pushing too hard or drilling off-angle can cause a crack or a nasty chip, ruining the piece completely.
- The right drill bit is non-negotiable. Standard high-speed steel (HSS) bits will dull almost immediately. You need bits designed for hard metal.
- Speed and pressure control are everything. High drill speed generates heat and friction, which can ruin your bit and damage the iron. Slow and steady wins.
- Most repairs for cookware are not food-safe. Filling a hole in a skillet’s cooking surface, even with the best epoxy, creates a spot where food can trap and bacteria can grow. Consider any repair to a cooking surface purely cosmetic, not functional.
Drilling cast iron is about patience, not power. If you approach it like you’re driving a screw into a wall, you will fail. Think of it more like guiding a needle through thick leather.
When Drilling Cast Iron Makes Sense (And When It Doesn’t)
Not every piece of cast iron should meet a drill bit. Knowing the difference saves you time, money, and a lot of frustration.
Good Projects for Drilling
These are typically non-cooking items or purely decorative modifications where structural integrity is the only concern.
- Adding a hanging hole to a decorative wall piece, like an old gear or a non-cookware plaque.
- Modifying a stove grate or a solid fuel burner part to improve airflow or fit a new component.
- Prepping a broken tool, like a vise or a bench leg, for a mechanical repair with a pin or bolt.
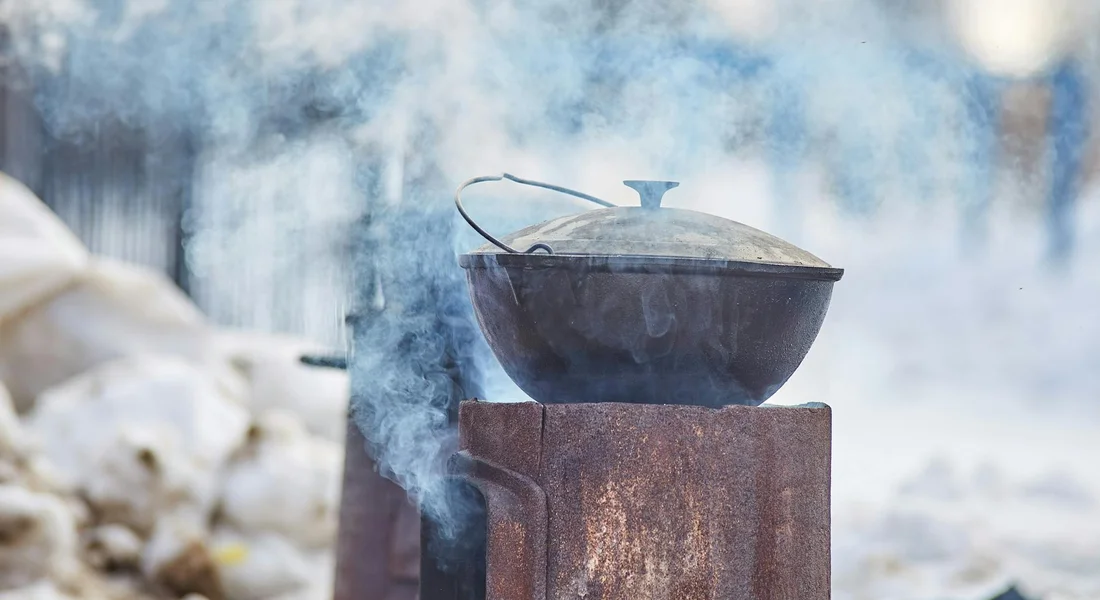
- Creating a drainage hole in a cast iron planter (just be ready for the rust that will follow).
Projects to Avoid
I strongly advise against drilling into any functional cooking surface of a pan, skillet, or Dutch oven. The risks far outweigh any potential benefit.
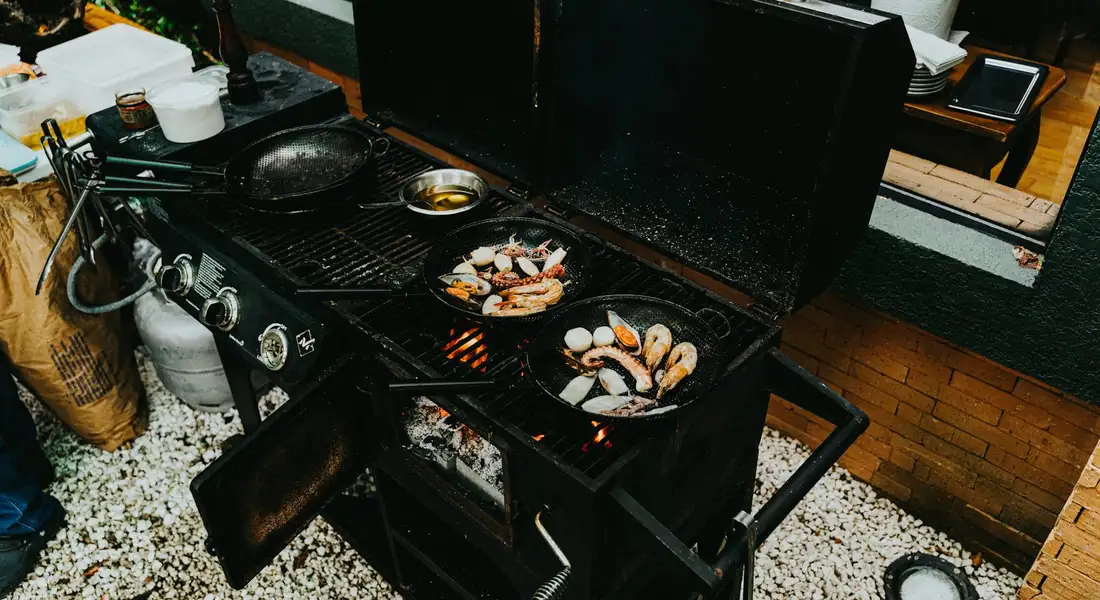
I often get questions about drilling extra holes in grill grates for better heat or modifying a flat top griddle. For maintenance, like drilling out a rusted screw on a grate’s handle bracket, it can be done carefully. But drilling new holes into the cooking surface itself to “improve” it is a bad idea. You compromise the structural integrity and introduce a point where rust will aggressively start. You are almost always better off buying a grate designed with the features you want than trying to engineer them yourself.
Cast Iron vs. Stainless Steel: A Drilling FAQ
A common question I see mixes up these two metals. The techniques are completely different.
Stainless steel is tough and gummy. It work-hardens, meaning if you drill too slowly or with a dull bit, you just make the metal harder right where you’re trying to cut. You need constant, firm pressure and specific cutting fluids.
Cast iron, by contrast, is hard but brittle. It produces a dry, powdery chip. The danger is cracking, not gumming up. You use very light pressure, slow speed, and let the sharp bit do the work. Using a stainless steel technique on cast iron will almost certainly crack it. A quick durability comparison of cast iron versus stainless steel helps explain why one material may last longer under the same conditions. The difference in toughness and wear resistance is at the heart of that choice.
The Right Tools for the Job
Drilling cast iron is not like drilling wood or drywall. The material is hard and brittle. Using the wrong tools will lead to frustration, broken bits, and a damaged piece. Think of it like using a paring knife to carve a turkey, it’s the wrong tool and will make a mess. Gathering the right gear first makes the job smooth and safe, especially when working with cast iron, as using the wrong tools can damage the surface.
The Indispensable Drill Bit
The bit is the star of the show. You need bits designed for metal. High-speed steel (HSS) bits are the minimum requirement, but for frequent use or thicker pieces, cobalt steel bits are your best investment. A cobalt bit is like a dedicated chef’s knife, it’s specialized, holds an edge longer, and can handle the heat generated by drilling into hard metal. Do not use standard wood bits or masonry bits. They will dull almost instantly, overheat, and can shatter, which is dangerous. For a task like figuring out how to drill cast iron plate or a thick leg, a quality cobalt bit is non-negotiable. Remember, you need to drill cast iron for metal, not for soft materials.
Your Drilling Machine: Power Drill vs. Drill Press
Your choice here depends on what you have and the precision you need. A standard corded or cordless variable-speed power drill is what most folks have in their garage. It works, but it requires a very steady hand to prevent the bit from “walking” or skidding off your marked spot. A drill press is the superior tool for this job. It offers perfect vertical alignment, consistent pressure, and eliminates hand wobble. If a power drill is like freehand sautéing, a drill press is like a precision sous vide machine, it gives you consistent, controlled results every time. If you’re using a handheld drill, ensure it has a variable speed trigger so you can go slow.
Support and Safety Gear
Cast iron must be immobilized. A clamped piece is a safe, drillable piece. Your essential kit includes:
- Clamps or a Vise: To securely hold the iron to your workbench.
- Center Punch: This creates a small dimple for your drill bit to sit in, stopping it from wandering.
- Safety Glasses: Non-negotiable. Metal shavings are sharp.
- Lubricant: Cutting fluid or light machine oil (like 3-in-1 oil). This keeps the bit cool, reduces friction, and extends its life.
- Scrap Wood Backer Board: Place this under the cast iron where you’ll drill. It supports the metal as the bit breaks through, preventing ugly, jagged “blow-out” on the exit side.
How to Drill a Hole in Cast Iron: A Step-by-Step Checklist
Follow these steps in order. Rushing or skipping a step is how mistakes happen. I’ve used this exact process to add hanging holes to old skillets and repair broken handles.
-
Secure the Workpiece. Clamp your cast iron item firmly to a sturdy work surface. If you’re wondering how to drill a hole in a cast iron pot lid, you might need specialized soft-jaw clamps or to build a simple wooden cradle to hold the curved surface without damaging it. The piece must not move, wiggle, or spin.
-
Mark and Center-Punch. Use a permanent marker to make a clear dot where you want the hole. Place the tip of your center punch directly on that mark. Give it a firm tap with a hammer. You want a definite, small crater for your drill bit to nestle into.
-
Start with a Pilot Hole (For Larger Holes). If your final hole needs to be larger than 1/4″, start with a smaller pilot bit (like 1/8″). This smaller hole guides the larger bit and makes the job much easier, reducing the chance of the big bit skipping off the mark.
-
Apply Lubricant and Begin Drilling. Put a few drops of your cutting oil on the punched spot. Set your drill to a slow speed. High speed creates too much heat. Place your bit in the punch mark, hold the drill straight, and apply firm, steady pressure. Let the bit do the work.
-
Use a Pecking Motion and Clear Chips. Don’t just drill continuously. Drill for a few seconds, then pull the bit out slightly to clear the metal shavings (chips) from the hole. Add another drop of oil. This “pecking” keeps the bit cool and clears the path.
-
Finish the Hole. Maintain slow speed and steady pressure until the bit just breaks through the back side into your wood backer board. Reduce pressure as you exit to avoid grabbing. For a task like learning how to drill through cast iron for a repair, the clean exit hole you get from using a backer board is a mark of a job well done.
A final, critical note on pots and cookware: If you are considering how to drill a hole in a cast iron pot, understand you are permanently altering and likely ruining it for cooking. This should only be done for a pure decorative repurpose. The drilling will destroy the seasoning and create a spot for rust to start, making it unsuitable for food use. Proceed with extreme caution and only on pieces you are certain will never hold food again.
Common Mistakes and How to Avoid Them
Drilling into cast iron feels different than drilling into wood or softer metals. If your approach is off, you can damage your piece or your tools. These are the most common issues I’ve seen and fixed in my own workshop.
The Bit Walks or Skates
You place your drill bit on the marked spot, squeeze the trigger, and it immediately skitters sideways, scratching a messy circle. This is called “walking,” and it happens because the hard, smooth surface of cast iron gives the bit’s tip nothing to bite into.
The fix is simple and non-negotiable: always use a center punch to create a starting dent for the bit. Place the punch’s point exactly where you want the hole. Give it a firm tap with a hammer. That small indentation will hold your drill bit perfectly in place, ensuring a clean, accurate start every single time.
The Iron Cracks or Chips
Cast iron is strong but brittle, like a thick piece of hard chocolate. If you bear down on the drill with all your weight, you’re not cutting the metal you’re trying to force it apart. This can lead to a small crack or a nasty chip flaking off the underside, which is similar to the kind of damage you want to avoid in cast iron cookware.
You’re using too much pressure or the wrong bit. A blunt bit or one meant for wood will make the problem worse. The same principle applies to heat. If you drill too fast, the friction generates intense heat. This can burn off any factory seasoning or protective finish, similar to how a grill can burn off seasoning on a skillet. Let the tool do the work. Use a sharp, cobalt or titanium-coated bit designed for metal and apply steady, gentle pressure.
The Bit Gets Dull or Overheats
You see smoke, smell a metallic burn, and notice the tip of your bit has turned a dull blue color. This means you’ve overheated and ruined the bit’s temper, making it soft and useless. I’ve killed more bits this way than I care to admit.
Use a slow drill speed, apply a cutting lubricant, and let the bit do the work without pushing. I run my drill at its slowest setting. A few drops of cutting oil or even common motor oil on the hole will reduce friction and keep temperatures down. Drill for a few seconds, then pull the bit completely out to clear the long, curly iron shavings from the flutes. This clearing step is crucial it allows the bit to cut cleanly and carries heat away.
How to Repair a Hole or Crack in Cast Iron
You’ve drilled a hole, or you’ve found a crack in an old piece. Now what? You need to be realistic about the outcome. A truly permanent, structural repair for cast iron cookware usually involves professional welding equipment. Many home repairs are better suited for cosmetic fixes or for non-cookware items like furniture or decorative pieces. When it comes to cookware, it’s especially important to assess the damage carefully.
Patching with Epoxy or Cold Metal
For a small hole, a thin crack, or a damaged area on something like a stove leg or a decorative grate, a high-temperature epoxy can be a good solution. This is not for a frying pan you’ll cook with. Look for a “metal-filled” or “high-heat” epoxy rated for at least 300°F, preferably more.
The secret is all in the surface preparation. The metal must be utterly clean and rough. I scrub the area with a wire brush, then use sandpaper or a rotary tool to scuff it up in all directions. This gives the epoxy something to grip onto. Mix the epoxy thoroughly, press it into the void, and shape it slightly proud of the surface. Once it cures rock hard, you can sand it smooth. It creates a solid patch, but it remains a patch, not a welded fusion of the original metal.
When Professional Welding is the Only Answer
For a crack in a skillet or a critical break in a weight-bearing part, professional welding is the only safe and durable choice. Cast iron welding is a specialized skill. A pro will typically use a nickel-based rod and carefully pre-heat the entire piece to prevent new cracks from forming due to thermal stress. This is not a typical DIY task.
Sometimes, a repair involves more than just filling a gap. This is where the process to drill and tap cast iron comes in. Tapping means cutting threads into a newly drilled hole. A welder might do this to add a threaded insert or a bolt as part of a repair, creating a strong mechanical connection in addition to the weld. If your project requires this level of work, consulting a professional metal shop is your best path forward.
Caring for Your Cast Iron After Drilling or Repair
Your work isn’t finished when the drilling stops or the epoxy sets. The real job now is protecting your piece from the immediate threat you’ve created: exposed, rust-prone iron.
Thorough Cleaning is Non-Negotiable
You must remove every trace of metal dust, cutting fluid, or lubricant. Leaving any behind will ruin your new seasoning layer, causing it to bead up and flake off.
For general metal dust, a scrub with hot, soapy water and a stiff brush works. For heavier grease or oil-based lubricants, you may need a solvent. I keep a small can of mineral spirits in my workshop for this. Wipe the entire area down with a solvent-dampened rag, then follow with soap and water to remove all residue. Dry the piece immediately and completely with a towel, then place it on a warm stovetop burner for a few minutes to evaporate any hidden moisture.
Re-Seasoning the Affected Area
If your modification sanded or drilled through the existing seasoning, you’ve created a patch of bare metal. Think of this spot exactly like a brand-new, unseasoned pan. It will flash-rust in minutes if left unprotected. Rust can be detrimental to your cookware, so it’s important to address it immediately.
The goal is to build a new, protective polymerized oil layer that bonds with the factory seasoning at the edges.
- Apply a microscopic layer of your preferred seasoning oil (like flaxseed, grapeseed, or Crisco) to the entire cooking surface, focusing on the repaired area.
- Wipe it off as if you made a mistake and are trying to remove all the oil. The thin film that remains is what you want.
- Bake the piece upside-down in a 450-500°F oven for one hour. Let it cool in the oven.
You will likely need to repeat this process 2-3 times to build a durable base layer. This process is identical to initial seasoning, because you are essentially creating a new “initial” layer on the raw metal you exposed. My old grill press needed this after I drilled a new hanging hole, and now the spot is just as black and slick as the rest.
Special Care for Epoxy-Repaired Pieces
Using epoxy or a metallic repair compound changes the game. These materials have different physical properties than solid cast iron, which can be interesting to understand from a metallurgical perspective.
Most epoxies are not rated for the high, sustained heat of oven seasoning or stovetop searing. Exceeding their heat tolerance can cause them to soften, degrade, or release fumes.
- Respect the epoxy’s maximum temperature limit, which is often far lower than your oven’s seasoning temperature.
- Avoid placing a repaired piece directly over a high flame or burner.
- For cleaning, stick to gentle hand-washing. Aggressive scouring or chainmail scrubbing can damage the repair.
You can often still season the surrounding iron. Just apply oil and use a stovetop method on medium heat, carefully avoiding direct, intense heat on the epoxy spot itself. The repair may darken, but the primary layer of protection will be on the intact iron around it.
Common Questions
I had to drill out a rusted screw on my grill’s handle bracket. How do I care for the pan now?
You’ve exposed raw iron, which will flash-rust. Scrub the area thoroughly with soap and water to remove all metal dust and oil, then dry it completely. Immediately apply a thin layer of seasoning oil and heat it to bond a new protective layer, just as you would with a brand-new pan.
Is there a maintenance difference between cast iron and stainless steel grill grates?
Absolutely. Cast iron grates require a maintained seasoning layer to stay non-stick and rust-free, needing periodic oiling. Proper maintenance is key for keeping them in top shape. Stainless steel grates won’t rust but can develop surface stains and lack the natural non-stick properties, so they rely on cleanliness and occasional polishing instead of seasoning.
My grill got too hot and burned the seasoning off my grates. What’s the fix?
This simply resets the surface. Let the grates cool, then scrub off any loose carbon or ash with a stiff brush. Treat them like bare iron: apply a very thin coat of oil and heat them thoroughly to polymerize a new foundational seasoning layer.
Your Cast Iron, Restored and Resilient
When you drill or repair a hole, always remember that patience and the right cutting oil are your best tools for preventing cracks and ensuring a smooth surface. This careful approach lets you integrate the repair seamlessly with the surrounding iron, so your next layer of seasoning will bond properly and protect the metal for years of use. Found this guide helpful? Our resources on stripping old seasoning or choosing the right oil for maintenance build perfectly on these repair skills.
Further Reading & Sources
- Got Cracks? Here’s How to Repair Them| Goodson Tools & Supplies
- Drilling holes in cast iron with portable drill | Sawmill Creek Woodworking Community
- How Do You Properly Drill Cast Iron Without Cracking It?
- Types of Drill Bits Best Suited for Drilling Into Cast Iron
- How To Drill Into Cast Iron – Hunker
- Drilling out holes in cast iron – why you shouldn’t do it
A material science expert by profession, Joseph is also an avid cook. He combines his 10+ years expertise in material science and metallurgy with his passion for cast iron cookware to bring you best hands on advice. His expertise ranges from types of cast iron cookware to best seasoning tips as well as restoration of vintage cast iron utensils. Joe is here to help you solve all your cast iron cookware queries and questions.