
How Do You Preheat and Bake in a Cast Iron Skillet Correctly?
That moment of doubt before sliding your skillet into the oven is real, especially when you’re protecting a prized seasoning. Mastering heat control turns your cast iron into a reliable baking powerhouse that only gets better.
Based on my years of restoring and cooking with cast iron, this guide will walk you through the straightforward process. Here’s what we’ll cover:
- The exact, safe method to preheat your skillet to prevent thermal shock and warping.
- Practical baking times and how to adjust them for your specific oven and recipe.
- How baking actually benefits your pan’s seasoning when done properly.
- My personal tips for handling the hot skillet and cleaning up afterward.
Why Preheating Your Cast Iron Skillet is Non-Negotiable
Think of preheating not as a shortcut to hot metal, but as the key to taking full control of your cooking temperature. Cast iron heats slowly and holds that heat incredibly well. Preheating ensures the entire mass of the pan, from the center to the edges, reaches a consistent temperature.
It’s like warming up an old car engine on a cold day. You don’t gun it straight out of the driveway. You let it reach its ideal operating temperature so it performs smoothly and efficiently.
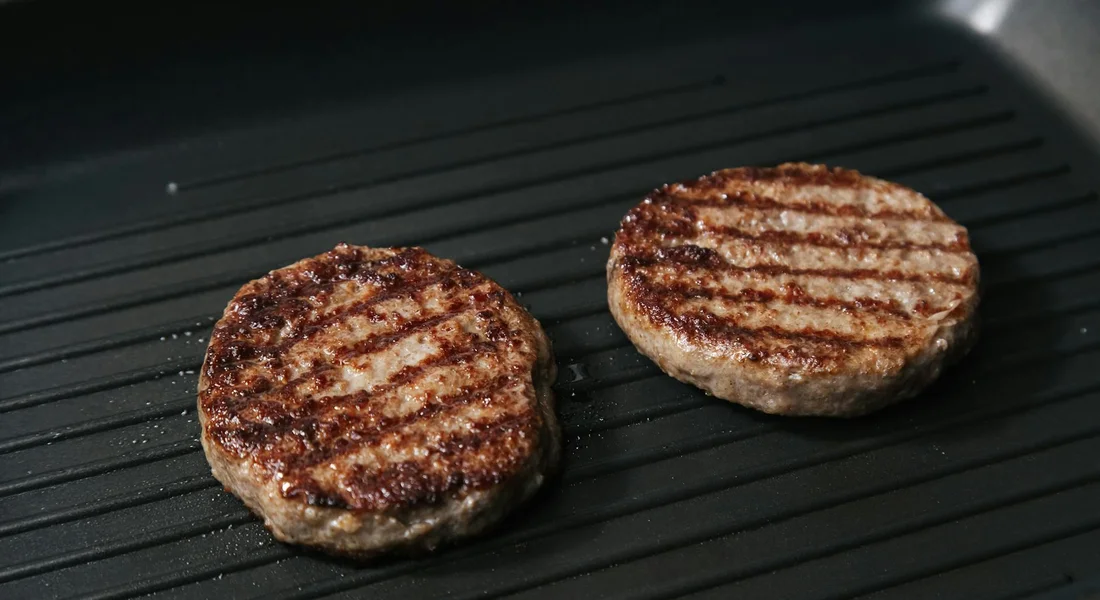
For searing a steak or frying an egg, this consistent, fully-heated surface is what creates that perfect crust and prevents food from sticking. When you drop food onto a hot, properly oiled surface, it immediately begins to sear, rather than sink into the pores of the metal and fuse.
For baking, like cornbread or a dutch baby, an even preheat is everything. A cold skillet will cause the batter at the bottom and edges to cook faster than the center, leading to an uneven bake. A properly preheated pan gives you a uniform rise and a perfect golden crust all around.
Now, to answer your questions: Yes, preheating makes a monumental difference. It is the single most important step for successful, non-stick cooking in cast iron. And yes, you can absolutely put a cast iron skillet in the oven. In fact, your oven is often the best tool for the job.
The Two Best Ways to Preheat: Stovetop vs. Oven
You have two main paths to a hot skillet, each with its own strengths. Your choice depends entirely on what you’re cooking.
Always start low and slow. Cast iron is tough, but drastic temperature changes can cause thermal shock, which leads to cracking and damage. Think of it as being gentle with a good friend.
How to Preheat a Cast Iron Skillet on the Stove
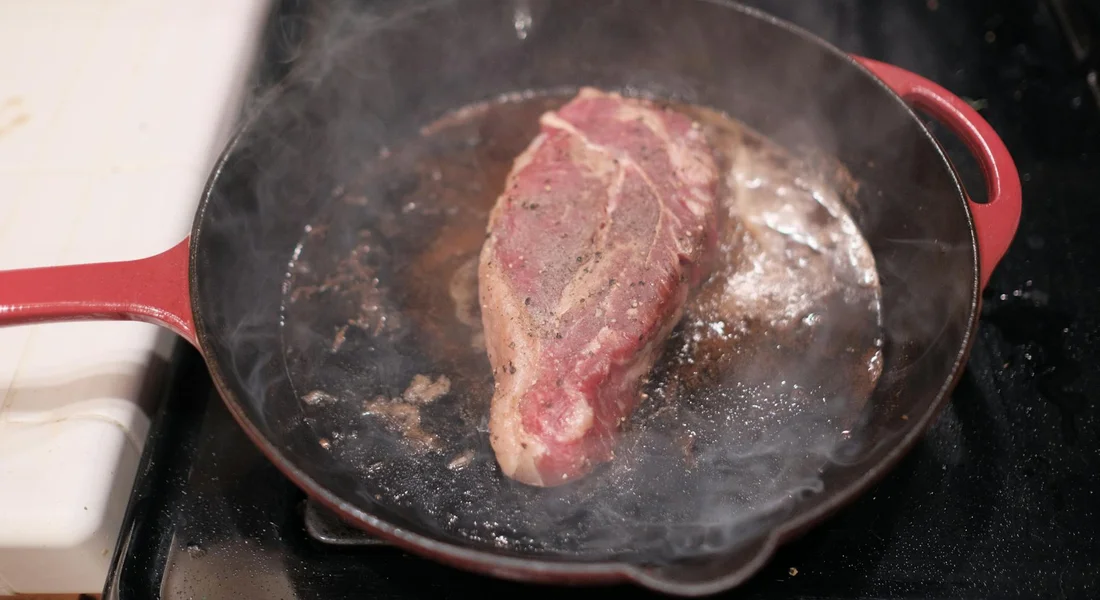
The stovetop method is direct and faster for tasks that need high, focused heat from below.
Use this method when you plan to sear, fry, sauté, or cook anything that primarily uses the stovetop.
- Place your dry, clean skillet on a cold burner.
- Set the burner to the lowest heat setting for 3 to 5 minutes. This gentle start allows the heat to spread.
- Gradually increase the heat to your desired cooking temperature. For a good sear, this is usually medium-high. Give it another 5-8 minutes.
- To test if it’s ready, flick a few droplets of water into the pan. If they dance and evaporate in a second or two, your skillet is properly preheated.
How to Preheat a Cast Iron Skillet in the Oven
The oven method is the champion of even, ambient heat. It warms the entire skillet-sides, handle, and cooking surface-uniformly.
This is the only way to go for baking. It guarantees your cornbread or focaccia cooks evenly from all sides, not just the bottom.
There are two approaches, and I strongly prefer the first for most baking. Properly preheating your cast iron ensures even heat and fewer hot spots. A well-seasoned pan performs best when preheated, delivering perfect results:
- Start in a Cold Oven: Place your skillet in the oven before you turn it on. Set your desired baking temperature (e.g., 375°F for cornbread). The skillet will heat up gradually with the oven, achieving perfect, even heat by the time the oven beeps.
- Start in a Preheated Oven: For a faster preheat, you can place the skillet in an already-hot oven for about 15-20 minutes. This works, but the cold-to-hot transition is slightly more stressful on the pan’s structure over time.
For the FAQ on “preheat cast iron skillet in oven temperature,” match your preheat temperature to your recipe’s baking temperature. If your cornbread bakes at 400°F, preheat the skillet to 400°F.
How Long and How Hot: A Practical Guide
How long should a cast iron skillet preheat? The answer depends on your heat source. Getting this right is the most important step for a good cook and a protected pan.
On a stovetop, start on medium-low heat for 2-3 minutes, then move to your desired temperature for another 5-10 minutes. I always test mine by flicking a few drops of water onto the surface. If they skitter and dance, you’re ready. This gradual preheat avoids thermal shock and ensures your entire pan, including the sides, is uniformly hot, which is key for maintaining your seasoning.
For the oven method, place your skillet in a cold oven, set your temperature, and let it heat for 20-30 minutes. This is my preferred method for baking because the heat wraps around the entire piece of iron evenly.
Your target temperature depends entirely on what you’re doing. A screaming hot sear for a steak needs 450°F to 500°F. Baking cornbread typically happens between 375°F and 425°F. How hot can you bake in a cast iron skillet? Your oven’s max temperature is the limit, but your seasoning’s limit is around 500-550°F for prolonged periods.
This simple table is a good starting point for preheat cast iron for steak and other common tasks.
| Task | Target Pan Temp | Best Preheat Method |
|---|---|---|
| Searing Steak | 450°F – 500°F+ | Stovetop (Medium-High) |
| Baking Cornbread | 375°F – 425°F | Oven |
| Frying Chicken | 350°F – 375°F | Stovetop (Medium) |
| Baking a Fruit Pie | As recipe directs (often 400°F) | Oven |
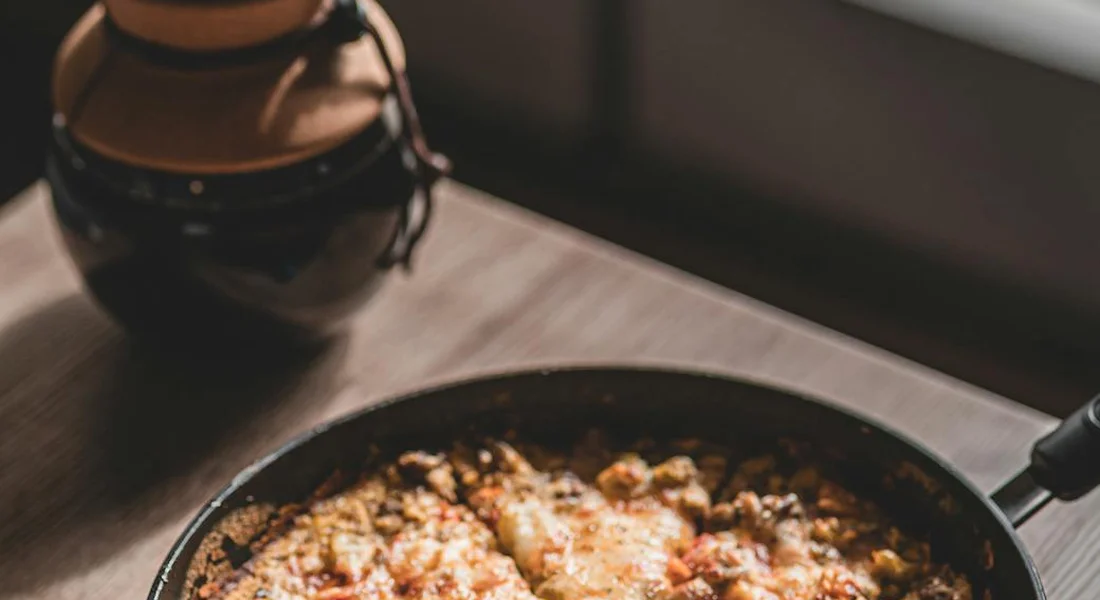
Baking in Cast Iron: Your Guide to Non-Stick Success
Yes, you can bake cornbread in a cast iron skillet. You can bake pies, cobblers, and bread too. From a care perspective, baking is fantastic for your pan’s seasoning. The steady, all-over heat helps polymerize oils deeply into the iron’s pores.
The secret to non-stick baking isn’t magic, it’s a simple barrier. How do you keep food from sticking in cast iron? You always use a fat layer. This means generously greasing the hot pan with oil, butter, or shortening before your batter or dough touches it. This fat instantly fries a microscopic layer onto your food, creating a release barrier that protects your underlying seasoning from sugary or acidic ingredients.
This principle answers two common questions. Should you preheat cast iron before adding pie dough? Absolutely. A hot pan sets the bottom crust quickly, preventing a soggy bottom and giving you a crisper result. The same logic applies when you preheat cast iron for cornbread. A hot, greased skillet gives you that perfect, crispy golden crust everyone loves.
What Helped Me: The Hot Pan, Cold Fat Rule
I learned this the hard way with a sad, stuck-on apple crisp. I used to put the butter in the cold pan, let it melt, then add my topping. The result was a mushy, glued-on mess.
Now, I let my pan get fully hot in the oven first. I pull it out using mitts, drop in a few pats of cold butter, swirl it as it sizzles, and then immediately add my batter. This “hot pan, cold fat” method makes the fat behave like a non-stick spray, sealing the surface instantly and making cleanup as simple as a quick rinse. It transformed my baking results and took the fear out of using my favorite skillet for desserts.
Post-Baking Care: Protecting Your Seasoning
Believe it or not, baking can be a fantastic way to maintain and even improve your pan’s seasoning. The gentle, even heat of an oven is less stressful than a direct stovetop flame. It’s like giving your seasoning a nice, slow bake to help it bond a little tighter to the iron. I often bake my cornbread in my trusty #8 skillet, and I always notice the finish looks a bit richer afterward.
Your cleaning ritual after baking is straightforward and gentle.
- Let the pan cool completely. Never shock a hot pan with cold water.
- Once cool, use warm water and a soft brush or non-abrasive scrubber. For stubborn bits, a little kosher salt as a gentle abrasive works wonders.
- Dry the pan immediately and thoroughly with a towel.
- For a little extra protection, apply the thinnest possible coat of your seasoning oil and warm the pan on the stove for a minute to dry it. This isn’t always necessary, but I do it as a habit.
If you’ve baked something acidic, like a tomato tart or a fruit crumble, you need to be more attentive. Acids can break down seasoning layers over time. Clean that pan right after your meal, while the food residue is still soft. Don’t let it sit overnight. A gentle, prompt scrub will protect your hard-earned patina.
This leads directly to a common question: how can you improve cast iron seasoning? Regular baking is part of the answer. Each time you bake with a little fat, you’re giving that polymerized layer a small, gentle boost. Think of it as routine maintenance, not a major repair job. If you’re new to this, understanding the basics of seasoning is a great place to start.
Troubleshooting Common Preheating and Baking Issues
Even with the best plans, things can get smoky or sticky. Here’s how to fix the most common problems.
Your kitchen is full of smoke. This usually means your pan or oven is too hot for the oil you’re using. Every oil has a “smoke point.” If you see smoke, turn down the heat. For high-heat preheating, use an oil with a high smoke point like avocado, grapeseed, or refined safflower oil.
Your food cooks unevenly. If one side of your cornbread is burnt and the other is doughy, you likely have uneven heating. On the stovetop, this can be caused by a burner that’s too small for the pan’s base, leaving the edges cooler. In the oven, a slight warp in the pan (a common vintage trait) can prevent full contact with a flat baking surface, creating air pockets.
Everything is sticking terribly. Sticking almost always comes down to two things: heat and fat. Your pan probably wasn’t hot enough before you added the food, or you didn’t use enough fat to create a barrier. For baking, properly preheating the skillet and generously greasing it are non-negotiable steps. Regularly seasoned cast iron provides a natural, effective barrier to sticking.
These problems are often caused by “hot spots,” which are areas of the pan that get hotter faster. Cast iron is great at holding heat, but it can heat unevenly at first. The science of heat transfer explains this: cast iron stores heat because of its high heat capacity, and its thickness and structure distribute it unevenly at the start. You manage this by preheating low and slow, giving the entire pan time to come up to temperature evenly. Swirl your fat around to coat the entire cooking surface, including the sides.
When to Seek Professional Help
Some issues are beyond a simple scrub or re-seasoning. Knowing when to stop is a key part of cast iron care.
You find a crack. If your skillet has a crack, even a hairline one, you must stop using it. A cracked skillet can fail catastrophically when heated, spilling hot food and oil. It is no longer safe for preheating, baking, or any kind of cooking. Retire it to a decorative role.
The pan wobbles severely on a flat burner. Some vintage pans have a gentle warp, which is often manageable. But if the warp is so severe that the pan rocks dramatically and can’t make stable contact, it won’t heat evenly and can be a safety hazard. This pan may need to be professionally machined flat, which is a specialized service.
You see deep pitting or rust that covers most of the surface. While surface rust can often be handled at home with vinegar and scrubbing, a skillet that is deeply pitted or fully rusted requires intensive restoration. It’s important to make sure it’s safe to cook with. A professional can sand-blast or electrolysis-tank the piece to bare metal, giving you a clean, safe slate to begin a new seasoning journey. Attempting to bake in a severely compromised pan will only lead to more sticking and frustration.
Your Cast Iron Baking Checklist
Think of this list as your field guide. Follow these steps, and your skillet will become your most reliable baking partner.
The Pre-Bake Setup
-
Position the rack and preheat the oven. Place your oven rack in the center position. Start your oven preheating to the temperature your bake requires. A stable, even heat is key.
-
Prepare your skillet with a thin layer of fat. Before it goes in the oven, your skillet needs a shield. Using a paper towel, rub a very thin, even layer of a high-smoke-point oil (like canola, grapeseed, or refined avocado) over the entire interior, including the walls. This fresh layer of oil polymerizes during baking, directly reinforcing your existing seasoning.
-
Preheat the skillet gradually on the stovetop. This is the non-negotiable step for success. Never put a cold skillet into a hot oven. Place your oiled skillet on a stovetop burner set to the lowest possible heat. Let it warm for 5 minutes. Then, increase the heat to medium-low for another 5. You want it uniformly warm to the touch.
-
Perform the water bead test. To confirm your skillet is properly preheated, flick a few drops of water onto its surface. If the droplets dance and skitter around before evaporating, it’s ready. If they just sizzle and sit, give it another minute or two on the heat.
The Baking Process & Aftercare
-
Transfer the skillet to the preheated oven with care. Using dry oven mitts, carefully move the warm skillet from the stovetop to the center of your oven rack. From here, you can add your batter or dough directly to the hot pan for baking.
-
Let the skillet cool completely after baking. Once your bake is finished, remove the whole skillet from the oven. This is where patience prevents damage; thermal shock is a leading cause of cracks. Place it on a heat-safe surface or a cool stovetop and walk away. Let it come to room temperature naturally, which could take an hour or more.
-
Clean gently once cool. After the skillet is completely cool, clean it with warm water and a soft brush or sponge. For stubborn bits, use a paste of coarse salt and a drop of water to scrub. Dry it immediately and thoroughly with a towel. This routine is part of cleaning and maintaining your cast iron skillet after cooking. Keeping it dry helps prevent rust and preserves the seasoning for the next use.
-
Give it a final protective coat. Before putting it away, wipe the entire dry skillet with a microscopic amount of oil on a paper towel. This “field seasoning” after every use is what builds an indestructible patina over time. My daily driver gets this five-second ritual, and it’s never seen a speck of rust. Proper care and maintenance ensure it stays that way.
Common Questions
Should I preheat my cast iron skillet with oil in it?
No. Always preheat a dry, clean skillet. Adding oil from the start causes it to break down and smoke before your pan is evenly hot, creating a sticky residue that harms your seasoning. Add your fat-oil, butter, shortening-only after the pan is fully preheated.
How does baking actually help my skillet’s seasoning?
The steady, all-over heat of an oven is ideal for polymerizing oils. When you properly grease a hot skillet before adding batter or dough, that fresh fat bakes into a hard, slick layer, reinforcing your existing patina with every use. It’s routine maintenance that builds a more resilient surface.
What’s the most important aftercare step after baking something acidic?
Prompt cleaning. Do not let acidic residues like tomato or fruit sit in the pan. Once it’s safe to handle, wash it gently with warm water, dry it thoroughly, and apply a whisper-thin coat of oil. This prevents the acids from breaking down your polymerized seasoning layer.
The Long Game with Cast Iron
The single best thing you can do is preheat your skillet slowly and thoroughly on the stovetop before adding food or transferring it to the oven. This simple habit prevents sticking, ensures even cooking, and protects your hard-earned seasoning from thermal shock. For more on preserving that finish, our guides on cleaning and re-seasoning are great next reads.
Related Guides and Information
- r/castiron on Reddit: Gentle preheating and not overheating my cast-iron have been total game changers
- The Importance of Preheating Your Cast Iron – Field Company
- Why You Should Preheat Cast Iron Before Baking | Taste of Home
- Seasoning Isn’t Enough-This Is the Secret to Cast Iron Success
- Cooking In Cast Iron – The Cast Iron Collector: Information for The Vintage Cookware Enthusiast
A material science expert by profession, Joseph is also an avid cook. He combines his 10+ years expertise in material science and metallurgy with his passion for cast iron cookware to bring you best hands on advice. His expertise ranges from types of cast iron cookware to best seasoning tips as well as restoration of vintage cast iron utensils. Joe is here to help you solve all your cast iron cookware queries and questions.