
How Do You Use Cast Iron on a Campfire Without Ruining It?
You cherish your cast iron, but the idea of cooking it over a wild campfire might feel risky. With a few simple practices, you can enjoy campfire meals without harming your pan’s durable seasoning.
This guide walks you through the entire process, from prep to cleanup. Here are the key things we’ll cover:
- How to get your pan ready for the fire, including a quick seasoning refresh.
- Smart ways to control heat on uneven campfire coals.
- The right method to clean and dry your pan in the woods to stop rust.
Why Cast Iron and Campfires Are a Perfect Match
When you cook on a campfire, the heat is wild and inconsistent. A gas flame flickers. Coals shift and settle. A thin pan would scorch your food one second and let it go cold the next. Cast iron is different. Its incredible mass soaks up heat like a sponge, holding it steady and releasing it evenly across the entire cooking surface. That heat retention is your secret weapon for consistent cooking over an unpredictable fire.
The construction is just as important. Modern non-stick coatings fail under direct flame. Aluminum can warp. But a thick slab of cast iron can sit right in the coals without complaint. It’s brutally durable. My oldest Dutch oven has seen decades of campfires and shows its history in a beautiful, jet-black patina, not in dents or damage.
Yes, the flavor is legendary. You get a sear that locks in juices and a subtle, smoky kiss that you can’t replicate at home. That wonderful flavor is a direct product of a well-maintained seasoning layer, which is why campfire care is non-negotiable. Let food acids or moisture sit in a hot pan, and those tasty notes can turn into a rancid, rusty mess by morning.
Let’s talk safety. Your skillet won’t melt in the fire. The real danger is thermal shock-sudden, extreme temperature changes. Plunging a red-hot pan into an icy stream or packing it away wet is how you get a hairline crack. Think of your pan like glass bakeware: you wouldn’t take it from the oven and put it in the freezer. The same rule applies here.
How Do I Prepare My Cast Iron for a Campfire?
Before any trip, give your pan a quick health check in good light. Look for any dull, grayish spots in the seasoning or hints of orange rust, especially along the rim or the bottom cooking surface. Catching thin or damaged seasoning at home is far easier than dealing with a sticky, rusting pan at the campsite. For camping trips, a quick outdoor maintenance routine helps prevent problems. Our cast iron camping guide covers maintaining and repairing cookware outdoors so you can cook confidently on the trail.
If you see a problem area, don’t panic. A quick stove-top seasoning refresh can fix it. Just coat the thin spot with a tiny amount of oil, wipe it almost completely dry like you made a mistake, and heat the pan on your home burner until it just starts to smoke. Let it cool. That fresh layer of polymerized oil is your first line of defense.
Moisture is the enemy of both seasoning and bare iron. After your final home wash and dry, take no chances. Place your bone-dry pan on a warmed stove burner for two minutes to drive off every last molecule of water before you pack it. This simple step stops stealth rust from forming during transport.
Packing your iron needs a little thought. Throwing it loose in a bin with other gear risks chipping the seasoning on other pots or getting your supplies greasy. I wrap my skillet or Dutch oven in an old kitchen towel or a dedicated canvas pan protector. This cushions it, contains any residual oil, and keeps everything else in my pack clean.
What Gear Do I Need for Campfire Cast Iron Cooking?
Having the right tools isn’t just about convenience, it’s about safety and protecting your cast iron. I never start a fire without my core kit within arm’s reach.
- Heavy-duty fire-resistant gloves: Leather welding gloves are my go-to. They protect you from stray embers and let you handle hot cookware handles safely.
- Long-handled tongs and spatula: Your arms will thank you. These keep you a safe distance from the intense heat of the fire.
- A sturdy tripod or adjustable grill grate: This is your control center. A stable platform that you can raise or lower is the single best way to manage cooking temperature over a fire.
Beyond these essentials, the cast iron you bring shapes your meal. Each type has its own job and a few maintenance quirks to know about before you head outdoors. Choosing the right size and style for camping—considering weight, heat retention, and how you’ll use it—helps you plan meals more smoothly. Practical selection and usage tips for camping cast iron follow to help you pick gear and cook with confidence.
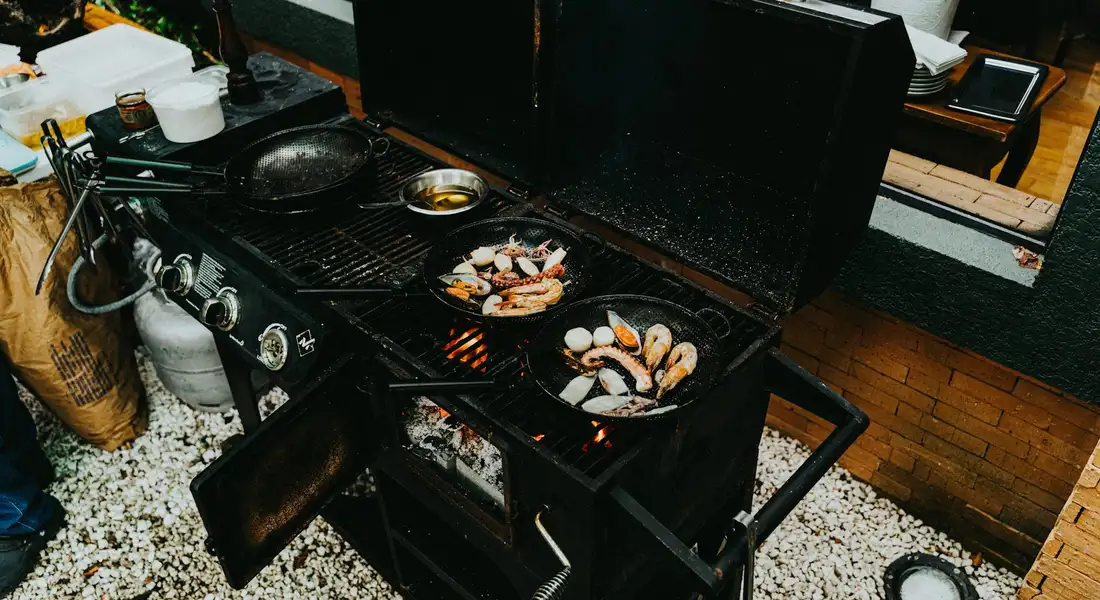
Campfire Grill Grates and Standalone Grills
You have two main options here: a portable grate you set over the fire pit, or a dedicated cast iron campfire grill with short legs.
A simple steel grate is versatile and easy to pack. The challenge is stability and uneven heat, as the metal can warp over intense, direct flames. I always look for one with thick bars and a folding design for transport.
A standalone cast iron grill unit sits right in the coals. It distributes heat more evenly like a skillet and is incredibly stable. The trade-off is weight and the need for more thorough cleaning afterward, as ash and soot cake onto its legs and underside.
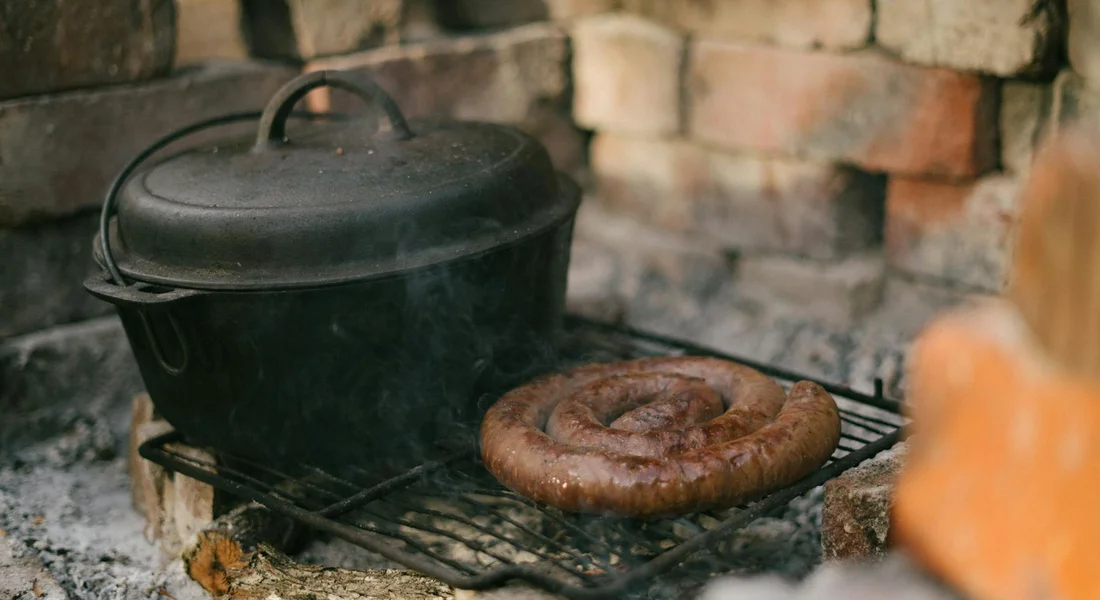
Dutch Ovens: The Campfire Powerhouse
My camp Dutch oven is my most prized outdoor piece. For maintenance, a few checks before you cook prevent problems.
Always inspect the bail, the wire handle. Make sure it’s securely fastened at both ends and isn’t rusted thin. A failure here with a full pot is disastrous. For baking, you need a lid with a flat, lipped rim to hold a blanket of hot coals. Before you set coals on the lid, I give it a quick wipe with an oiled paper towel to make soot cleanup easier later. The intense heat from the lid coals can bake on residue.
Griddles, Sandwich Presses, and Specialty Pieces
A large cast iron campfire griddle is perfect for feeding a crowd. You can cook pancakes, bacon, and eggs all at once. Because it has a large, flat surface, warping is a risk if one side is over a raging flame. Always aim for even heat from a bed of embers. To cook perfectly on a cast iron griddle, you’ll want to master essential techniques—seasoning, preheating, and even heat control. These basics will keep the surface smooth and the food browning evenly, whether you’re campfire cooking or at home.
Fun tools like cast iron sandwich presses or popcorn poppers are great for single uses. Their maintenance is straightforward but non-negotiable: clean them thoroughly and dry them completely as soon as the meal is done. Food gets into every nook of a sandwich press.
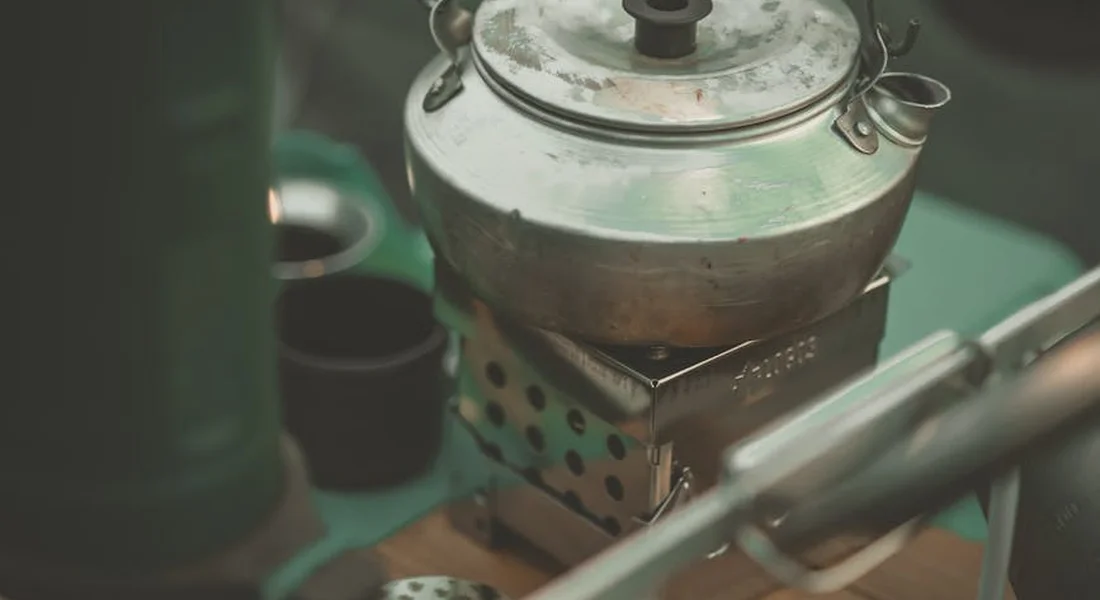
A cast iron kettle boils water faster than anything. Remember, it’s constantly filled with water and then exposed to cool air. If you don’t dry the interior perfectly over the fire’s warmth after use, you’ll likely find a speckle of surface rust next time.
How Do I Set Up My Campfire for Cast Iron Success?
Forget tall, roaring flames. You want a bed of hot embers. Start your fire well before you plan to cook, letting the logs burn down to a glowing, ashy base. This provides steady, radiating heat like your oven, not the aggressive, scorching blast of a flame.
Create heat zones by moving coals around. Pile more coals in one area for a “high heat” zone for searing. An area with fewer or no coals makes a “low heat” zone for keeping things warm. Think of it like the burners on your kitchen stove; you need more control than just “on.”
To gauge if your embers are ready, use the classic hand test. Carefully hold your hand palm-down about where the cookware will sit. If you have to pull your hand away in 2-3 seconds, it’s high heat. 4-5 seconds is medium heat. If you can hold it for 6-7 seconds, it’s a low, gentle heat. This simple test saves your seasoning from a scorching shock.
What Are the Safe Cooking and Handling Practices?
Campfire cooking is a fantastic experience, but it requires a different mindset than your kitchen stove. The heat is uneven, the environment is less controlled, and a simple mistake can lead to a burned dinner or a damaged pan. Following a few key rules will keep you and your cast iron safe while cooking over an open fire.
Non-Negotiable Safety Rules
Treat these as your foundation for every campfire meal.
- Always assume every handle is scalding hot. I keep a dedicated, dry oven mitt or a thick leather glove in my camp kit just for cast iron.
- Use dry, seasoned hardwood for your fire. Green wood or pine produces excessive, sooty smoke and sticky sap that can coat your pan in a nasty, hard-to-remove film.
- Never, ever douse a hot pan in water or snow. The sudden, extreme temperature change can cause thermal shock, leading to warping or even cracking the iron.
Managing the Fire’s Wild Heat
A campfire doesn’t have a dial. You manage heat by moving your pan closer to or farther from the flames and coals. This means you’ll often need to shift a pan from a cooler zone to a hotter one. You must warm the pan gradually to avoid shocking the metal.
If your pan has cooled down while holding cooked food and you need to sear something, don’t just shove it back into the roaring flames. First, move it to the edge of the active fire, over some warm coals, for a minute or two. Let the temperature climb slowly, then slide it closer to the main heat source. Think of it as letting the pan catch up.
Stability is Everything
A wobbly pan over an open fire is a spilling hazard. Before you even light the match, ensure your fire ring or pit is on level ground. Use a sturdy steel tripod, a well-seated grill grate, or stable rocks to hold your cookware. Give your setup a gentle rock test with an empty pan before you add food or oil. I learned this lesson the hard way with a tipped-over pan of pre-cooked beans-a mess I don’t wish on anyone.
How Do I Clean and Maintain My Cast Iron After the Campfire?
Post-campfire cleanup happens in two phases: a quick field clean to get you home, and a proper deep clean once you’re back. The goal is to prevent food from cementing on and to guard against moisture that leads to rust.
Your Step-by-Step Field Clean (At the Campsite)
Do this while your fire is still down to usable coals.
- Scrape out all food bits. Use your metal spatula or a dedicated camp scraper.
- Pour a little hot water from your kettle into the warm (not screaming hot) pan. Use a stiff brush or a bunched-up ball of aluminum foil to scrub. For stubborn spots, a handful of clean sand or coarse salt makes a great, natural abrasive.
- Rinse with a bit more hot water if you can.
- Dry it completely-this is the most important step. Place the pan back over the dying embers or on the warm grill grate. Let the residual heat evaporate every drop of water. You should see the pan turn dry and matte.
- Let it cool naturally before packing. If you’re in a humid environment, you can give it a very light wipe with an oiled paper towel before it cools, but it’s not strictly necessary if it’s bone-dry.
The At-Home Deep Clean & Inspection
Once home, don’t just put the pan away. The intense, smoky heat of a fire can sometimes alter the seasoning or hide problems.
First, give the pan a thorough visual and tactile inspection. Feel for new rough patches or bumpy carbon buildup from food and smoke that the field clean missed. This is when you do a full wash with mild soap and warm water to reset the surface. Scrub well, dry it thoroughly on the stove, and apply a thin, fresh coat of your preferred oil to protect it until its next use.
Fixing Common Post-Campfire Issues
Campfires can create two specific problems you might not see at home.
- Light Surface Rust: This can happen if moisture was trapped during packing or from high humidity. Don’t worry. It’s a simple fix. Scrub the rust off with steel wool or a scrub brush, wash the pan, dry it, and apply a layer of oil. If the spot is small, it will often blend back in with regular use.
- Sticky, Smoky Film: This is from cooking over resinous or smoky wood. It feels tacky and smells like a campfire. Wash the pan with soap and hot water, using a scrubbing pad if needed. If the stickiness remains, a paste of coarse salt and a drop of water can help scrub it off. Dry and oil as usual.
When Should I Seek Professional Help for My Campfire Cast Iron?
Most campfire wear and tear is part of your pan’s story and can be fixed at home. Some damage, though, is a sign to call in an expert. A pro can save you time and prevent you from accidentally turning a fixable problem into a permanent loss.
Seek a professional for structural damage you cannot safely repair yourself. This includes a pan so warped it rocks on a flat surface, a visible crack (especially near the handle or rim), or a Dutch oven with a broken leg or bail. Attempting to weld or bend cast iron without specialized equipment often makes things worse.
Campfires can create a uniquely tough mess. Years of cooking over pine or other sappy woods can bake on a layer of carbonized sap and soot that’s nearly rock hard. If your usual methods of scrubbing, boiling water, or oven cleaning don’t make a dent, a professional restoration service has industrial-grade equipment to strip it safely. They can remove that crust without damaging the underlying iron.
If you have a valuable antique Griswold or Wagner that saw rough campfire use, get a professional assessment before you start scrubbing or stripping. An expert can identify hairline cracks, old repairs, or a fragile surface that needs a gentler approach. It’s the difference between preserving history and accidentally erasing it.
Your Campfire Cast Iron Quick-Reference Checklist
Running through this list before, during, and after your trip will keep your iron in great shape for the next adventure.
- Seasoning Check: At home, ensure your pan has a good, polymerized oil finish. It should look and feel smooth, not sticky or flaky.
- Packing Protection: Wrap your cool, dry skillet in a towel or use a dedicated pan protector to prevent chips and scratches in transit.
- Fire Bed Preparation: Let your fire burn down to a bed of hot coals. Cooking over licking flames leads to sooty, unevenly cooked food.
- Heat Zone Setup: Rake coals to create areas of high heat (for searing) and low heat (for simmering). Use a lid propped with a stick to control temperature.
- Safe Handling Rules: Always assume the handle is hot. Use a dry, heavy-duty leather glove or a handle sleeve designed for open flames.
- Post Cook Field Clean: While the pan is still warm (not scalding), scrub it with hot water and a brush. Dry it completely over the fire’s residual heat, then apply a whisper thin coat of oil.
- At Home Maintenance: Once back, give the pan a full inspection and a thorough clean with soap and water. Apply a fresh oven seasoning layer to reinforce the finish.
Recommended Products for Campfire Cast Iron Cooking
Campfire cooking is fantastic, but the right gear makes it safer, easier, and protects your investment in your cast iron. I’ve burned my fingers and juggled hot pans enough to know these tools are non-negotiable, especially when using cast iron for camping.
1. A Quality Fire Glove
Your kitchen oven mitt is not enough. You need a glove designed for open flame that covers from fingertips to well past your wrist.
- Look for leather or heavy-duty, flame-resistant synthetic materials.
- Full wrist coverage is critical to stop embers from rolling up your sleeve.
- I prefer a single, high-dexterity glove over a bulky mitt. It lets me grip a skillet handle or adjust a grate with better control.
A proper fire glove is your first line of defense against steam, hot metal, and surprise sparks.
2. A Long-Handled Grill Tool Set
You want to keep your body as far from the heat as possible. A basic set of long tools prevents you from having to lean over the fire.
- Prioritize length. Look for tools with handles at least 16 to 24 inches long.
- A sturdy pair of tongs and a heavy-duty spatula are the two most important tools. A fork can be useful, but avoid piercing food in your skillet if you can.
- Check that the handles are made of wood or another material that stays cool. Some metal handles can conduct heat down their entire length.
3. A Portable Adjustable-Height Cooking Grate
Not every campsite has a perfect built-in grill. A portable grate gives you control, which is the key to managing cast iron’s heat. For the full walkthrough on using cast iron on the grill, see the use cast iron cookware grill complete guide.
- Adjustability is the main feature. Being able to raise or lower your pan lets you shift from searing to simmering over the same fire.
- Look for a stable, locking mechanism. A wobbly grate over a fire is a recipe for spilled dinner.
- Choose one with sturdy legs that won’t sink into soft ground. Wide, flat feet offer the best stability.
This single tool solves the biggest campfire cooking problem: controlling temperature when you can’t simply turn a dial.
4. A Dedicated Cast Iron Carrier or Pan Protectors
This is about protecting your pan when it’s not on the fire. Transporting hot or sooty cast iron without a plan makes a mess of everything else.
- A simple canvas carrier with handles is perfect for moving a hot pan from the fire to your picnic table. It also keeps soot off your gear.
- For storage in your vehicle or pack, use individual pan protectors. These are usually thick felt or canvas sleeves that wrap around each piece.
- The goal is to prevent iron-to-iron contact. Letting pans bang together in transit can chip your seasoning or even crack the iron.
I use a canvas bag for my main skillet and felt sleeves for my Dutch oven and griddle. It keeps my car trunk clean and my pans ready for the next trip.
Common Questions
How do I care for a cast iron campfire grill grate?
After cooking, scrub the grate with a wire brush while it’s still warm to remove food and ash. Once clean and dry, apply a very thin coat of oil to the entire surface to prevent rust, as these grates often lack a deep seasoning layer. With proper seasoning and ongoing maintenance, cast iron grill grates yield perfect results. Keep up with routine seasoning to protect the surface and ensure peak performance. Store it in a dry place, not left outside where moisture will attack it.
What’s the special maintenance for a cast iron campfire kettle?
Always empty and thoroughly dry the interior over the fire’s warmth immediately after use to prevent flash rust. Avoid using soap inside unless necessary; instead, boil clean water in it to refresh it. Ensure the exterior, especially the bottom, is dry and lightly oiled after each trip to protect it from ash and humidity.
My campfire sandwich maker is sticky and hard to clean. What did I do wrong?
You likely didn’t clean it while it was still adequately warm. Let it cool slightly but remain hot to the touch, then use a stiff brush and hot water to scrub every hinge and groove. Dry it completely over the coals and apply a microscopic layer of oil to both plates before storage.
Your Skillet’s Journey Home from the Campfire
Your most important job is to cool, clean, and oil your pan after every campfire meal. This simple routine stops rust and builds a tougher seasoning that laughs at open flames. If you ever need to revive a damaged piece, my guide on fixing a rusty cast iron skillet walks you through it.
References & External Links
- 19 Easy Cast Iron Campfire Recipes
- r/camping on Reddit: Campfire cooking & cast iron tips?
- 7 Essential Cast Iron Cooking Tips for Campers (plus recipes)
- Cast Iron & Dutch Oven Outdoor Campfire Cooking – Melissa K. Norris
- r/castiron on Reddit: Using my good cast iron on an open fire.
- Outdoor & Camping – Lodge Cast Iron
A material science expert by profession, Joseph is also an avid cook. He combines his 10+ years expertise in material science and metallurgy with his passion for cast iron cookware to bring you best hands on advice. His expertise ranges from types of cast iron cookware to best seasoning tips as well as restoration of vintage cast iron utensils. Joe is here to help you solve all your cast iron cookware queries and questions.