
How Do I Cook with a Cast Iron Dutch Oven Without Hurting the Seasoning?
You love the heft and heat of your Dutch oven, but you might worry that simmering a stew or baking bread will strip away that hard-earned seasoning. I cook with my own vintage Dutch oven weekly, and I can tell you that proper technique protects your pan and makes every meal better.
This guide walks you through my hands-on process, from stovetop to storage. Here are the key areas we’ll focus on:
- Preheating your Dutch oven the right way to ensure even cooking and prevent damage.
- Managing heat levels for everything from searing meat to slow simmering.
- Cleaning your Dutch oven immediately after use to preserve the seasoning layer.
- Drying and storing your pan correctly to stop rust before it starts.
First, Know Your Pot: Bare Iron vs. Enameled
Your first step isn’t preheating. It’s identifying your pot. The care for a bare cast iron Dutch oven is completely different from an enameled one. Getting this wrong is the fastest way to ruin a good piece of cookware.
The core difference is the cooking surface. Bare cast iron requires a layer of seasoning you build and maintain, while an enameled Dutch oven has a permanent, baked-on glass coating that does not.
Maintenance and Use: A Side-by-Side Comparison
- Bare Cast Iron: This is the durable workhorse. It can handle metal tools, extremely high heat (like campfire coals), and aggressive scrubbing if you need to reset the seasoning. The trade-off is you must protect its seasoning from acidic foods and re-oil it after cleaning.
- Enameled Cast Iron: This is the low-maintenance specialist. Cleaning is often as simple as soap and water. The downside is fragility. That glass coating can chip if hit with a metal utensil and will crack from thermal shock (like going from a hot stove into a sink of cold water).
I keep both types in my kitchen for this exact reason. My bare iron pot is for tasks that would destroy an enameled one: searing a roast black, deep frying over a campfire, or baking bread. My enameled pot is what I grab for long, acidic tomato sauces or simmering wine-based stews, because the glass surface won’t react with the food.
Always check which type you have before you follow any care advice. The path splits right here.
How to Prep Your Dutch Oven for Cooking
Proper prep is what separates a sticky mess from a beautifully released meal. It all comes down to heat management and fat.
The Critical Pre-Heat: Start Low, Go Slow
This rule is non-negotiable for all cast iron, but especially for bare iron. Never slam a cold pot onto high heat.
- Place your dry Dutch oven on a cold burner.
- Set the heat to low or medium-low and let it warm up for 3-5 minutes. You should just start to feel heat when you hold your hand over it.
- Only then should you increase the heat to your desired cooking temperature. This gradual process prevents warping and ensures the entire pot heats evenly, eliminating hot spots.
For an enameled pot, the same rule applies to prevent thermal stress on the glass coating, even though the pot itself won’t warp as easily.
Adding the Fat: Timing is Everything
When you add your oil or fat changes based on your pot type.
- For Bare Iron: Add a thin coat of a high-smoke-point oil (like canola or grapeseed) once the pot is warm, but before it gets screaming hot. Swirl it to coat the bottom and sides. This layer polymerizes as you cook, actively building your seasoning with every use. If the oil smokes immediately, your pot is too hot. Wipe it out, let it cool slightly, and try again.
- For Enameled: You can add your cooking fat (oil, butter, bacon grease) at any point. There’s no seasoning to build, so follow your recipe’s instruction for when to add fat.
How to Cook a Roast: The Searing Principle
When you want to know how to cook a roast, you’re really asking about the sear. This is where your prep pays off.
For that perfect, caramelized crust, your surface must be very hot and properly lubricated. After your gradual pre-heat, get your bare iron Dutch oven quite hot. Add your high-smoke-point oil. It should shimmer but not smoke excessively. Only then do you add your dried, room-temperature roast. A screaming hot, well-oiled surface creates a flavorful fond (the browned bits stuck to the pot) without the meat welding itself to the iron. This foundational sear is what makes the subsequent braise so deeply flavorful.
The Core Techniques: Searing, Braising, Baking, and Frying
Once your Dutch oven is hot, it’s ready for action. These four methods make the most of its unique properties.
Searing & Browning
A Dutch oven excels at creating a deep, flavorful crust. Its thick walls and heavy bottom act like a heat battery. They hold a steady, high temperature even when you add cold food. This prevents the pan from cooling down and steaming your meat.
Your main job is to avoid crowding the pot. Give each piece of meat or vegetable plenty of room. If you pack them in, they’ll release moisture and steam instead of searing. Work in batches if you have to. I let my 7-quart pot get properly hot over medium-high heat, add a thin layer of oil, and then sear just a few pieces at a time for the best result.
Braising & Stewing
This is where a Dutch oven becomes magical. After you’ve seared your ingredients, you add a bit of liquid and clamp on the lid. The tight-fitting lid traps steam and moisture inside. That moisture condenses on the lid and drips back down, creating a self-basting environment.
The cast iron’s even heat distribution means the contents bubble gently without hot spots that could cause burning. In fact, the science of heat transfer explains why cast iron retains and distributes heat differently: its dense, high-mass structure stores thermal energy and releases it gradually. This results in fewer temperature swings and a steadier simmer. This low, slow, moist heat is perfect for transforming tough cuts into tender, fall-apart meals. For example, learning how to cook a roast or how to cook corned beef in a Dutch oven leverages this exact principle for incredible results.
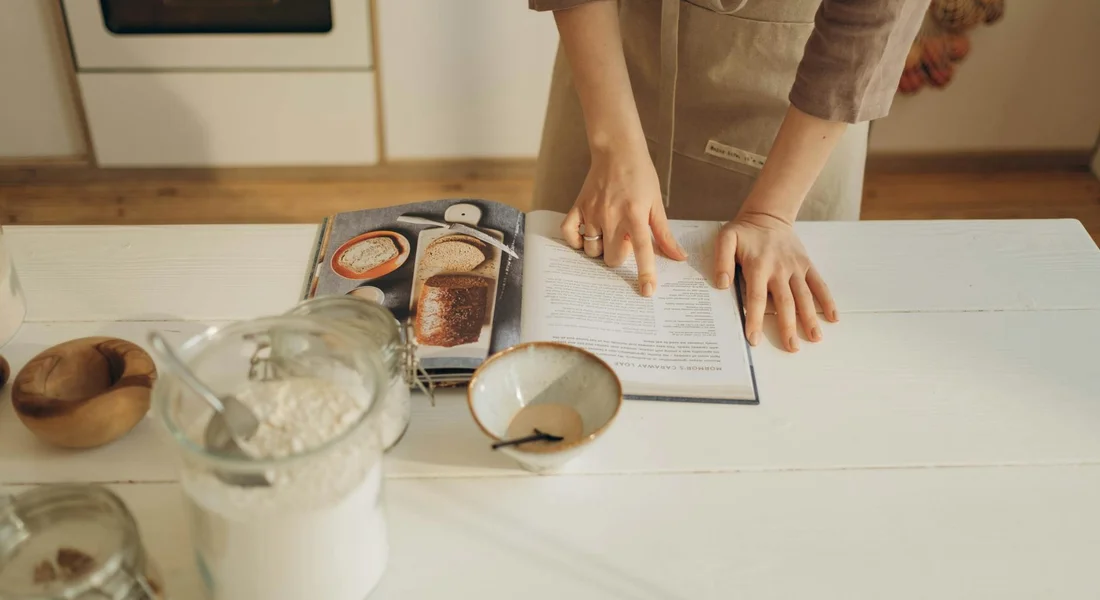
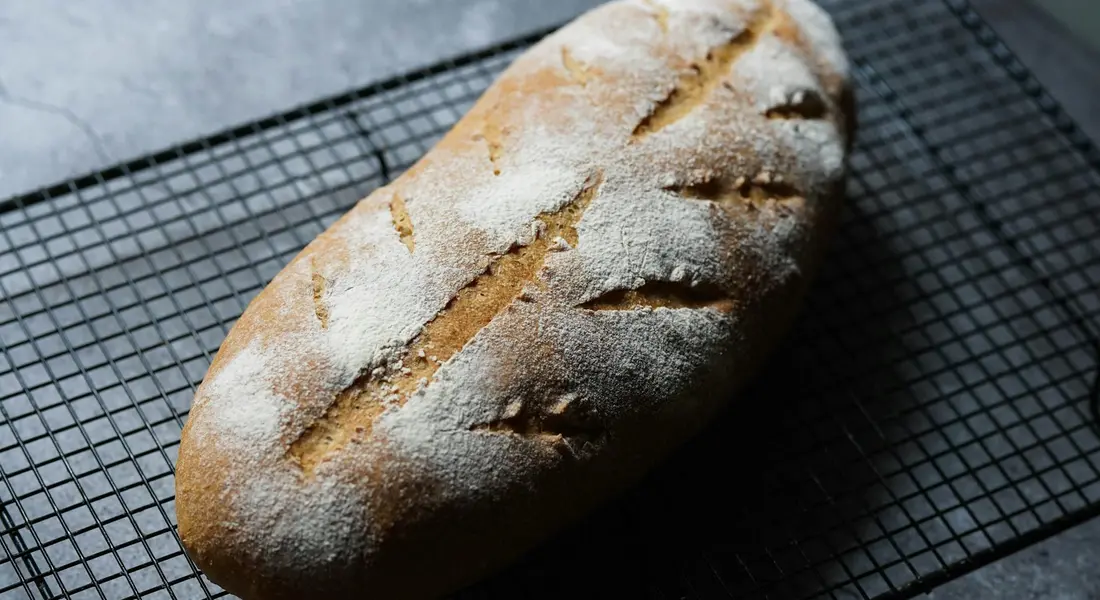
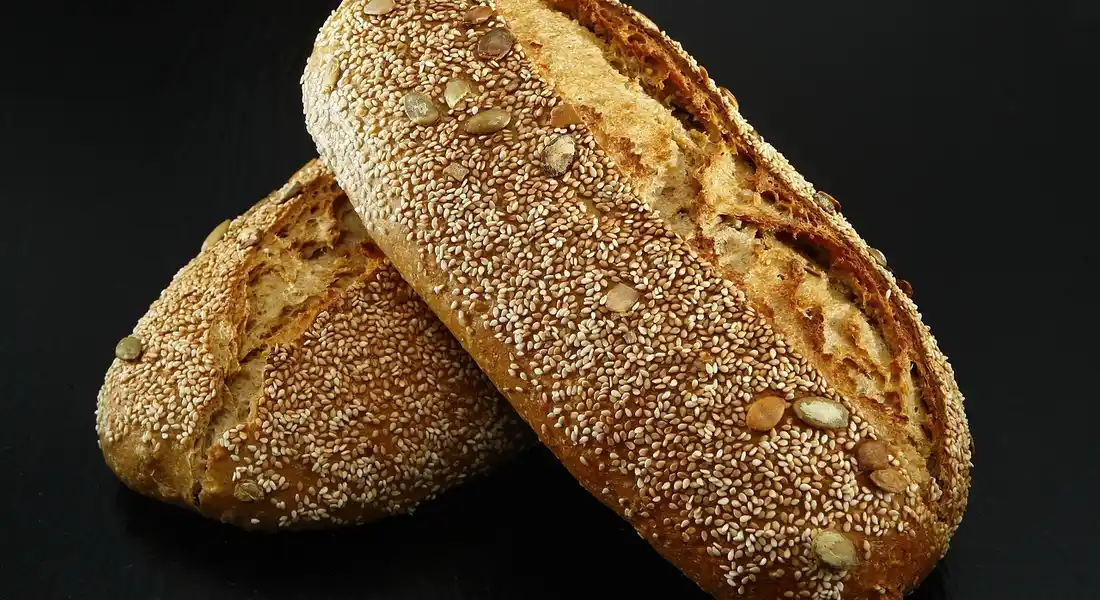
Baking Bread
You can bake a crusty, professional-looking loaf right in your Dutch oven. The trick is steam. You preheat the empty pot, lid and all, in a very hot oven for about 30 minutes. Carefully place your shaped dough inside, put the hot lid back on, and bake your perfect bread.
The dough immediately starts steaming in the super-hot, enclosed space. This steam allows the bread to expand fully before a crust forms, giving you that wonderful “oven spring.” Don’t worry about your seasoning. The high heat is actually good for it, baking the polymerized oils even harder. Just let the pot cool completely before cleaning.
Deep Frying
The high sides and incredible heat retention make a Dutch oven a safe and efficient fryer. It maintains a stable oil temperature, so your food absorbs less grease and comes out crisper.
Always use a clip-on deep-fry thermometer to monitor your oil temperature. Guessing can lead to greasy, undercooked food or a dangerous fire. Never fill the pot more than halfway with oil to prevent dangerous boil-overs. After frying, let the oil cool completely before disposal. The cleanup is specific, which we’ll cover next.
You might look for a universal dutch oven cooking chart, but precise times depend on your recipe, altitude, and ingredient size. The beauty of cast iron is its consistent, even heat. You often spend less time babysitting the temperature and more time enjoying the process.
How to Clean Up Without Hurting the Pan
Proper cleaning protects your investment. The method depends entirely on whether your Dutch oven is bare cast iron or enameled. Enameled vs bare cast iron requires different approaches for cleaning.
For Bare Cast Iron
Let the pot cool until it’s warm to the touch, not scorching hot. Scrub it out with hot water and a brush or non-abrasive scrubber. A little modern dish soap is perfectly fine. Rinse and dry it immediately.
The next two steps are non-negotiable for preventing rust. First, place the clean pot on a low stove burner for a few minutes to evaporate every last trace of water. Second, once it’s fully dry and just warm, wipe a tiny amount of oil (like canola or flaxseed) all over the cooking surface with a paper towel. This replaces the protective layer you may have washed away. These steps are also the foundation to fix and prevent rust on cast iron cookware. If you’re dealing with rust, this approach helps you fix it and keep it from coming back.
For Enameled Cast Iron
The enamel is a glass coating, so treat it like a non-stick pan. Use soft sponges and gentle cleansers. Avoid abrasive scouring pads and harsh powders, which can scratch the glossy surface and make it look dull over time.
For both types, if food is stuck on, don’t scrape. Add an inch of water to the pot, bring it to a gentle boil on the stove, then turn off the heat. Let it sit for 15 minutes. The steam will loosen everything, making it easy to wipe away with a wooden spoon or soft brush.
Good dutch oven cooking accessories make cleanup easier. I keep a chainmail scrubber for my bare iron to tackle stubborn bits without harming the seasoning. For my enameled pot, a soft-bristled nylon brush is my go-to tool.
Maintaining the Surface: Seasoning and Touch-Ups
This advice is for traditional, bare cast iron. If your Dutch oven is coated in enamel, you don’t need to season it at all.
The beautiful part of using a Dutch oven is that cooking itself maintains the seasoning. Every time you brown meat or sauté onions, you are baking a tiny bit more polymerized oil into the surface. Your main job is just to protect that work. If you’re after a complete guide to seasoning cast iron pans and Dutch ovens, this is a great starting point. It also covers care, maintenance, and troubleshooting to keep your cookware performing at its best.
After you clean and dry your pot, here’s a quick stovetop method to keep the seasoning fortified. It takes two minutes.
- Place your dry Dutch oven over low heat on the stove.
- Add about half a teaspoon of a high-smoke point oil (like avocado or grapeseed) and use a paper towel to rub it over the entire interior, including the lid.
- Let the pot warm for a minute or two until it just starts to smoke lightly, then turn off the heat and let it cool.
This quick heat treatment drives the oil into the pores and creates a fresh, protective layer without needing the oven.
Sometimes, seasoning gets damaged. You’ll know it needs help if the surface looks patchy and metallic, feels rough, or has a sticky, gummy texture. This often happens from simmering acidic foods for hours or from not being cleaned properly.
Fixing it is straightforward. You don’t need to strip the whole pot. Just scrub the affected area with coarse salt or a chainmail scrubber to remove the damaged layer, wash, dry thoroughly, and apply a fresh coat of oil using the stovetop or oven method.
Think of a well-maintained seasoning like the finish on a wooden cutting board. It’s not a fragile non-stick coating you must avoid scratching. It’s a durable, organic layer that fills in its own minor scratches and actually becomes more non-stick and resilient the more you use and care for it.
Troubleshooting Common Dutch Oven Issues
Every issue has a logical cause and a simple fix. Running into these is just part of the journey.
Food Sticking
If your onions fuse to the bottom, one of three things usually happened. First, the pot wasn’t preheated long enough. Cast iron heats slowly. Give it a good 5 minutes on medium-low heat. Second, there wasn’t enough cooking fat. A thin, even layer is your friend. Third, you tried to move the food too soon. Let it develop a crust, and it will release on its own.
Patience and adequate fat solve 95% of sticking problems with a seasoned Dutch oven.
Smoking Excessively
This is almost always an oil problem. If you’re searing at high heat with olive oil or butter, it will smoke because their smoke points are too low for the job. For high-heat cooking, switch to an oil with a high smoke point. My go-to oils are avocado oil or refined coconut oil. They can handle the heat without filling your kitchen with smoke.
Rust Spots
Finding a small orange spot is not a sign you failed. It just means moisture met bare iron. The fix is easy.
- Scrub the spot with a paste of coarse salt and a little white vinegar or just a vinegar-damped scrub brush.
- Rinse, then dry the pot immediately and completely.
- Apply a thin coat of oil to the spot (and the surrounding area) to protect it.
It’s a minor, five-minute repair. I’ve done it on my own camp oven many times.
Campfire Use
Cooking over coals is where a Dutch oven truly shines, but it needs a slightly different approach. Always use a lid lifter don’t burn your fingers. Manage your heat by placing more coals on the lid than underneath for even, oven-like heat (a common ratio is 2/3 on top, 1/3 on bottom).
The most critical step happens after the meal: you must clean and oil your pot meticulously before storing it. Campfire ash is corrosive and the ambient moisture is high. Give it a good scrub, dry it over the dying coals, and apply a protective coat of oil before packing it away. This stops rust before it can start.
If you’re new to Dutch oven cooking, consider every sticky situation or rust spot a lesson, not a mistake. Each one teaches you more about how your cookware works. You’re building a relationship with a tool, and it gets better every time you use it.
Common Questions
What’s different about Dutch oven cooking while camping?
Ash and ambient moisture are your main adversaries. Always clean your pot meticulously at the campsite, as ash is corrosive. Dry it thoroughly over the dying coals and apply a light coat of oil before storage to prevent rust from forming before you get home.
Which accessories are essential for proper care?
Focus on tools that protect the surface. A chainmail scrubber safely removes stubborn food from seasoned iron without damaging it, and a soft-bristled nylon brush is mandatory for enameled surfaces. A good lid lifter is non-negotiable for safe campfire use with any Dutch oven.
Do I need a universal Dutch oven cooking chart?
Relying on a single chart is a mistake, as heat retention, altitude, and ingredient size vary too much. Instead, learn to trust visual and tactile cues from your food. Your Dutch oven’s consistent heat is the tool; you must be the judge of doneness.
Ensuring Lifetime Performance from Your Dutch Oven
Always preheat your Dutch oven slowly over low to medium heat to safeguard the iron and promote even cooking. Make it a ritual to clean, dry thoroughly, and apply a whisper-thin coat of oil after each use to strengthen its seasoning layer. Topics like restoring a damaged finish or selecting the best oils for seasoning naturally build on this foundation.
Deep Dive: Further Reading
- r/CastIronCooking on Reddit: Best way to season your cast iron Dutch oven?
- How to clean & season a cast iron Dutch Oven – Kana
- How To Season A New Cast Iron Dutch Oven For The First Time – CampMaid
A material science expert by profession, Joseph is also an avid cook. He combines his 10+ years expertise in material science and metallurgy with his passion for cast iron cookware to bring you best hands on advice. His expertise ranges from types of cast iron cookware to best seasoning tips as well as restoration of vintage cast iron utensils. Joe is here to help you solve all your cast iron cookware queries and questions.