
How to Fix Rust on a Seasoned Cast Iron Pan You Use Daily?
You’ve spotted orange flakes on your go-to skillet, and now you’re worried your hard-earned seasoning is ruined. Rust on a regularly used pan is a common hiccup, not a death sentence, and I’ve fixed it on my own pieces many times.
Here’s exactly what we’ll tackle together:
- How to tell if the rust is surface-level or a deeper issue, so you don’t scrub more than needed.
- The safest, most effective way to remove the rust without harming the iron underneath.
- My step-by-step process for re-seasoning that spot to blend it seamlessly with the rest of the pan.
- Practical tweaks to your daily routine that stop rust from coming back.
First, Don’t Panic: Is It Safe to Use?
Finding a spot of rust on a pan you use all the time is a shock. Your first thought might be that you’ve ruined it. Take a breath. This is a normal part of cast iron ownership, and it’s almost always fixable.
A single, small, orange-brown spot is a surface blemish, not a terminal diagnosis. Your pan is salvageable. I’ve had my trusty 10-inch skillet flash a tiny rust speck after I was in a hurry and didn’t dry it well enough. It’s still my go-to pan today.
You should never cook on active rust, but a small spot does not mean your entire pan is contaminated or unsafe. However, it is important to check whether it’s safe to cook with a rusty cast iron pan. The concern with rust is twofold: you don’t want to ingest iron oxide, and you want to stop the metal from corroding further. A tiny spot confined to one area means you can target your repair work right there.
This brings us to the key question: Is it safe to cook with a seasoned pan that has a small amount of rust? The direct answer is no, not until you remove it. Think of it like a small scratch on a non-stick coating. You wouldn’t cook over the damaged spot. You need to clean and repair that area first. The same logic applies here.
You need to differentiate between a minor flaw and a major problem. A pinhead-sized spot on the cooking surface is a quick fix. If you see widespread rust, a thick crust, or pitting (little holes) in the metal, you must stop using the pan immediately. That level of damage requires a full restoration, starting with stripping all the old seasoning.
Why Did My Trusty Pan Rust Now? The Usual Suspects
If your pan was fine yesterday and rusty today, something changed. Even the best polymerized oil seasoning is not a flawless, impenetrable shield. It’s more like a well-worn leather jacket. Over time and use, it can develop thin spots or microscopic cracks, especially if you cook at very high heat frequently.
Seasoning is a protective barrier, but it can wear down or develop weak points that let moisture reach the bare iron underneath. Once that happens, rust forms quickly. The goal isn’t to create a perfect seal, but to maintain a good one and know how to patch it when needed. That’s why cast iron seasoning matters. A well-maintained seasoning protects the iron and keeps cooking performance consistent.
So, why did your well-seasoned pan start to rust? In my years of fixing pans, these are the usual culprits, in order of likelihood:
- Lingering Moisture: This is the number one cause. Towel-drying isn’t always enough. Water can hide in the pores of the iron or around the handle’s rivets. If you put the pan away with any dampness, rust will follow. I learned this the hard way with a grill pan I air-dried on a humid day.
- Abrasive Cleaning: Scrubbing with harsh pads or metal brushes can scour through the seasoning layer, especially on the curved sides of the pan or the bottom. You’re left with unprotected iron.
- Acidic Foods Left Sitting: Tomatoes, wine, or vinegar can break down seasoning if left in contact for a long time. A quick simmer is fine, but storing that pasta sauce in the pan overnight is asking for trouble.
- Humid Storage: Storing your pan in a closed cabinet under the sink, or in a damp basement, invites moisture to settle on the surface. Iron needs a dry home.
Identifying the cause helps you prevent it from happening again. Often, it’s just a simple lapse in your drying routine. The fix is straightforward, and your pan will be back to normal in no time.
Assess the Damage: Surface Rust vs. Deep Pitting
First, don’t panic. Finding rust on a pan you use often is a setback, not a death sentence. Your first job is to figure out what you’re dealing with — how to remove rust from cookware can vary depending on the type.
Surface rust is a dusty, reddish-orange film that sits on top of the metal. Think of it like dust on a bookshelf. It happens when a small spot of your seasoning gets scratched or worn thin, exposing bare iron to moisture (like leaving a damp pan on the stove).
Deep pitting is different. This is textured, crater-like damage where the iron itself has been eaten away. It feels rough and bumpy. You can confirm pitting by running your fingertip or a dry paper towel over the spot. If it catches or snags, you have a pit.
Knowing which type of rust you have tells you exactly how to fix it without overdoing it.
| Sign | Surface Rust | Deep Pitting |
| Look & Feel | Dusty, orange film. Wipes off easily, may stain a towel. | Textured, crater-like holes. Feels rough and bumpy to the touch. |
| Cause | Surface moisture on bare iron. Seasoning is thin or compromised in that spot. | Prolonged exposure to moisture/acid, often from neglect. The iron itself is corroded. |
| Treatment | Gentle scrubbing. Often requires only spot re-seasoning. | Aggressive removal (like a vinegar soak). Always requires complete re-seasoning of the area. |
How to Remove Rust Without Starting Over From Scratch
The goal here is surgical. We want to remove the rust while saving as much of the surrounding good, black seasoning as possible. You don’t need to strip the entire pan. I’ll guide you through methods from the least to the most disruptive. However, it’s essential to know when it’s time to completely strip and dispose of the pan.
The Gentle Approach: For Light, Fresh Surface Rust
This is for that faint orange dust you just noticed. You can often fix this in two minutes.
- Make a paste with a tablespoon of coarse salt (like kosher salt) and a single drop of cooking oil.
- Alternatively, use a damp, non-scratch scouring pad (the blue kind). Avoid steel wool here, as it can be too harsh on good seasoning.
Scrub the rusty spot with firm, circular pressure. Focus your energy right on the discoloration. You’re done when the orange is gone and you see bare, grayish metal. Rinse the pan, dry it thoroughly, then apply a thin layer of oil to that spot.
For light surface rust, a simple salt scrub is often all you need, and it’s the perfect answer if you’re wondering what household items can clean rust off a cast iron pan. For a broader approach, safe scrubbing methods using baking soda and salt work well on cast iron cookware. These techniques help preserve the seasoning while restoring rust-free surfaces.
The Aggressive Approach: For Stubborn Rust or Pitting
If the rust doesn’t budge with gentle scrubbing, or you confirmed pitting, you need this method. This will strip the seasoning from the affected area, and that’s okay. It’s necessary to reach the damaged iron beneath to remove rust from cast iron and restore it to like-new condition.
- Mix equal parts white vinegar and water in a container or sink.
- Submerge only the rusty section of the pan for 30 minutes. Do not leave it for hours, as vinegar can etch the iron.
- Take the pan out and scrub the area vigorously with a stainless steel scrubber or brush. The rust should lift away in flakes.
- Rinse and dry the pan immediately. I dry mine with a towel, then place it on a low stovetop burner for a few minutes to banish all moisture.
The vinegar soak loosens the corrosion, but you must dry the pan completely and instantly to prevent flash rust from forming on the newly bare iron.
This method directly addresses the question of the best way to remove rust without damaging the seasoning. The truth is, with aggressive rust, some seasoning loss is unavoidable, but it’s confined to the problem area. You are performing a spot repair, not a full restoration.
Rebuilding Your Defense: To Spot Season or Fully Re-season?

You’ve removed the rust. Now you need to rebuild the seasoning, your pan’s protective shield. The big question is whether to fix just the damaged area or re-coat the whole cooking surface.
Your approach depends on how you cleaned the rust.
When Spot Seasoning is the Right Choice
Spot seasoning is a quick, targeted fix. It works perfectly if you caught a small, surface-level rust spot early and scrubbed it away with just salt, baking soda, or a gentle abrasive.
Spot seasoning is your best bet when the surrounding seasoning is still strong, glossy, and intact.
Here is how you do it.
- Make sure the pan is completely clean, dry, and warm. A warm pan helps oil spread thinly.
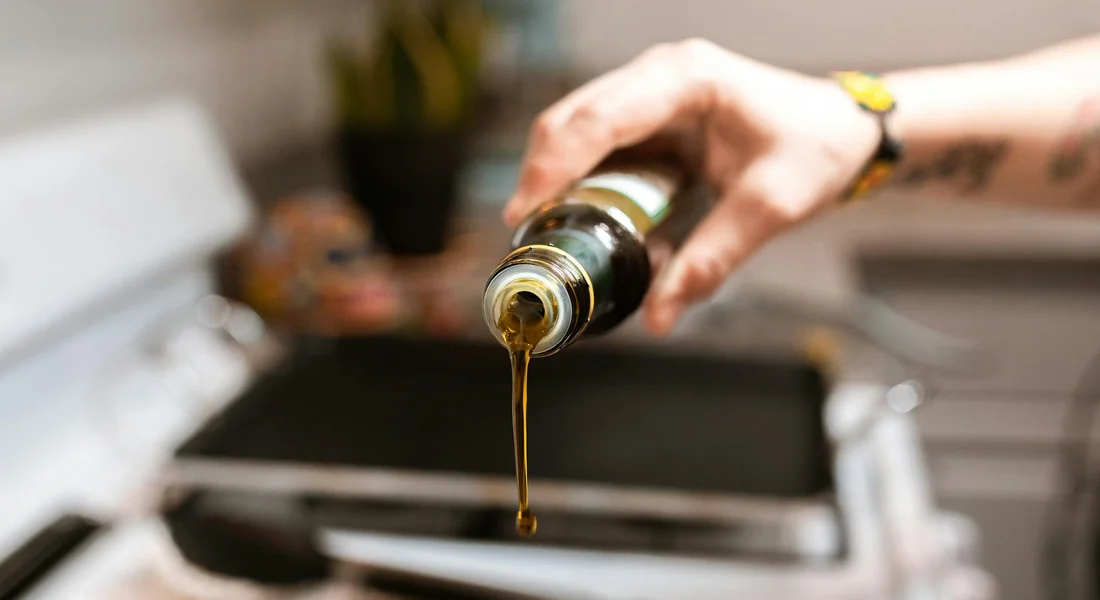
- Apply one drop of your seasoning oil (like canola or grapeseed) directly to the bare spot.
- Use a paper towel to rub the oil into the spot, then aggressively wipe the area again as if you’re trying to remove all the oil. You want a microscopically thin layer.
- Heat the pan on your stovetop over medium heat. Watch for the oil to stop looking wet and begin to smoke lightly. This usually takes 3-5 minutes.
- Turn off the heat and let the pan cool down completely on the burner.
- Repeat this process 2-3 times to build up a few new layers of polymerized oil on that one spot.
When a Full Re-season is Non-Negotiable
Sometimes, spot treatment isn’t enough. You need to re-season the entire cooking surface if your cleaning process was more aggressive or the damage was deeper.
You must do a full oven seasoning if you used a vinegar solution to remove the rust or if you discovered any pitting (small holes or divots in the metal). The acidic vinegar strips seasoning far beyond the rust spot, and pitting creates a rough surface that needs a new, even foundation.
A full re-season evens everything out. Follow these steps.
- Preheat your oven to 450°F (232°C). Place a rack in the middle and put a sheet of aluminum foil on the bottom rack to catch any drips.
- Warm your cleaned, dry pan for about 10 minutes in the oven. This opens the pores of the metal.
- Using a towel, apply a thin coat of oil to the entire pan, inside and out. This includes the handle and the bottom.
- Take a fresh, clean paper towel and thoroughly wipe the pan. Your goal is to remove all visible oil, leaving only a ghostly sheen.
- Place the pan upside down in the oven. This prevents oil from pooling in the center. Bake for 60 minutes.
- Turn the oven off and let the pan cool completely inside. Do not rush this.
- For a durable finish, repeat this cycle 2 to 3 times.
So, should you re-season the entire pan after removing rust from one spot? Not always. Only if you used vinegar or found pitting. For a simple surface spot, a targeted repair will blend right in and save you hours of oven time.
Keeping Rust at Bay: Simple Habits for a Healthy Pan
Rust prevention is simpler than rust removal. It all comes down to one rule: keep water away from the bare iron. Your seasoning does this job, but you must support it with good habits, especially when dealing with cast iron surfaces.
The single most effective thing you can do is a proper stove-top dry after every wash.
Do not just towel-dry your pan. I towel-dry my #8 skillet, then put it on a burner over low to medium heat for 3-5 minutes. I watch until every last bit of moisture, even from the pores, has steamed away. You’ll see the pan go from looking wet to completely dry. Then, and only then, is it safe to put away.
Smart Cleaning Prevents Future Problems
How you clean directly affects your seasoning’s health and your rust risk.
- Avoid soaking. Letting a pan sit in water is an open invitation for rust to start, especially on any tiny weak spot in the seasoning.
- Use the right tools. A chainmail scrubber or a flat-edged plastic scraper removes food without gouging your seasoning. I reach for my chainmail for stubborn bits every time.
- Skip the harsh abrasives. Steel wool or coarse scouring pads can scrape off your hard-earned seasoning, exposing the iron underneath.
Storage is Your Final Defense
Where and how you store your pan matters, especially in humid climates.
Always store in a dry place. Do not trap moisture by stacking pans while they are still warm. If you are concerned about humidity in your cupboard, place a folded paper towel inside the pan before storage. That paper towel will absorb any ambient moisture, acting as a simple, effective safeguard.
How can you prevent rust from forming on your seasoned pan in the future? It is not a mystery. Combine these habits: clean gently, dry thoroughly with heat, and store smartly. This routine keeps the water off and your seasoning strong, so you can spend less time maintaining and more time cooking.
When to Seek Professional Help or Consider Retirement
You can fix most rust. I’ve brought back pans that looked like science projects. But there are a few situations where the problem is bigger than a scrub brush and some oil.
If your best efforts keep failing, the pan itself might be telling you it needs more help than you can give.
Signs a Pan Might Be Beyond a Simple Fix
Think about rust like a cavity in a tooth. Surface rust is a small spot you can clean and fill. The problems below are like the tooth cracking down to the root.
- Extreme, Wall-to-Wall Pitting: A few small pits are normal on vintage iron. But if the entire cooking surface looks like the moon, covered in deep, rust-filled craters, you’re fighting a losing battle. This level of damage creates endless tiny pockets for moisture and food to hide, making a stable seasoning layer nearly impossible to maintain.
- A Crack or Significant Warp: A crack is a death sentence for cooking. It will only grow with heat stress. A severe warp-where the pan rocks noticeably on a flat burner-makes even heating impossible and becomes a constant frustration. These are structural failures.
- Immediate, Recurring Rust: You followed every step perfectly: stripped, scrubbed, dried, and seasoned. Yet within days, bright orange rust blooms again in the same spot. This can sometimes point to a deeper metallurgy issue from the casting process, where the iron itself is compromised.
The Case for Professional Restoration
For a modern, mass-produced skillet, the cost of professional sandblasting or electrolysis might be more than buying a new one. The equation changes with history.
A skilled restorer can save an heirloom or a prized vintage piece in ways that home methods cannot. They have industrial tools like electrolysis tanks that remove rust from the deepest pits without harming the good iron. If your grandmother’s pan or a collectible Griswold is in bad shape, seeking a quote from a professional is a act of preservation, not defeat.
Knowing When to Let Go
Cast iron is durable, but it is not magical. Its purpose is to serve you and make cooking enjoyable.
I have one pan I retired. It was a modern piece that warped badly and rusted in one spot no matter what I did. Fixing it became a chore that replaced the joy of using it. There is no trophy for suffering through a problematic pan.
Most pans are incredibly tough and can come back from the brink, but it is perfectly okay to retire a pan that has become more work than joy. Your time and peace of mind in the kitchen have value, too.
Common Questions
What household items can I use to clean rust off a cast iron or carbon steel pan?
For light surface dust, use a paste of coarse salt and a drop of oil as a gentle abrasive. For stubborn rust, a diluted white vinegar soak (one part vinegar to one part water) for no more than 30 minutes will loosen it. Always follow any acidic treatment with immediate and thorough drying to prevent flash rust.
Should I re-season the entire pan after removing rust from one spot?
Not necessarily. If you removed light rust with a gentle scrub, spot-season the bare area. Only perform a full oven re-seasoning if you used a vinegar soak or discovered pitting, as these strip or compromise the seasoning more broadly, requiring a new, even foundation.
How can I prevent rust from forming on my seasoned pan in the future?
Your best defense is a mandatory heat-dry on the stovetop after every wash to evaporate all moisture. Store your pan in a dry place, and consider placing a paper towel inside it in humid environments to absorb any ambient dampness.
Embracing the Care Your Cast Iron Deserves
When you find rust on a pan you use all the time, your priority is to stop, strip that spot bare, and re-season it without delay. This quick action keeps the damage minimal and gets your trusted skillet back to work, protected by a fresh, durable layer. As you work, identify any flash rust early and address it immediately. Dry the pan thoroughly and re-oil while it’s warm to prevent it from returning. If you found this process helpful, our deep dives on choosing the right oil for seasoning and storing pans in humid climates build perfectly on this knowledge.
Further Reading & Sources
- r/Cooking on Reddit: I have a rust-spotted, unused cast iron skillet. I’ve read online about how to season and it was a little complicated. Like, I just decided not to deal for worry of doing it wrong. Then I saw my friend season hers. It seemed easy. Can somebody give me the easy version? Also, what about this rust?
- How to Restore and Season a Rusty Cast Iron Skillet – Lodge Cast Iron
- If Your Cast-Iron Pan Could Talk, It’d Beg for This Advice
- How do I clean rust off a cast iron skillet?
- How to Restore Rusty and Damaged Cast Iron Skillets and Cookware
A material science expert by profession, Joseph is also an avid cook. He combines his 10+ years expertise in material science and metallurgy with his passion for cast iron cookware to bring you best hands on advice. His expertise ranges from types of cast iron cookware to best seasoning tips as well as restoration of vintage cast iron utensils. Joe is here to help you solve all your cast iron cookware queries and questions.