
Skillet, Frying Pan, or Grill Pan: What’s the Real Cast Iron Difference?
You might look at your cast iron and wonder if a skillet, frying pan, or grill pan needs its own special seasoning routine. The good news is that all three share the same fundamental care, but their shapes create unique jobs in your kitchen.
- We’ll break down how the simple design of each pan changes what you cook in it.
- I’ll explain why “skillet” and “frying pan” usually mean the same thing for cast iron.
- You’ll get my tips for keeping a grill pan’s ridges clean and seasoned.
- Finally, I’ll help you decide which pan is the best fit for your stovetop.
Skillet vs. Frying Pan: A Matter of Design, Not Material
Walk into a kitchen store, and you’ll hear “skillet” and “frying pan” used like synonyms. For cast iron, that’s mostly true-they’re both made from the same durable stuff. The real difference is in the shape of the sides, and that small change makes a big difference in how they cook.
Think of it like this: a frying pan has gently sloped, low sides. A skillet has sides that are more vertical and usually a bit higher. The sloped sides of a frying pan let you easily flip a pancake or toss vegetables. The straighter sides of a skillet are designed to contain liquids, perfect for building a fond for gravy or keeping oil from splattering.
In my own kitchen, my 10-inch skillet with its high, straight walls is my go-to for cornbread. My 12-inch frying pan, with its graceful slope, is the champion for Sunday morning pancakes. Choosing between them comes down to whether you need easy access for flipping or a contained wall for simmering.
The Cast Iron Frying Pan: Sloped and Versatile
A cast iron frying pan is defined by its low-profile, gently sloped sides. This design isn’t an accident; it creates a wide, open cooking surface that’s easy to maneuver around—ideal for cooking various dishes. Cast iron pans make it easy to cook almost anything, from seared meats to delicate vegetables.
This pan is your everyday workhorse for tasks where you’re actively moving food:
- Searing steaks and chops
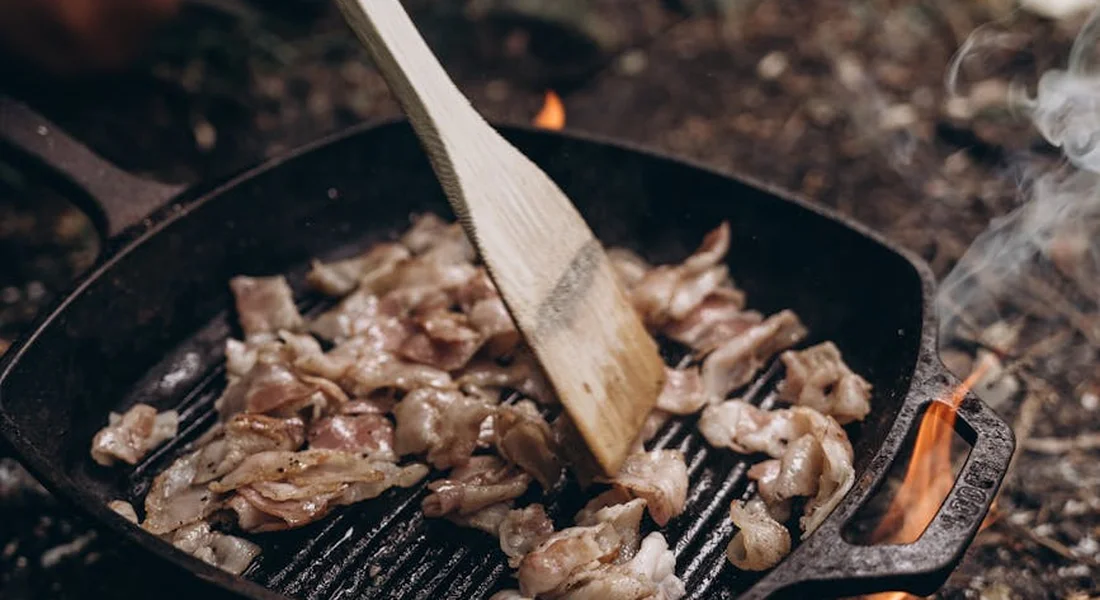
- Frying eggs or bacon
- Sautéing vegetables
- Making crepes or pancakes
The sloped sides act like a ramp for your spatula. You can slide it under food cleanly without hitting a wall. If your cooking style involves a lot of flipping, turning, or tossing, a cast iron frying pan is likely your best match.
The Cast Iron Skillet: Straight-Sided and Contained
The cast iron skillet takes a different approach. Its sides are more vertical, creating a deep, well-like cooking surface. This design is all about control and containment.
You’ll want to reach for a skillet when your cooking involves liquids or you’re transitioning from stovetop to oven:
- Shallow or pan-frying chicken cutlets
- Baking dishes like cornbread, Dutch babies, or deep-dish pizza
- Braising meats with a little broth
- Making pan sauces and gravies after searing meat
The straighter sides do an excellent job of keeping oils, juices, and sauces inside the pan. This containment is also what allows you to develop a beautiful fond-those tasty browned bits at the bottom-without them drying out or burning at the edges. A skillet’s design makes it a hybrid tool, equally capable on the burner and in the oven for one-pan meals.
The Cast Iron Grill Pan: Your Indoor Barbecue
While skillets and frying pans are defined by their sides, a grill pan is defined by its surface. It features raised ridges that mimic the grates of an outdoor charcoal or gas grill.
The ridges serve two main purposes. First, they create the classic, appetizing sear marks on food. Second, they allow excess fats and juices to drain away from the food and collect in the valleys below, which can help prevent steaming and promote a better sear.
This pan excels at one thing: giving you “grilled” marks and flavor indoors. It’s fantastic for:
- Creating cross-hatch marks on steaks, pork chops, and chicken breasts
- Chargrilling vegetables like asparagus, peppers, and zucchini
- Making a pressed sandwich with marked bread
I have to be honest about its drawbacks. The ridges make a grill pan significantly harder to clean than a smooth skillet, and it’s a poor choice for anything saucy, delicate, or liquid-based, like eggs or a pan sauce. Food can stick in the grooves, and you’ll never get a flat sear on a fish filet.
Choosing the Right Grill Pan: Grates and Maintenance
You’ll find two main ridge patterns: a grid of raised squares (like a waffle iron) or long, parallel lines. The grid pattern gives you those classic cross-hatch marks from a single press. The single-direction lines are great for longer items like asparagus.
That textured surface is also the main maintenance consideration. All those ridges and valleys mean more surface area to season and more crevices for food to get stuck during cleaning. Properly seasoning a new grill pan takes extra attention to ensure the oil polymerizes in every groove, and cleaning always requires a good brush to get between the ridges. This need for dedicated care is the biggest practical difference between a grill pan and its smooth-surfaced cousins.
How Pan Design Changes Your Care Routine
The golden rules of cast iron care never change: keep it clean, keep it dry, keep it lightly oiled. But the shape of your pan changes how you perform those tasks. Think of it like cleaning a flat countertop versus cleaning the grooves of a waffle iron. The goal is the same, but the tools and techniques need to adapt. And as seasons change, the routine expands to clean, season, and maintain your cast iron skillet. A quick wipe, a light coat of oil, and proper reseasoning go a long way.
Seasoning a Grill Pan vs. a Smooth Pan
Applying a fresh layer of seasoning oil is where the difference is most obvious. For my smooth skillets, I just pour in a little oil, spread it with a paper towel, and wipe it almost all away. It takes seconds.
A grill pan requires a more careful touch. Here’s my method:
- Use a silicone pastry brush or a tightly folded paper towel. Dab it in your oil.
- Paint the oil into every single groove, making sure the bottoms and sides are coated.
- Now, take a fresh, dry paper towel. Wipe the excess oil off the raised ridges. If you don’t, the oil will pool and bake into a sticky, gummy layer on those high points.
Because those thin seasoning layers on the ridges get scraped by utensils more often, a grill pan might ask for this touch-up seasoning a bit more frequently than a flat skillet.
Cleaning the Different Surfaces
Your cleaning tools should match the terrain. For the flat surface of a skillet or frying pan, a chainmail scrubber or a stiff nylon brush is perfect. They glide over the smooth seasoning. For clean cast iron skillets, understanding the best tools and methods makes maintenance straightforward. The next steps outline the top tools and step-by-step methods to keep your skillet in prime condition.
For a grill pan, you need a tool that can reach. I keep a dedicated brush with sturdy nylon bristles that are shaped to fit into the grooves. A cheap “grill pan cleaning brush” works wonders. A standard dish brush often misses the corners.
This is also why I avoid metal utensils on my grill pan. A metal spatula dragged across a ridge can chip the seasoning right off, leaving a bare spot that can rust. Silicone or hard nylon tools are gentler.
Dealing with Stuck-On Food in Tight Spots
When food gets welded on, don’t force it. For any pan, my first move is deglazing. Add a little hot water to the warm (not screaming hot) pan and use your brush to loosen bits. For a grill pan, you often need to let the water simmer for a minute to really soften the food hiding in the grooves.
A brief simmer with water, followed by a scrub with a little dish soap, is a completely safe and effective way to clean a well-seasoned pan without harming the patina.
Essential Care Steps for All Three Pans
No matter which pan you grab from the cupboard, these steps are your foundation. Do these, and you’ve handled 95% of cast iron maintenance.
The Golden Rule: Heat, Oil, and Wipe
This is the simple ritual after every wash. First, dry the pan completely. I always put it on a low stovetop burner for a few minutes to evaporate every last drop of water. Then, with the pan still warm, apply the tiniest amount of oil with a paper towel-you should be trying to wipe it all off. Finally, heat it gently for another minute or two, then let it cool.
This habit is the single best defense against rust, creating a fresh, protective barrier after each use.
I think of it like putting a fresh coat of wax on a car. You’re not repainting it, you’re just maintaining the shine and protection that’s already there.
What to Do If You See Rust
Don’t panic. Spot rust happens, especially on grill pan ridges where the seasoning is thin. It’s almost always superficial and easy to fix. Here’s the process: A quick fix now can restore the surface and help prevent further rust on your cast iron cookware. We’ll cover how to fix and prevent rust.
- Make a 50/50 mix of white vinegar and water.
- Scrub the rusty spot with the solution using a brush or scrubber.
- Rinse the pan thoroughly with water.
- Dry it immediately and completely on the stove.
- Apply a thin layer of oil and heat it to bond it, which is a quick spot-season.
This quick action stops surface rust in its tracks and restores your pan’s protection.
Finding Your First (or Next) Cast Iron Pan
The best pan for you isn’t about the fanciest name or the heaviest weight. It’s about matching the tool to the tasks you do most often in your kitchen. Think about what you actually cook, not just what you wish you cooked.
Recommended Product Categories for Your Kitchen
Let’s break down the options based on what you need from your cookware. I’ll avoid specific brands and focus on the shapes and features that matter. This helps you evaluate quality and find the right cast iron for your kitchen. In the next steps, you’ll see links that expand on evaluating quality and choosing the right cast iron for your kitchen.
For your only pan, a 10 or 12-inch cast iron frying pan is your best starting point. The key here is the sloped side. This shape lets you easily flip pancakes, slide an omelet onto a plate, or toss vegetables. It’s the classic design you see in most kitchens for a reason. A 10-inch pan is perfect for one or two people, while a 12-inch can handle a family-sized portion of fajitas. This will be your most versatile piece, and a great one to practice your seasoning skills on.
For a dedicated workhorse, choose a larger cast iron skillet with straight sides. Think of this as your kitchen’s utility player. The straight, taller walls contain splatter for frying chicken and give you more surface area for a big Sunday roast. That same design makes it perfect for moving from the stovetop to the oven to bake cornbread or a deep-dish pizza. My own family-sized skillet is the pan I reach for when I’m cooking a meal that needs to go from sear to bake. It’s essential to choose the right size cast iron skillet for your cooking needs.
For a specialty tool, a grill pan is a secondary item for specific results. This pan gives you those attractive char marks on meats, vegetables, or sandwiches. I keep one in my cabinet for that purpose. You must understand the trade-off. Those raised ridges make cleaning more challenging, as food and oil get stuck in the grooves. It requires a bit more patience and a good brush. Only add this to your collection if you really want those grill marks and are committed to the extra maintenance.
No matter which type you choose, run your fingers over the cooking surface inside. A smoother finish makes for easier food release and is simpler to keep seasoned. Always check the handle. It should feel solid and comfortable in your grip, as you’ll be maneuvering a heavy, hot pan.
Common Questions
Can I use the same tools to clean all my cast iron pans?
You can use the same basic principles, but your tools must adapt to the terrain. A chainmail scrubber is excellent for smooth skillets, but a stiff-bristled brush designed for grooves is non-negotiable for effectively cleaning grill pan’s ridges without damaging the seasoning.
Does a grill pan need a different seasoning routine?
The process is identical, but the application requires more care. You must use a brush or tightly folded towel to deliberately coat every groove with a thin layer of oil, then diligently wipe excess off the raised ridges to prevent gumminess. This focused attention ensures the seasoning polymerizes evenly across the complex surface.
How do I prevent rust on the delicate ridges of a grill pan?
Thorough, immediate drying is your best defense. After cleaning (see how to clean a cast iron pan after cooking), always place the pan on a warm stovetop burner to evaporate all moisture from the grooves before applying a micro-thin layer of protective oil. This post-wash ritual is critical because water lingers in those tight spots, making them vulnerable.
Choosing Your Cast Iron Champion
The best pan is the one that’s right for the job in your hand. For most daily cooking, a classic, smooth-bottomed skillet gives you the versatility you need to build great meals and a stronger seasoning. If you’re curious about taking your care routine further, exploring how to season a new pan or how to stop rust will help any piece in your collection last for decades.
Related Guides and Information
- Tools of the Trade: How To Choose a Cast Iron Skillet
- The Truth About Cast Iron Pans: 7 Myths That Need To Go Away
- Should You Buy a Cast Iron or an Enameled Cast Iron Skillet? Here’s a Comparison
- r/Cooking on Reddit: Cast iron skillet vs regular pan
- Cast Iron vs. Non-Stick: Which is better for cooking? – Stahl Kitchens
- What’s the Difference Between a $20 and $215 Cast-Iron Skillet? | Gear Patrol
A material science expert by profession, Joseph is also an avid cook. He combines his 10+ years expertise in material science and metallurgy with his passion for cast iron cookware to bring you best hands on advice. His expertise ranges from types of cast iron cookware to best seasoning tips as well as restoration of vintage cast iron utensils. Joe is here to help you solve all your cast iron cookware queries and questions.