
How Do You Cook Ahi Tuna and Seafood in a Cast Iron Skillet?
If you’re hesitant to cook fish in your cast iron, worried it might stick or ruin your seasoning, you’re not alone. I regularly sear tuna in my own skillet, and I can tell you that with a few simple steps, your pan will handle seafood beautifully.
- Getting your cast iron hot enough to prevent fish from sticking.
- Searing techniques that protect your seasoning layer.
- Cleaning methods that remove fish odors without damaging the pan.
- Selecting cooking fats that work best for seafood and cast iron.
Quick Snapshot: Heat, Time, and Pan Care for Seafood
You do not need a recipe to understand how to protect your pan. This simple guide shows you the mindset for cooking delicate proteins in cast iron. The goal is a great sear that leaves your seasoning intact.
The times are less about perfect doneness and more about the window you have to develop flavor without challenging your pan’s non-stick surface. A screaming hot pan creates an instant barrier, which is your best defense.
Why Seafood Worries People (And What Actually Happens to Your Seasoning)
I hear this fear all the time: “I cooked salmon once and my pan smelled like fish forever. I ruined it.” I felt the same way with my first vintage Griswold. The truth is less scary.
Fish does not ruin your seasoning. The polymerized oil layer is surprisingly tough. What happens is twofold:
- Proteins can bind to microscopic pores in the seasoning if the pan isn’t hot enough or the food is too wet.
- Natural acids in some seafood, like lemon juice or a tomato-based sauce, can dull the top layer of your seasoning, making it look dull or dry.
This is not permanent damage. Think of a fishy-smelling pan like a wooden cutting board that held onions. The board isn’t ruined; it just holds a residue that needs to be cleaned off. A persistent smell simply means some organic material is stuck in the seasoning matrix, and a good, hot scrub will release it.
When Your Skillet Goes in the Oven: Cooking vs. Care
This brings us to a common question about using your skillet in the oven, especially with items like ahi tuna. There are two distinct reasons, and confusing them leads to frustration.
For finishing a cook, like searing a tuna steak and then finishing it in a low oven, you are using the pan as a tool. This is fine. Just clean it as you normally would afterward.
The oven is for maintenance when you need to re-season. If you did accidentally damage the seasoning with high acid or stubborn sticking, you would: fix and repair the cast iron seasoning by following these steps:
Baking food in the oven does not maintain your seasoning; only the dedicated process of applying oil and heat does that. Keeping these purposes separate makes pan care much simpler.
The Right Way to Heat Your Skillet for a Perfect Sear
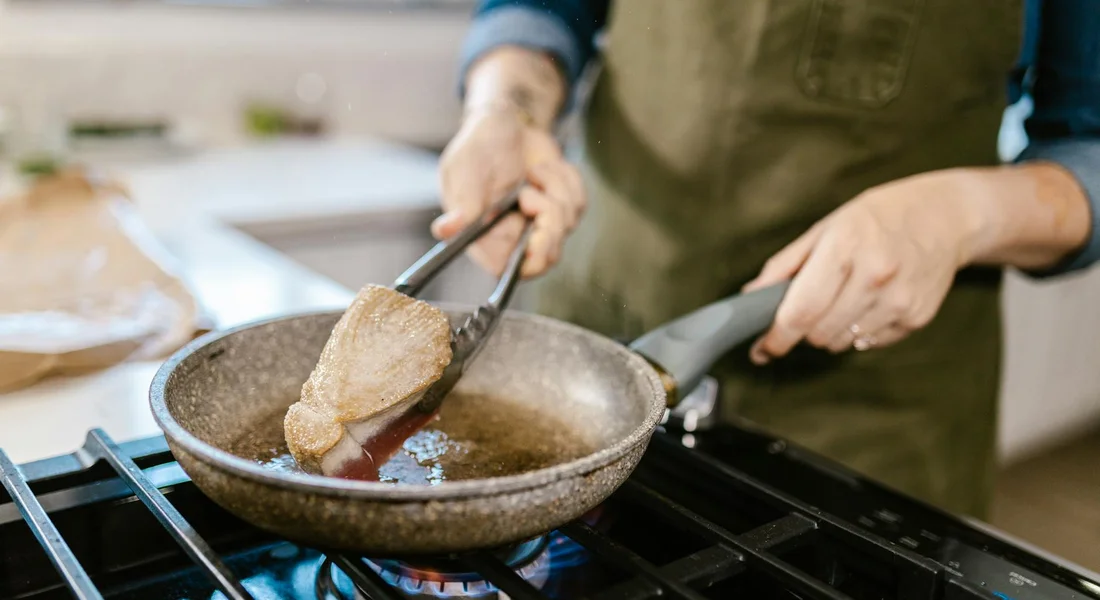
Getting your pan properly hot is the single most important thing you can do. It is the difference between a beautiful sear and a frustrating mess of stuck-on fish. A cold or unevenly heated pan invites food to weld itself to the surface.
Start by placing your dry skillet over medium heat. Let it sit for a full 5 minutes. This gives the thick iron time to absorb and distribute the heat evenly across the entire cooking surface, from the center all the way to the edges. For baking, proper preheat times matter for a crisp, even result. In the next steps, the phrase preheat bake cast iron skillet times tips will guide you.
Now, it’s time for the water bead test. This is my go-to method because it’s foolproof. Flick a few drops of water into the pan. If the water sizzles and evaporates instantly, the pan is not ready. You’re looking for a specific reaction.
When the pan is perfectly preheated, the water droplets will dance and skitter across the surface like tiny liquid marbles before vanishing. This is called the Leidenfrost effect. When you see the water bead up and skate, you know your pan has achieved the consistent, high heat needed for a flawless sear.
Only then should you add a thin layer of high-smoke-point oil. The oil will thin and shimmer immediately. This hot surface creates an instant barrier, letting your food release cleanly when it’s ready to flip. A pan that’s not hot enough soaks up the oil and grabs onto the food.
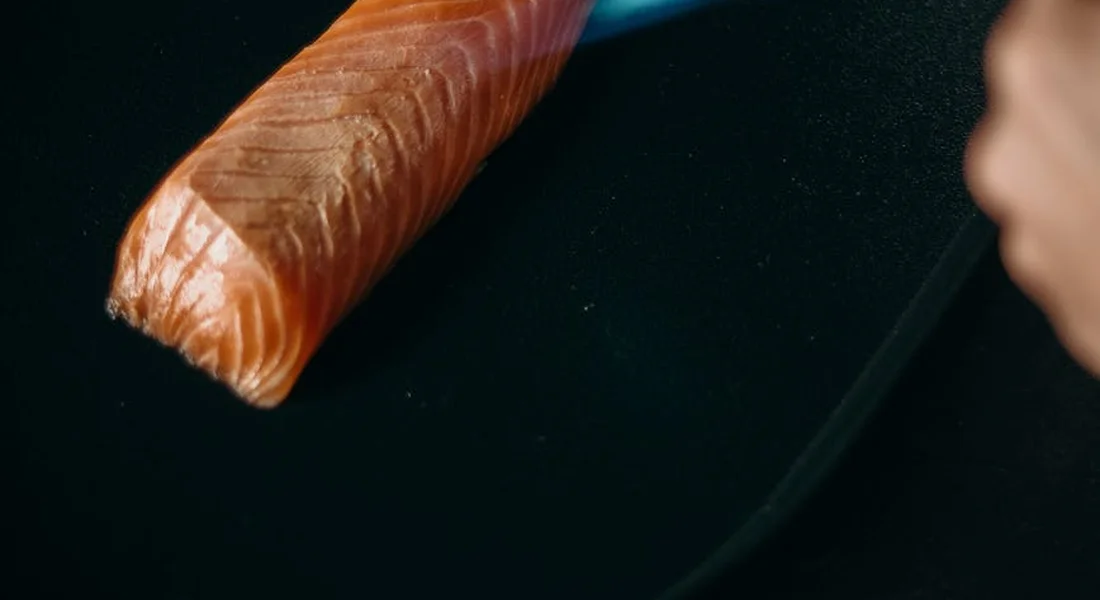
This technique is especially relevant when considering how long to cook ahi tuna in a cast iron skillet. The goal is a brief, searing cook time, usually 60 to 90 seconds per side. Maintaining this high, even heat from preheating is what gives you a crisp crust while keeping the center rare, and it’s exactly what your skillet’s seasoning thrives on-short, intense bursts of heat rather than long, slow cooks that can break down the polymerized layers.
Cleaning Your Skillet After Fish or Scallops
Post-cooking care is non-negotiable with seafood. The key is to start cleaning while the pan is still warm, not piping hot and not stone cold. A warm pan makes quick work of any residue.
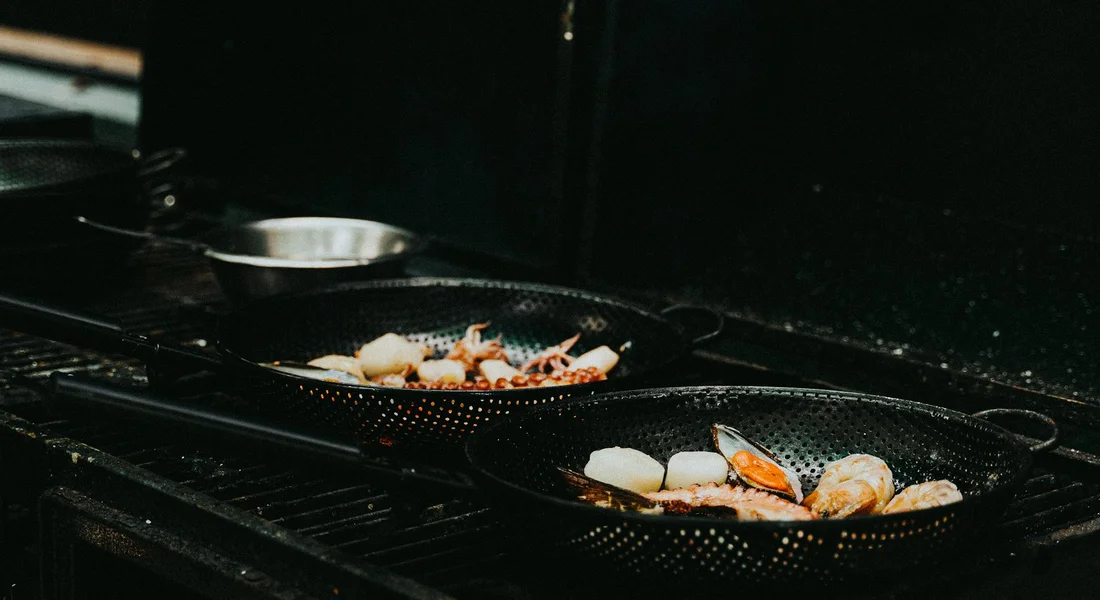
Yes, you can cook scallops in cast iron. They are an ideal candidate for that high-heat sear. Because you cook scallops fast on high heat for just 1-2 minutes per side, the cleanup process mirrors their quick cooking time if you begin immediately.
Here is the simple, effective routine I use for my own pan after searing fish or scallops.
- Let the pan cool on the stove for a few minutes until it’s warm to the touch.
- Add a cup of hot tap water to the warm pan. The gentle steam will lift any delicate bits from the surface.
- For any remaining residue, use the kosher salt scrub method. Pour about a tablespoon of coarse kosher salt into the pan. Using a paper towel or a dedicated dishcloth, use the salt as a gentle, natural abrasive to scrub the surface. The salt granules will break down and absorb oils without harming your seasoning.
- Rinse the pan thoroughly with hot water.
Many people worry about soap, but it’s a useful tool here. A small drop of mild dish soap is perfectly fine for cutting through any residual fish oils or odors; it will not strip your well-established seasoning. Just rinse it well.
Dry the skillet completely. I always finish by placing it back on a warm burner for a minute to evaporate every last drop of moisture. Then, while it’s still slightly warm, I give it a microscopic wipe with a thin layer of oil on a paper towel. This protects the surface until its next use. Following this routine is a simple form of post-cook clean maintenance for your cast iron skillet, and it helps keep the seasoning intact and ready for the next cook.
This entire cleanup process takes less than five minutes. Starting while the pan is warm prevents food from bonding to the iron, making maintenance effortless and keeping your skillet in perfect condition for the next sear.
When and How to Do a Quick Re-seasoning
After cooking something like ahi tuna, you might notice your skillet’s finish looks a bit tired. That’s normal. A quick re-seasoning is like giving a trusted jacket a fresh layer of wax, not replacing the entire coat.
You only need this when the seasoning looks thin or dull in spots. Run your fingers over the cooking surface. If it feels dry and slightly rough with matte gray areas, it’s time for a refresh. If the surface feels sticky or tacky, that’s from too much oil left on after cooking, and you just need to heat the pan to polymerize that residue, not add a new layer.
Here is my simple, one-layer oven method for maintenance.
- Warm your clean, dry skillet in a 200°F oven for about 10 minutes. This opens the pores of the metal slightly.
- Remove it with oven mitts. Apply a tiny amount of your preferred oil (I use grapeseed) with a paper towel, then aggressively wipe it all off with a fresh, clean towel. You should barely see any oil; it should feel almost dry.
- Place the skillet upside down in a 450°F oven for one hour. Let it cool completely in the oven.
I do this with my main seafood skillet maybe twice a year. People searching for an “ahi tuna skillet recipe oven” step are often looking for cooking instructions. This oven step is for care, not cooking. This quick bake is an occasional fix for wear, not a ritual you need after every use.
Other Tools You Could Use
Cast iron is my go-to, but it’s honest to talk about other pans. For delicate seafood, some cooks reach for carbon steel or stainless steel. If you’re wondering which is right between cast iron vs carbon steel skillets, the choice often comes down to heat retention and weight. Consider what you cook most and how much maintenance you want to commit to.
Carbon steel is cast iron’s lighter cousin. It seasons similarly and develops a non-stick patina. The maintenance is almost identical. What’s the difference between cast iron and carbon steel? Understanding this helps you choose the right pan for your cooking style. The key difference is that carbon steel can react a bit faster to acidic ingredients like lemon juice or tomatoes, sometimes requiring a re-season sooner than cast iron would.
Stainless steel is a different beast. There’s no seasoning to maintain, which seems simpler. You can scrub it with abrasive pads and use all the soap you want. The trade-off is that food sticks more readily without that polymerized oil layer, so you often need more fat and precise heat control for a good sear.
Your cast iron is a fantastic choice. It holds heat steadily for a perfect crust and, with the care we discuss here, it only gets better. Knowing the alternatives doesn’t weaken your choice; it shows you understand your tool’s place in the kitchen, especially when comparing cast iron to stainless steel.
Common Questions
Does finishing my ahi tuna in the oven damage my skillet’s seasoning?
No, using your skillet in a hot oven to finish cooking will not harm a well-established seasoning. The polymerized oil layer is designed to withstand high heat. Just clean the pan as usual afterward, as any risk comes from acidic marinades or sauces, not the oven heat itself. Also, follow cast iron oven safety temperatures and best practices. Preheat gradually and avoid sudden temperature changes.
What is the best oil to use for maintenance after cooking seafood?
Use a neutral oil with a high smoke point, like grapeseed, avocado, or refined coconut oil. These oils polymerize effectively for maintenance. Avoid low-smoke-point oils like flaxseed or extra virgin olive oil for seasoning, and never use butter or flavored cooking sprays for post-clean care.
Can I use dish soap every time I clean my pan after fish?
Yes, a small amount of mild, modern dish soap is safe and effective for cutting fish oils. It will not strip your seasoning. Always follow with a thorough rinse and immediate, complete drying to prevent any moisture-related issues.
Keeping Your Cast Iron Seafood-Ready
Wipe out or wash your skillet while it’s still warm from cooking seafood to stop lingering acids and moisture from compromising the seasoning. Follow up with a complete dry and a whisper-thin oil application to safeguard that hard-earned patina for your next meal. If you want to deepen your knowledge, topics like choosing the right oil for seasoning or restoring a damaged skillet build perfectly on this care routine.
Expert Resources and Citations
- Six-Minute Seared Ahi Tuna Steaks
- cast iron seared ahi tuna steaks
- Blackened Ahi Tuna | Kevin Is Cooking
- Seared Ahi Tuna Steaks with Sesame Seed Crust (10 Mins!) | Feasting At Home
A material science expert by profession, Joseph is also an avid cook. He combines his 10+ years expertise in material science and metallurgy with his passion for cast iron cookware to bring you best hands on advice. His expertise ranges from types of cast iron cookware to best seasoning tips as well as restoration of vintage cast iron utensils. Joe is here to help you solve all your cast iron cookware queries and questions.